
Kenworth T800 Bumper Fitment, Styles, and Installation
October 17, 2026 · Francisco Hornelas

You can bolt a shiny bumper onto a Kenworth T800 and still end up with a bad fit, bad light alignment, and wasted shop time. The Kenworth T800 bumper question starts with one simple truth, this truck was built for mixed vocational work, not one fixed front-end shape, so the right bumper depends on the exact hood, axle, and mounting layout on the truck in front of you. If you're trying to keep a truck rolling, protect the frame, and still keep it looking clean on the road, you need a bumper decision that matches the truck, not just the badge.
Table of Contents
- Why the T800 Bumper Decision Is Harder Than It Looks
- Matching a T800 Bumper to Year, Hood, and Front-End Setup
- Styles, Heights, and Cutouts for the T800 Front End
- Chrome-Plated Carbon Steel Versus 430 and 304 Stainless
- Direct Bolt-On Installation Without Drilling or Torch Work
- Compliance and Safety Checks Most Buyers Skip
- Ordering the Right T800 Bumper and Getting It on the Truck
Why the T800 Bumper Decision Is Harder Than It Looks
A truck comes into the shop with a bent bumper, and the owner says he wants the same one back on it. The parts counter pulls a catalog photo, the chrome looks right, and the order goes out. Then the bumper shows up and the tow holes miss, the light openings are off, or the ends don't sit right against the hood line. That's the trap with a Kenworth T800 bumper, the truck's front end has never been a one-size-fits-all setup.
Kenworth introduced the T800 in 1986 as a heavy-duty conventional built for severe vocational and highway work, with a set-back front axle and a heavy-duty chassis. Kenworth also shows the model in several variants, including standard T800, split-fender, short-hood, front-engine PTO, and T800W versions, which is exactly why a bumper that fits one truck can miss on another. The truck's long run in the market matters too, Kenworth marked production of the 250,000th T800 in 2012 Kenworth history.
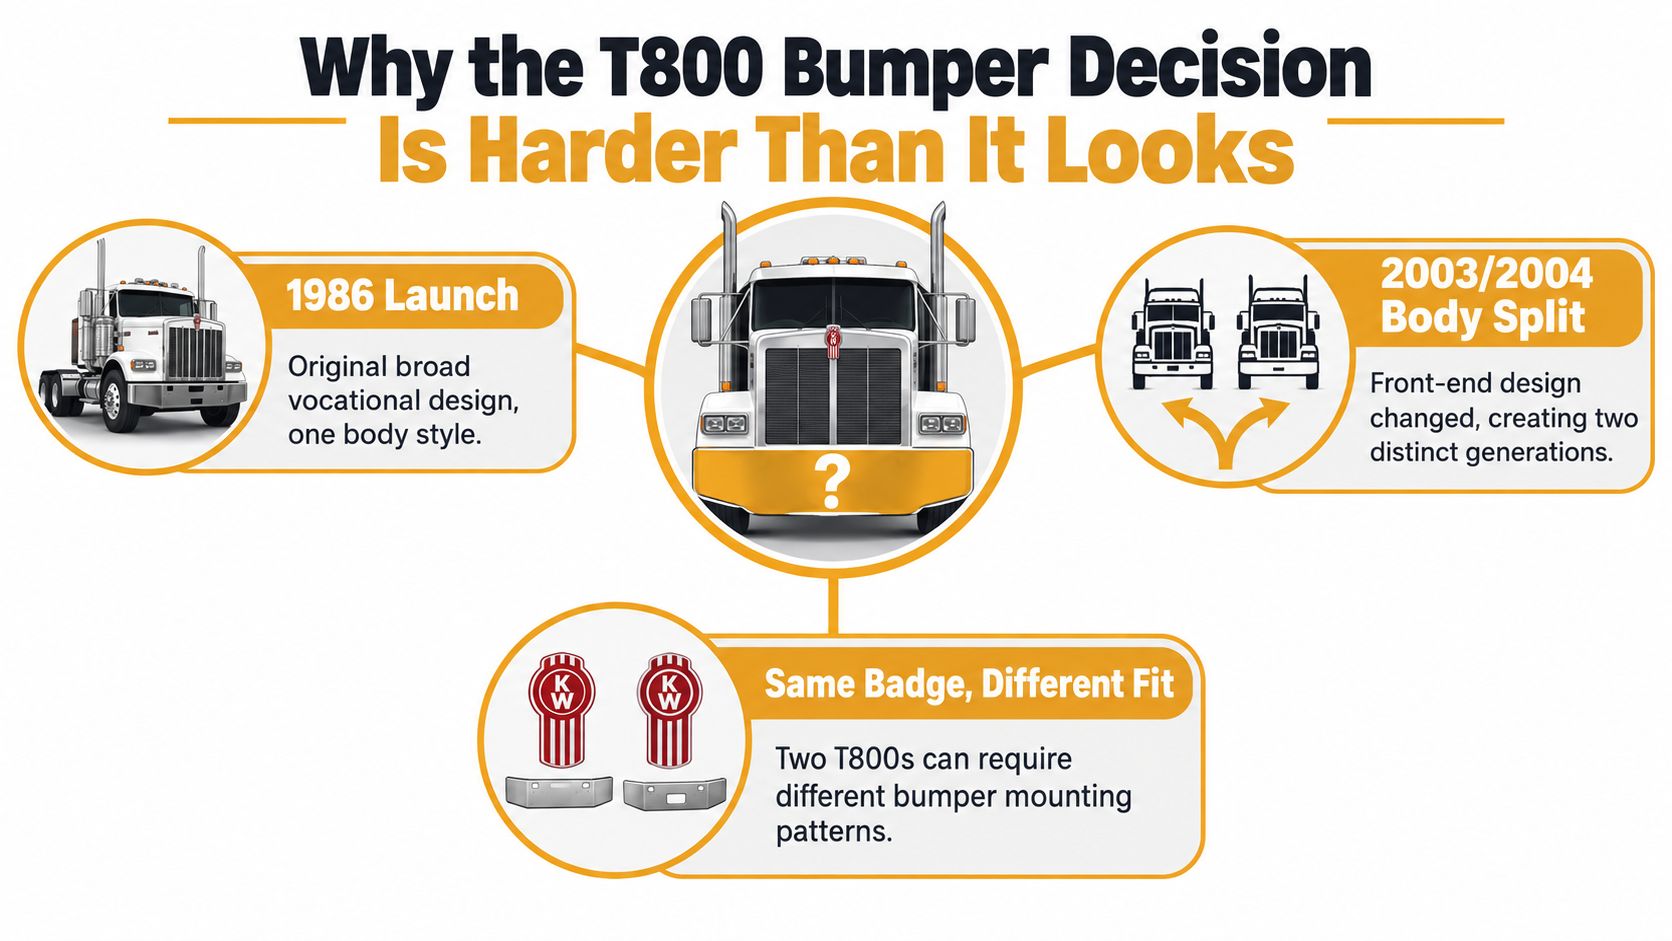
Same badge, different fit
Kenworth's spec sheets show why front-end parts can't be chosen by name alone. The T800 has been offered with 115.5-inch or 122.5-inch bumper-to-back-of-cab dimensions, front axles rated up to 22,000 lb, twin-steer front axles up to 37,500 lb, and a 48.5-inch set-back front axle that shifts more weight onto the front end Kenworth specifications. Those numbers translate into different clearances, different mounting patterns, and different bumper settings.
Practical rule: if the front end, hood, axle, and equipment aren't matched first, the bumper order is guesswork.
That's why the 14-inch work-truck style and the taller 18-inch look are both valid choices, but only on the right configuration. Chrome looks good on every lot, but fitment is what keeps the truck out of the bay twice.
Matching a T800 Bumper to Year, Hood, and Front-End Setup
Start with the year split. A lot of T800 front-end parts are grouped as 2003-and-older or 2004-and-newer, and that split matters because the bumper mounting pattern follows the front-end layout, not just the model badge. Kenworth's body-builder documentation also shows front-end variations such as standard, split-fender, short-hood, front-engine PTO, and T800W setups, with front-end bumper settings documented at 66 inches and 73 inches for specific configurations. Those measurements are the kind that keep an order honest Kenworth body-builder manual.
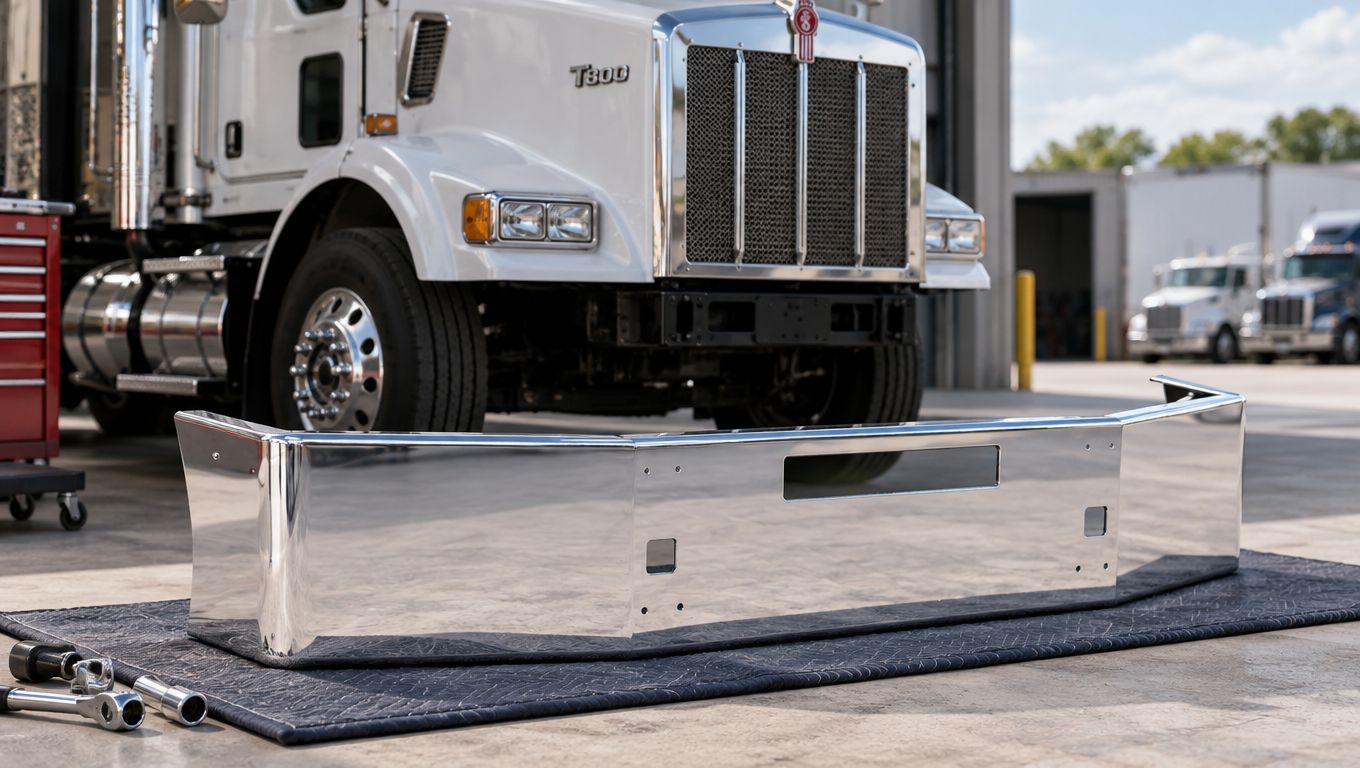
What to verify before you buy
The safest pre-order check is straightforward. Match the year, hood style, and bumper setting first, then confirm the mounting-hole pattern and any tow, fog, or light cutouts. A truck with a set-back front axle and one with a different front-end package will not always share the same bumper bracket geometry, even if both say T800 on the hood.
| Variable | Common Values | Why It Matters |
|---|---|---|
| Year group | 2003-and-older, 2004-and-newer | Front-end mounting patterns change with the body split |
| Hood style | Standard, short-hood, split-fender, T800W | Hood shape affects bumper clearance and end shape |
| Bumper setting | 66 inches, 73 inches | The bumper has to line up with the truck's front geometry |
| Axle setup | Single front axle, twin-steer | Axle position changes load, clearance, and fitment |
| Cutouts | Tow holes, fog holes, light openings | These must match existing equipment and wiring |
| Mounting holes | Existing chassis pattern | Wrong spacing turns a direct fit into fabrication work |
A common replacement option for the earlier trucks is the Chrome bumper for Kenworth T800 (-2003), which is listed with options including 10-gauge chrome-plated steel, 11-gauge 430 stainless, a Gauge-7 mounting bracket, and direct bolt-on fitment for the earlier T800 layout. That level of listing detail matters because the chrome finish alone does not tell you whether the bracket and cutouts match the truck.
Confirm the truck first, then pick the bumper. That order saves more money than any shiny catalog photo ever will.
Styles, Heights, and Cutouts for the T800 Front End
T800 bumpers are sold in real-world shapes that do different jobs. The common early-style unit is listed at 14 inches tall by 90 inches long, made from 7-gauge steel, with a 7-inch break-back, chrome finish, bolt holes, light holes, a center high step, and tow-pin holes. That's a work-truck bumper, and it fits the kind of truck that still has to haul, push, and survive bad roads without drama platinumhd catalog.
Compare the main styles
| Style | Best use | What stands out | Watch for |
|---|---|---|---|
| 14-inch tapered or straight open-end | Traditional work-truck look | Lower profile, open ends, easy clearance | Must match hood and corner shape |
| 17.5-inch aero | Cleaner modern look | Taller face, sleeker line | End shape and cutouts still matter |
| 18-inch open-end | More visual presence | Tall, straight front face | Check front-end clearance carefully |
The 7-inch break-back changes how the bumper tucks around the front corners. That's useful when the hood line and corner space need extra room, but it has to match the truck's geometry. Buyers often say they want an 18-inch drop bumper, but that phrase gets mixed up fast with overall height. Drop, break-back, and height are not the same thing.
Cutouts matter as much as the finish
Tow holes, fog holes, and light openings are the parts that decide whether the bumper is a clean install or a return freight headache. A bumper can look right from ten feet away and still block a lamp, cover a tow point, or force rewiring. That's why I always tell buyers to compare the new bumper against the old one on the floor before the truck ever leaves the bay.
The right call comes down to the truck's role. A fleet that wants a low-profile work look usually stays with the 14-inch style. An owner-operator chasing a stronger front-end presence may lean toward the 17.5-inch or 18-inch options, but only after confirming the opening layout and edge shape.
Chrome-Plated Carbon Steel Versus 430 and 304 Stainless
The finish gets most of the attention, but material choice decides how often the bumper needs care. Chrome-plated carbon steel gives you the familiar bright look and a strong price-position for trucks that live on inland routes and see normal road grime. Stainless adds corrosion resistance, and on a bumper that spends years in spray, salt, and wash cycles, that difference shows up in the long run.
What the material actually does
Carpenter Technology identifies Type 430 as a 17% chromium ferritic stainless steel used for automotive decorative trim, and says it resists corrosion from atmospheric exposure, fresh water, steam, many petroleum products, and organic materials, while seawater exposure is restricted 430 stainless data. For normal trucking, that makes 430 a practical upgrade when you want a polished bumper with better everyday corrosion resistance than plain chrome-plated carbon steel.
Carbon steel, 430, and 304 in plain terms
- Chrome-plated carbon steel: Good shine, familiar look, and usually the lowest-cost path, but once the finish gets chipped, rust can start to show.
- Chrome-plated 430 stainless: Better corrosion resistance for highway weather and road spray, especially where the truck sees frequent wash cycles.
- Chrome-plated 304 stainless: The stronger corrosion-choice for harsher exposure, especially where winter salt and coastal air punish exposed metal.
Galhor's material lineup follows that same logic. The bumper options for this truck include 10-gauge chrome-plated steel and 11-gauge 430 stainless steel, both with a mirror-polished finish and a triple-layer hexavalent chrome process with 35 microns of nickel. Galhor also publishes a broader stainless-versus-carbon-steel guide at stainless steel vs carbon steel, which is useful when you're choosing a material for service life instead of just show-room shine.
The finish sells the truck. The material decides how long the finish stays worth looking at.
Gauge matters too. 10-gauge and 11-gauge are both heavy-duty choices, but they don't behave the same in impact and corrosion management. Fleet managers should record the material, thickness, finish, and mounting style on the part spec so the next replacement order matches the first one instead of starting over.
Direct Bolt-On Installation Without Drilling or Torch Work

A T800 bumper should hang on the truck, not fight the frame. When the brackets match the chassis points, the install stays straightforward. When someone drills loose holes or reaches for a torch, the fit starts drifting and the next bumper can work itself loose sooner than it should.
The install sequence that holds up
Kenworth's heavy-duty body-builder guidance, cited earlier, calls for drilling with the correct bit, prohibits torch-cut holes, and limits hole diameter to no more than 0.060 in (1.5 mm) larger than the bolt diameter. That puts the burden on fit-up before the first fastener goes in. If the bumper uses U-bolts, a fishplate bracket on the last body attachment gives the joint a better bearing surface and cuts down on fore-aft movement.
Start with the bumper on the floor. Check the cutouts, bracket type, and finish before lifting anything onto the truck. Then hang the bumper on the mounting bracket and let the existing chassis points carry the load. If the holes do not line up cleanly, stop and confirm the pattern instead of forcing the part or opening the holes. Use the correct fasteners and keep the hole size tight. Oversized holes make a joint that walks under load.
Lighting and tow openings need a final check after the bumper sits in place. Fog lamps, marker lights, and tow points all need clear space once the bumper is seated. A bumper that looks right on the shop floor can still be wrong if a cutout lands off-center or a lamp pocket gets pinched.
For a clean visual on the sequence, see this bumper installation guide. The practical rule does not change. Fit the bracket to the truck, not the other way around.
A direct bolt-on bumper saves time only when the mounting geometry is already right. If you have to force it into place, it is no longer a direct fit.
Compliance and Safety Checks Most Buyers Skip
A truck rolls into a scale house, the inspector notices the new bumper hides a marker lamp, and the unit sits until the problem is fixed. That is the failure mode buyers miss. NHTSA says the federal bumper standard applies to passenger cars and does not apply to replacement bumpers sold as standalone equipment, but bumper changes can still create compliance problems if they obscure required lighting or other equipment NHTSA interpretation.
What needs checking after install
Start with lamp visibility, then check projection, mounting strength, ground clearance, and tow-equipment compatibility. After that, verify the truck's operating-state rules, since inspection standards can still apply even when the federal passenger-car bumper standard does not. For a deeper walkthrough of the standards that apply, see the bumper safety standards guide.
A clean-looking bumper that blocks a lamp is the wrong bumper.
Chrome-shop shortcuts cause trouble here. A bumper can sit straight on the truck and still fail the job if the lighting is hidden or the bumper lands wrong against the frame. I would rather see a buyer spend an extra minute on fit and visibility than spend a day fixing a roadside complaint later.
Document the truck, the bumper style, the cutouts, and the mounting method before the order ships. That record gives a fleet manager, shop foreman, or owner-operator a clear way to defend the part choice if an inspection question comes up later. It also keeps the next replacement order aligned with the original setup.
Ordering the Right T800 Bumper and Getting It on the Truck
The right buy comes down to four checks. First, match the year group and front-end layout. Second, choose the material that fits the truck's operating environment. Third, confirm the style, height, and cutouts. Fourth, make sure the bracket and mounting pattern stay direct bolt-on.
Galhor Inc. builds configurable bumpers for Class 8 trucks, including the T800, with brand, model, year, style, cutouts, and finish selected before shipment. The company offers chrome-plated carbon steel, chrome-plated stainless steel 430, and chrome-plated stainless steel 304, with in-stock stainless units set up for fast U.S. shipping and made-to-order carbon steel units built for shops that can plan ahead.
If you're replacing a damaged front end or matching a chrome truck build, the smart move is to order by fitment, not by guesswork. Get the bumper that matches the truck, the route, and the finish you want, then put the truck back to work.
Galhor Inc. builds configurable chrome bumpers for Kenworth T800 trucks, including direct bolt-on options that match the year split, front-end layout, cutouts, and finish. If you need a bumper that fits the truck the first time and holds up in real U.S. service, visit Galhor Inc. and configure the right setup for your T800 today.