
Front Bumper Modification Guide for Class 8 Trucks
November 17, 2026 · Francisco Hornelas

Say you've bolted a chrome bumper onto your Peterbilt 389 in Amarillo. A week later, the adaptive cruise warning starts flickering. The bumper looks right, but something behind it may have moved. That's why front bumper modification starts with safety and fitment, not finish.
Before you spend money, check what the replacement changes on your truck. The right bumper should look professional without creating sensor faults, cooling trouble, clearance problems, or another repair bill.
Table of Contents
- Why Front Bumper Modification Is More Than Looks
- Chrome Steel, 430 and 304 Compared
- Compliance Checks for Size, Lighting and Securement
- How to Check Fitment Before You Order a Bumper
- Cutouts for Tow Hooks, Fog Lights and Sensors
- ADAS Sensors and When a Bumper Needs Calibration
- Order the Bumper That Passed Every Check
Why Front Bumper Modification Is More Than Looks
A bumper swap touches more than the metal across the nose. On a working tractor, it affects mounting strength, nearby electronics and lighting, cooling airflow, and legal dimensions. Getting the bolt holes lined up is only the start.
A warning after installation doesn't prove the bumper caused it. It does mean the installation needs inspection before you trust the affected driver-assist system.
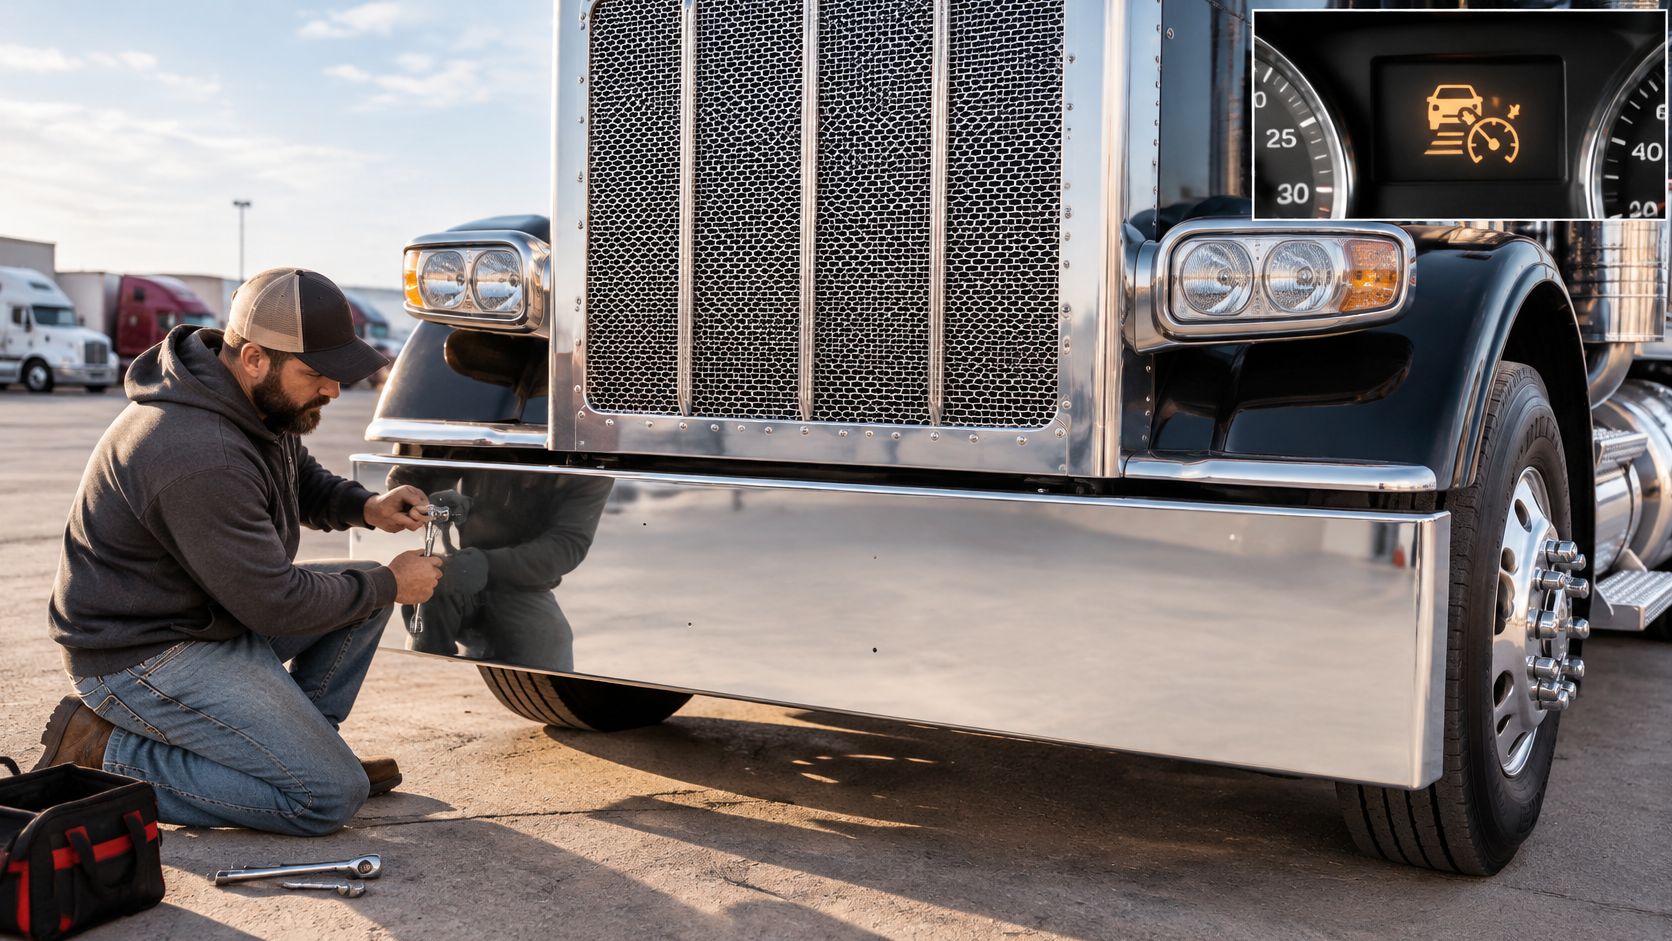
What the bumper must work with
- Mounting strength. The bumper must stay attached through road vibration and minor contact. A strong face plate won't make up for bent brackets or loose hardware.
- Sensors and lamps. Radar, wiring, and lamps need their intended position and clearance. A clean-looking installation can still hide an obstruction.
- Cooling airflow. The radiator and charge air cooler need open air paths. Added metal shouldn't cover ducts or crowd the cooling package.
- Legal dimensions. An extended face changes forward projection. A lower face changes usable road clearance, even when the advertised width matches.
Common changes include a full direct bolt-on replacement, a drop bumper for a lower look, and an extended bumper face. Other owners want custom light and tow-hook openings or a fresh finish on the original shape.
Those jobs don't carry the same risk. Refinishing an undamaged bumper keeps much of the original geometry. Cutting openings or changing brackets demands a closer review of what's behind the face.
This applies across Peterbilt, Kenworth, Freightliner, International, and Volvo tractors. The platform name starts the search, but the truck's actual equipment decides the fit.
Shop rule: Change the bumper, then check the mounting, electronics and lamps, airflow, and dimensions before the truck goes back on the road.
Chrome Steel, 430 and 304 Compared
Bumper material and finish comparison
| Material and finish | Corrosion resistance | Weight and cost | Best fit | Weak point |
|---|---|---|---|---|
| Chrome-plated carbon steel | Good only while the protective plating stays intact | Lowest cost of the three; compare finished assembly weight | Dry, low-salt routes and budget builds | Chips expose steel, and rust can spread under the chrome |
| Chrome-plated 430 stainless steel | Strong; magnetic grade with lower nickel content | Mid-range cost; thickness and brackets affect weight | Wet roads and winter salt lanes | Plating still needs regular washing and care |
| Chrome-plated 304 stainless steel | Highest of the three; highest nickel content | Highest cost of the three; don't assume a weight saving | Long hauls, harsh weather, and fleets seeking lower upkeep | Higher upfront price; value improves when it avoids replacement |
Chrome is a thin finish over the base metal. Once a rock chips that finish, the metal underneath decides what happens next. Carbon steel can rust from the damaged spot outward, which makes it a practical budget choice for dry routes but a tougher bargain on salted roads.
Stainless gives you another layer of defense beneath the plating. The magnetic stainless option sits in the middle on cost and corrosion resistance. The higher-nickel option makes more sense when winter exposure and long service life matter more than the lowest purchase price.
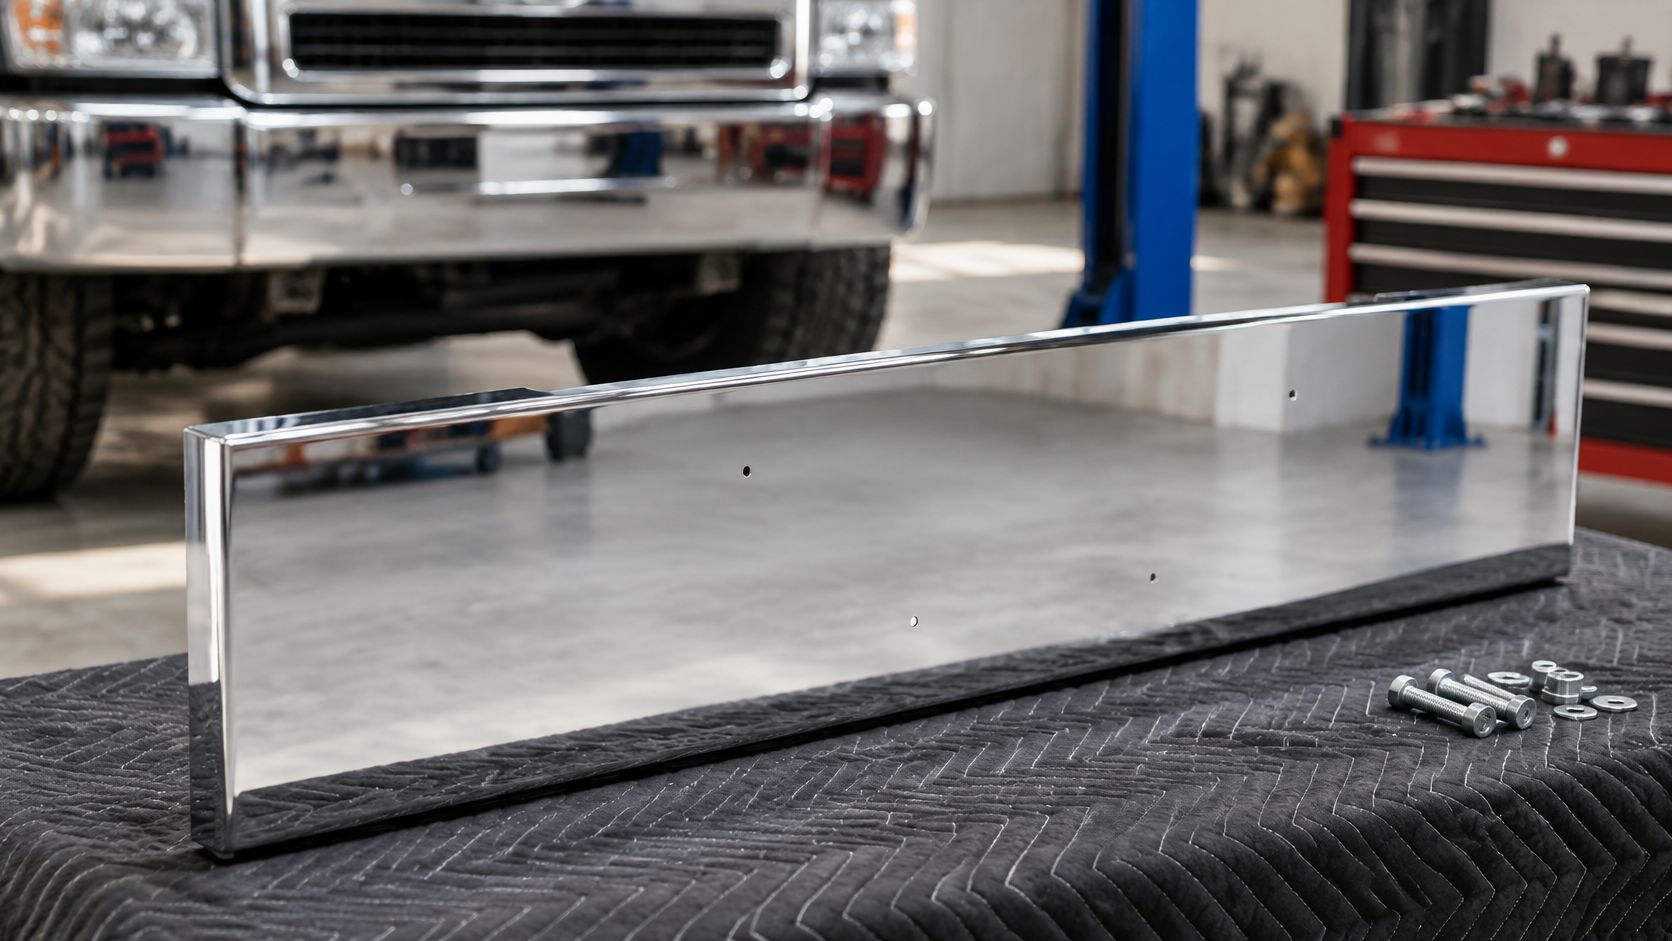
Thickness matters, but it isn't the whole build
Compare actual metal thickness, not just shipping weight. Brackets, reinforcement, and the bumper's shape all affect the finished assembly. Extra weight doesn't automatically mean better impact behavior.
For covered vehicles, the federal bumper requirements address attachment and surface performance after impact, with exceptions for specified bumper components. Those requirements aren't a universal aftermarket truck-bumper approval, but the practical lesson holds: finish, joints, and mounting strength must work together.
Ask any seller for these details:
- Base metal. Get the grade in writing, not just a stainless description.
- Thickness. Request the actual thickness or gauge for the face and brackets.
- Plating system. Ask what layers protect the metal and how their thickness is specified.
- Mounting design. Confirm reinforcement, bracket layout, and supplied hardware.
- Warranty terms. Read what qualifies as a defect and what maintenance is expected.
The triple-chrome plating guide explains why the layers beneath the visible chrome matter. A mirror shine alone doesn't prove durability.
Wash salt from the back of the bumper, seams, and brackets, not just the face. Use a finish-safe cleaner and soft wash tools. Abrasive pads can damage the surface you're trying to protect.
For salted winter roads, compare the stainless options before choosing the cheapest chrome face.
Compliance Checks for Size, Lighting and Securement
A front bumper change is a size, lighting, and securement decision before it is a looks decision. Start with the condition of the assembly. The federal commercial-vehicle guidance calls for a front bumper that is present, securely attached, and free of hazardous projection. A loose corner or a sharp extension has to be corrected before the truck goes back on the road.
Advertised depth is the lower look of the bumper. Forward projection is a separate measurement. Write both down.
Measure projection and route dimensions
A resilient bumper generally stays outside overall-length measurement when it extends no more than 6 inches beyond the vehicle's front or rear, under the federal highway guidance. Confirm that this bumper qualifies for that exclusion, then check the rules for the vehicle configuration and the roads you will run. State height limits still differ by jurisdiction.
Record projection from the original mounting plane so the parts comparison is honest. Also document the finished truck's frontmost point so the carrier can assess overall length correctly. A larger extension can change measured length and create problems that show up only after you cross a state line.
A lower bumper reduces ground clearance. Overall vehicle height is a separate measurement. Keep them apart when you check an interstate truck.
Keep the rest of the truck compliant
- Lighting. Marker lamps, turn signals, and headlamps must stay visible and correctly positioned. Check the side view as well as straight ahead. A wider face can hide a turn signal from a car in the next lane.
- Plate placement. Keep the required plate exposed, readable, and mounted for the applicable state rules.
- Securement. Inspect brackets, fastener engagement, and alignment. Do not use the bumper face to pull a damaged mounting system straight.
- Added equipment. Evaluate guards, lamp brackets, and tow accessories together. One legal part can still block a lamp or add an unsafe projection once it is stacked with the others.
Federal accessory rules cover added equipment under Section 393.3. Use the Section 393.3 test: the accessory must not prohibit operation or reduce safety.
A Texas-to-Illinois fleet approved an extended bumper last spring. Before the trucks rolled, the maintenance manager recorded projection, checked lamp and plate visibility, and handed the measurements to the safety manager. The shop then scheduled a fastener inspection after the initial road run, using the hardware maker's procedure.
The bumper safety standards guide can help organize that review. For unusual extensions or accessory combinations, call the state DOT or the carrier safety manager before installation.
How to Check Fitment Before You Order a Bumper
A model name isn't enough to place an order. Frame changes, suspension settings, and front-mounted equipment can turn a likely fit into a return.
Use this visual as a starting checklist, then work through the truck measurements below.
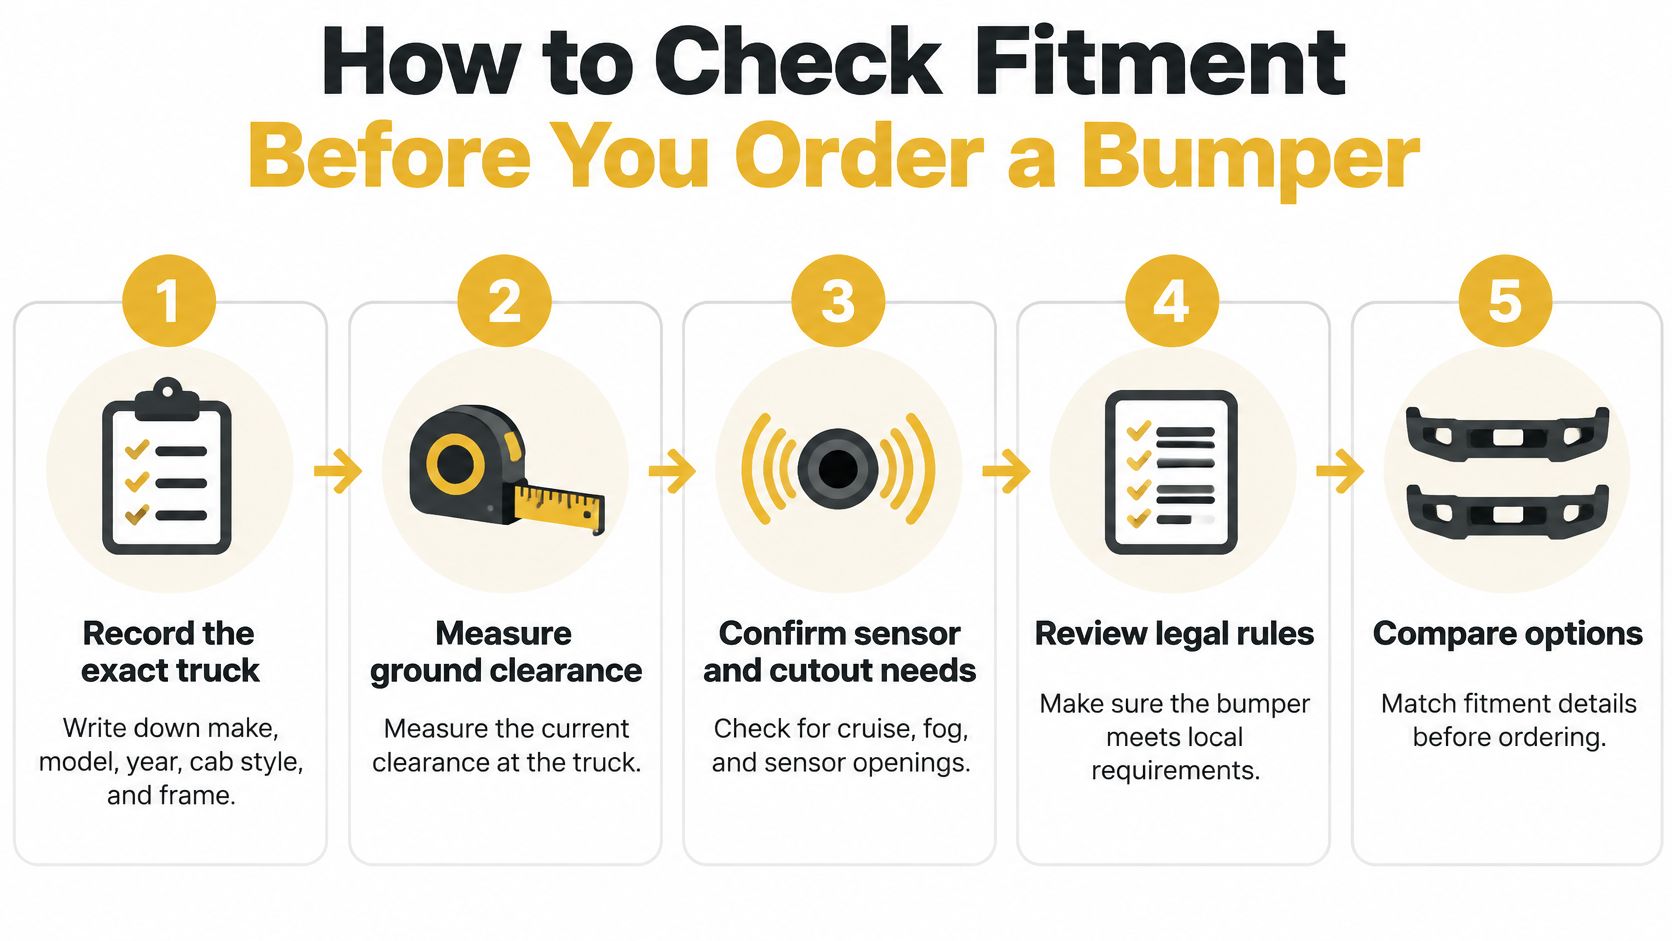
Record the truck and its mounting details
- Identify the exact truck. Record make, model, year, VIN, cab style, and frame configuration. A Peterbilt 389 bumper, Kenworth W900 chrome bumper, Freightliner Cascadia replacement, or International LoneStar bumper needs the correct application details, not just the right badge.
- Measure loaded ground clearance. Park on level ground at normal loaded ride height and measure the bumper's lowest point with a tape. NHTSA reported average front-bumper ground clearance of about 14 inches on more recent U.S. truck tractors; that's a reference, not a legal minimum or a guaranteed fit target.
- Record suspension and tires. Write down tire size, suspension type, and any ride-height changes. These details matter because the same bumper can sit differently on trucks with different setups.
- Compare the mounting plan. Measure bolt-hole centers, bracket positions, and mounting-face alignment with a tape and straightedge. Confirm the intended frame attachment, and photograph anything bent, cracked, or modified before ordering.
Check the installed working space
- Choose depth with the route in mind. An 18 inch drop bumper creates a different lower profile from a deeper face. A 20-inch bumper provides more front coverage and a more aggressive look than an 18-inch bumper, but neither dimension tells you the finished ground clearance.
- Check moving parts and equipment. Have the shop verify tire and steering clearance at full lock and suspension clearance through its operating range. Include tow points, hood movement, cooling openings, and space behind lamps.
- Confirm the installation method. Establish whether the chosen application is direct bolt-on or needs drilling, cutting, or custom brackets. Include sensor and lamp openings in the order drawing so a missing cutout doesn't turn into field fabrication.
- Measure forward projection. Compare the proposed face position with the original mounting plane and record the finished extension. Keep the design within the applicable resilient-bumper length allowance unless the carrier has documented another compliant basis.
- Check the places you drive. Evaluate dock approaches, ramps, railroad crossings, and steep driveways at loaded ride height. Use a straightedge to assess approach angle before attempting a questionable transition; don't find the limit by striking the road.
A bumper that passes these checks is ready to order. A proposed fit that rubs at full lock or would scrape at the loading-dock lip needs a different depth, bracket arrangement, or design.
The online truck customizer guide helps turn those measurements into a clear configuration. Save the drawing with your truck photos.
Use the video alongside the written measurements when reviewing the bumper's shape and installation.
Cutouts for Tow Hooks, Fog Lights and Sensors
Bumper cutouts and what to check before cutting
| Cutout | What it protects | Check before cutting |
|---|---|---|
| Tow hook opening | Access to recovery points | Hook lines up with the frame tow point and the strap clears the bumper edge |
| Fog light holes | Fog or driving lamp mounting | Lamp body depth fits and the wiring route is clear |
| Marker and turn lamp openings | Required lamp visibility | Lamp sits at the correct height and its lens shows from the required directions |
| Grille and air intake openings | Radiator and charge air cooling | Opening preserves airflow to the cooling package |
| Sensor or radar window | Forward-collision and adaptive cruise sensors | Sensor field is clear, without unapproved trim, film, or brackets |
| License plate area | Plate visibility | Bracket position matches the applicable state plate rule |
Cut only after you know what goes in the opening. A fog-light hole that matches the lens but not the lamp housing is wasted metal. A tow opening that's slightly misplaced can force recovery gear against a sharp edge.
Hold the bumper in its intended position on the truck before marking. Use masking tape, a fine marker, and a template made from the actual component. Recheck the marks after the brackets are aligned, because a bench measurement won't reveal a shifted frame bracket.
Reject cuts that create another problem
A tow-hook opening provides access to the frame recovery point. It doesn't make the bumper a recovery attachment. Check the hook's working space and the path the recovery gear will take under load.
For lamps, check housing depth, connector access, and wire routing behind the face. Fit grommets or proper edge protection where wiring passes through metal. Leave enough harness movement for service without letting wires hang against sharp edges.
Sensor windows need more than an open hole. Keep chrome trim, films, decorative mesh, and brackets out of the sensor's required field. Use the equipment maker's approved window material where the system calls for a cover.
Stop for these dealbreakers
- Blocked sensor. Change the opening or bumper design rather than moving the sensor on an improvised extension.
- Hidden lamp. With the truck level, inspect the lamp from the front and side. Correct a recessed or masked lens before approving the installation.
- Weakened mounting point. Stop if a cut approaches a bolt hole, bracket seat, or reinforcing bend. Get an approved cutout plan instead of removing metal until the accessory fits.
Preserve the cooling opening's clear path, including space behind any screen or insert. A decorative plate can leave the front looking open while blocking the duct farther back.
Deburr every approved cut and use the finish supplier's repair method on exposed edges. Cutting after plating can damage nearby chrome, so factory-planned openings are the cleaner choice.
ADAS Sensors and When a Bumper Needs Calibration
Direct-fit doesn't mean sensor-safe. It describes mechanical installation, not electronic alignment. A bumper can sit square while the radar behind it points away from its intended aim.
Newer tractors may have forward radar near the bumper for adaptive cruise control and collision warning. Cameras may be elsewhere on the cab but still work with that radar. Identify the whole system before removing parts.
A scan isn't a calibration
Collision-repair reporting carried by Yahoo Autos explains that even minor bumper removal can shift radar positioning enough to affect adaptive cruise control and forward-collision warning. A change measured in millimeters can matter even when the bumper looks straight.
A scan reads electronic faults and system information. A calibration establishes or verifies the sensor's reference and aim using the specified targets, measurements, software routine, or driving procedure. Calibration may include physical adjustment, electronic learning, or both.
No warning light isn't proof of correct aim. A sensor can communicate with the truck while looking in the wrong direction.
Use a documented repair process
- Identify equipment. Locate every affected radar, camera, bracket, connector, and harness.
- Record positions. Photograph bracket orientation, fasteners, wiring clips, and the surrounding clear space before removal.
- Use the VIN procedure. Obtain the OEM instructions for the truck and installed sensor system.
- Run a pre-repair scan. Save existing faults so the shop can separate old problems from installation issues.
- Inspect after fitting. Check bracket damage, sensor clearance, connector seating, and wire strain.
- Complete the required checks. Perform the post-install scan and static or dynamic calibration when the OEM procedure requires it.
Use a qualified ADAS-capable shop whenever sensor removal, movement, damage, or obstruction is involved. Ask for the calibration result, not just a statement that the codes were cleared.
A scan report and a calibration record answer different questions. Keep both when the repair procedure calls for both.
Preserve the way impact loads travel
Use model-specific mounting points and preserve designed crush space. Don't add ties between the bumper shell, sensor brackets, and frame members that create an unintended rigid load path.
NHTSA warns that a frame-mounted guard can bypass bumper energy absorption, send a sharper impulse to crash sensors, and alter airbag-deployment timing. That warning concerns airbag-equipped applications, not a claim that every tractor uses the same restraint layout.
Unsupported sensor-bracket extensions are another reason to reject an otherwise neat installation. After fitting, inspect clearance around radar, cameras, and wiring without using the sensor bracket as a bumper support.
Keep installation photos, scan reports, calibration printouts, the installed part details, and the installation date in the maintenance file.
Order the Bumper That Passed Every Check
The truck is measured, the material is chosen, and the cutouts, sensors, and legal checks are written down. Order against those records: mounting plane, loaded clearance, and equipment photos. A style name does not replace them.
Galhor Inc., a Texas-based manufacturer and retailer of chrome bumpers for Freightliner, Peterbilt, Kenworth, and Volvo, lists direct bolt-on bumpers sold individually from $874.99 to $1,679.99 each. Warranty coverage applies to defects in workmanship and materials. The 3D configurator lets you select brand, model, year, style, cutouts, and finish.
Build the order around the truck
Use the dimensions you recorded rather than copying another truck's setup. Similar-looking tractors can carry different lamps, tow equipment, and sensors. A bumper that looks right in a yard photo can still sit low on a loaded approach or block a lamp an inspection expects to see. The configurator is a visual check of that combination before you commit.
In-stock stainless 430 and 304 flat bumpers can ship within 48 hours. Confirm dispatch and freight before you pull a working truck out of service, especially when the next load depends on the repair. A returned bumper must be uninstalled and returned in its original condition, so protect the face during handling and settle any mismatch before you alter the unit.
Spend on the fit and service life your route will use.
Trial-fit against the recorded measurements before cutting any opening.
Galhor Inc. offers configurable, direct bolt-on chrome bumpers built around your truck's model, cutouts, and finish choice. Visit Galhor Inc., enter the details you've checked on the truck, and order the bumper that fits the job today.