
Freightliner Bumper Guard Types: Materials, Fit and Use
November 6, 2026 · Francisco Hornelas

Buying the thickest, shiniest Freightliner bumper guard isn't the best way to protect your truck. Start with the brackets and frame connections, then choose the finish. A good-looking bumper shell won't make up for weak mounts, poor welds, or the wrong installation kit.
Treat the purchase as two decisions: the structure that carries a load and the outer surface that handles weather and appearance. That approach helps owner-operators avoid expensive mismatches and gives fleet technicians something useful to check before the truck goes back to work.
Table of Contents
- Freightliner Bumper Guard Types Compared by Material and Corrosion
- Which Freightliner Bumper Guard Fits Your Operation
- Fitment and Installation Checks by Freightliner Model
- Front Bumper Guard vs Federal Rear-Impact Guard
- Inspecting a Bumper Guard After an Impact
- Confirm Fit and Order Your Freightliner Bumper Guard
Freightliner Bumper Guard Types Compared by Material and Corrosion
A Freightliner bumper guard is a front bar intended to shield the grille, lights, and front structure from certain curb strikes and light impacts. It also changes the truck's look. Sellers sometimes use the same term for a replacement bumper shell, so confirm whether you're buying a bumper, an add-on guard, or a complete assembly.
Most buyers compare three shell materials and a tubular push guard. The shell choice mainly affects corrosion, finish care, and replacement cost. The guard's protective value needs a separate check of its structure and attachment.
Freightliner bumper guard types by material and corrosion behavior
| Type | Material and gauge | Finish | Corrosion behavior |
|---|---|---|---|
| Chrome-plated carbon steel | Carbon steel, typically 10-gauge | Chrome plating over steel | Rusts fastest once the plating chips |
| Chrome-plated 430 stainless | 430 stainless, typically 11-gauge | Chrome plating over stainless | Good rust resistance in wet and salt-heavy use |
| Chrome-plated 304 stainless | 304 stainless; confirm the specified sheet thickness | Chrome plating over stainless | Highest corrosion resistance of these three shell materials |
| Stainless tubular push guard | 14-gauge stainless tubing on some designs | Polished or brushed stainless | Rust resistant; structural value depends on mounts |
These are buying categories, not universal Freightliner specifications. A listing that says stainless without naming the grade leaves out a useful part of the purchase decision.
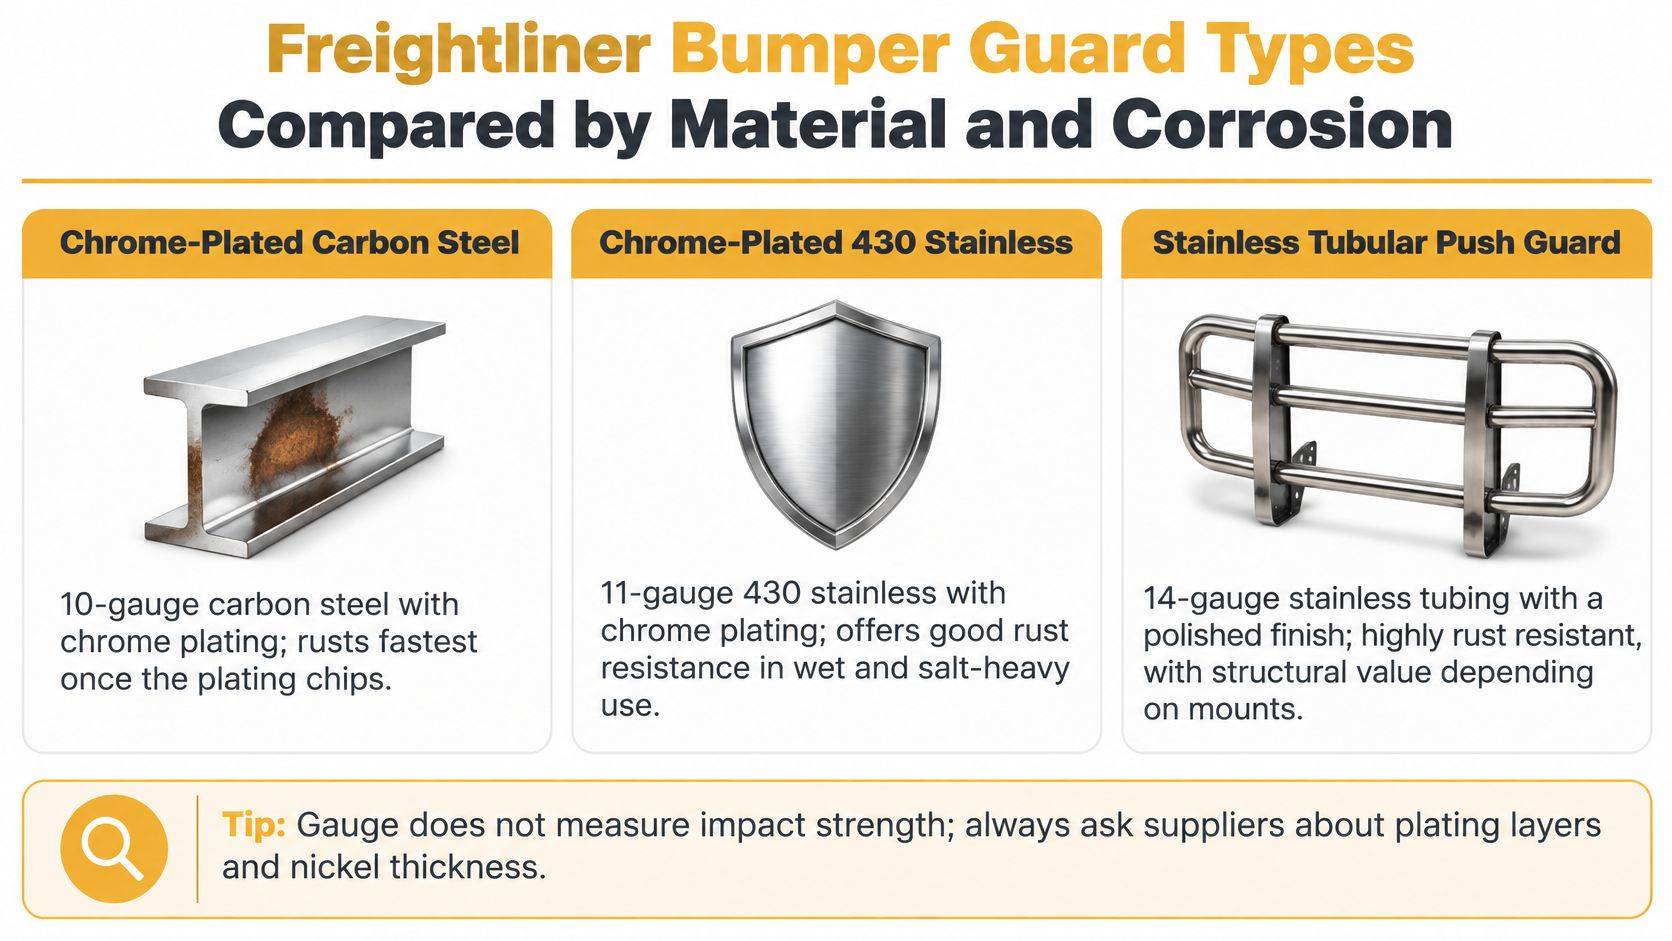
What happens when the finish gets chipped
Chrome-plated carbon steel works well for buyers who want a mirror finish and will keep up with cleaning and touch-up decisions. Its weak point is exposed steel. A stone chip or deep scratch lets moisture and road salt reach the base metal, and rust can spread beneath plating that still looks sound nearby.
Don't judge that damage by the size of the visible brown spot. Look for lifting edges, bubbling, and rough areas around cutouts and bolt holes. Polishing the surface won't repair corrosion underneath the plating.
Chrome-plated 430 stainless gives you a more corrosion-resistant base beneath the finish. It's magnetic, which can help distinguish it from some other stainless grades, but a magnet isn't proof of grade or quality. Buy from the written material specification, not a parking-lot magnet test.
Chrome-plated 304 stainless is the stronger corrosion choice for repeated salt exposure and coastal work. It's generally described as nonmagnetic, though forming and fabrication can affect magnetic response. Again, the supplier's grade documentation matters more than a quick test.
Use the guide to corrosion-resistant stainless steel grades to compare the base metals before choosing a finish. Stainless reduces one maintenance problem, but it doesn't make the truck immune to trapped salt, neglected seams, or damaged hardware.
Chrome and polished stainless aren't the same finish
Chrome is a coating over another metal. Polished stainless gets its shine from the stainless surface itself. That difference matters when you're deciding how to handle scratches, cleaners, and eventual refinishing.
Ask a chrome supplier about plating layers and nickel thickness, not just whether the finish is bright. Surface preparation and the coating system affect how the part holds up. Even a substantial coating can't protect exposed carbon steel at a deep chip.
Wash salt from the back of the bumper, mounting pockets, and lower edges. Use a cleaner suited to the finish and a soft wash tool. Aggressive abrasives can turn a small cleaning job into a visible repair.
For polished stainless, keep carbon-steel wire brushes and dirty grinding tools away from the surface. Transferred steel particles can leave rust staining that makes a sound stainless part look defective.
Thickness isn't an impact rating
Gauge measures sheet thickness, not crash performance. Tube diameter, plate thickness, section shape, weld placement, bracket design, and frame attachment all affect how an assembly carries force.
A broad chrome face can hide a weak connection. A tubular guard can look rugged while attaching through brackets that aren't suitable for the intended load. Neither weight nor shine answers the structural question.
Buying rule: Choose the load-carrying assembly first. Choose the corrosion protection and appearance second.
Don't assume a front guard is a towing point either. Use only the truck's approved recovery points and the equipment maker's stated procedure.
Before paying, get clear answers to these questions:
- Plating: How many layers are used, and what nickel thickness is specified?
- Material: What base-metal grade and thickness will appear on the order?
- Warranty: Does coverage address manufacturing defects only, or does it also address peeling, corrosion, and finish failure under stated conditions?
Which Freightliner Bumper Guard Fits Your Operation
A truck running dry interstate lanes needs a different buying decision from one hauling through winter brine or coastal spray. Match the material to the route, then match the structure to the contact risk. Treat the polished shell and the load-carrying assembly behind it as two separate purchases, and settle the structure first.
Long hauls and mixed weather
Say you run interstate freight, park outside, and want a clean front end without spending for the most corrosion-resistant option. Chrome-plated carbon steel can make sense if appearance is the priority and you keep salt washed off. Choose 430 stainless when you want a more forgiving base metal beneath the finish.
Verdict: Pick 430 stainless for the best balance of appearance, corrosion resistance, and upkeep.
Salt-belt and coastal fleets
Repeated salt exposure makes finish repairs harder to manage across several trucks. Paying more for 304 stainless can be a sensible maintenance decision here, especially when body-shop scheduling takes equipment away from paid work.
Verdict: Upgrade to 304 stainless when corrosion is a regular operating problem, not an occasional nuisance.
Construction work and northern plains routes
A vocational truck working around curbs, brush, and jobsite debris needs documented mounting strength before decorative upgrades. Northern plains operators should also consider packed snow, ice, and winter debris around the guard and cooling openings. On these trucks, the bracket and frame attachment carry the buying decision, and the chrome face is just the covering you see.
After a hit, have the damaged support hardware assessed before authorizing a new face panel. A fresh shell over a bent bracket buys you the same problem twice.
Verdict: Put structure and service access ahead of shell material where contact is likely.
Show trucks and custom builds
A polished 304 or 430 bumper suits a truck where straight reflections, clean cutouts, and even panel gaps matter. Check the look at normal ride height, not just in a product photo. A deep drop bumper that looks right parked may create clearance trouble at a sloped entrance.
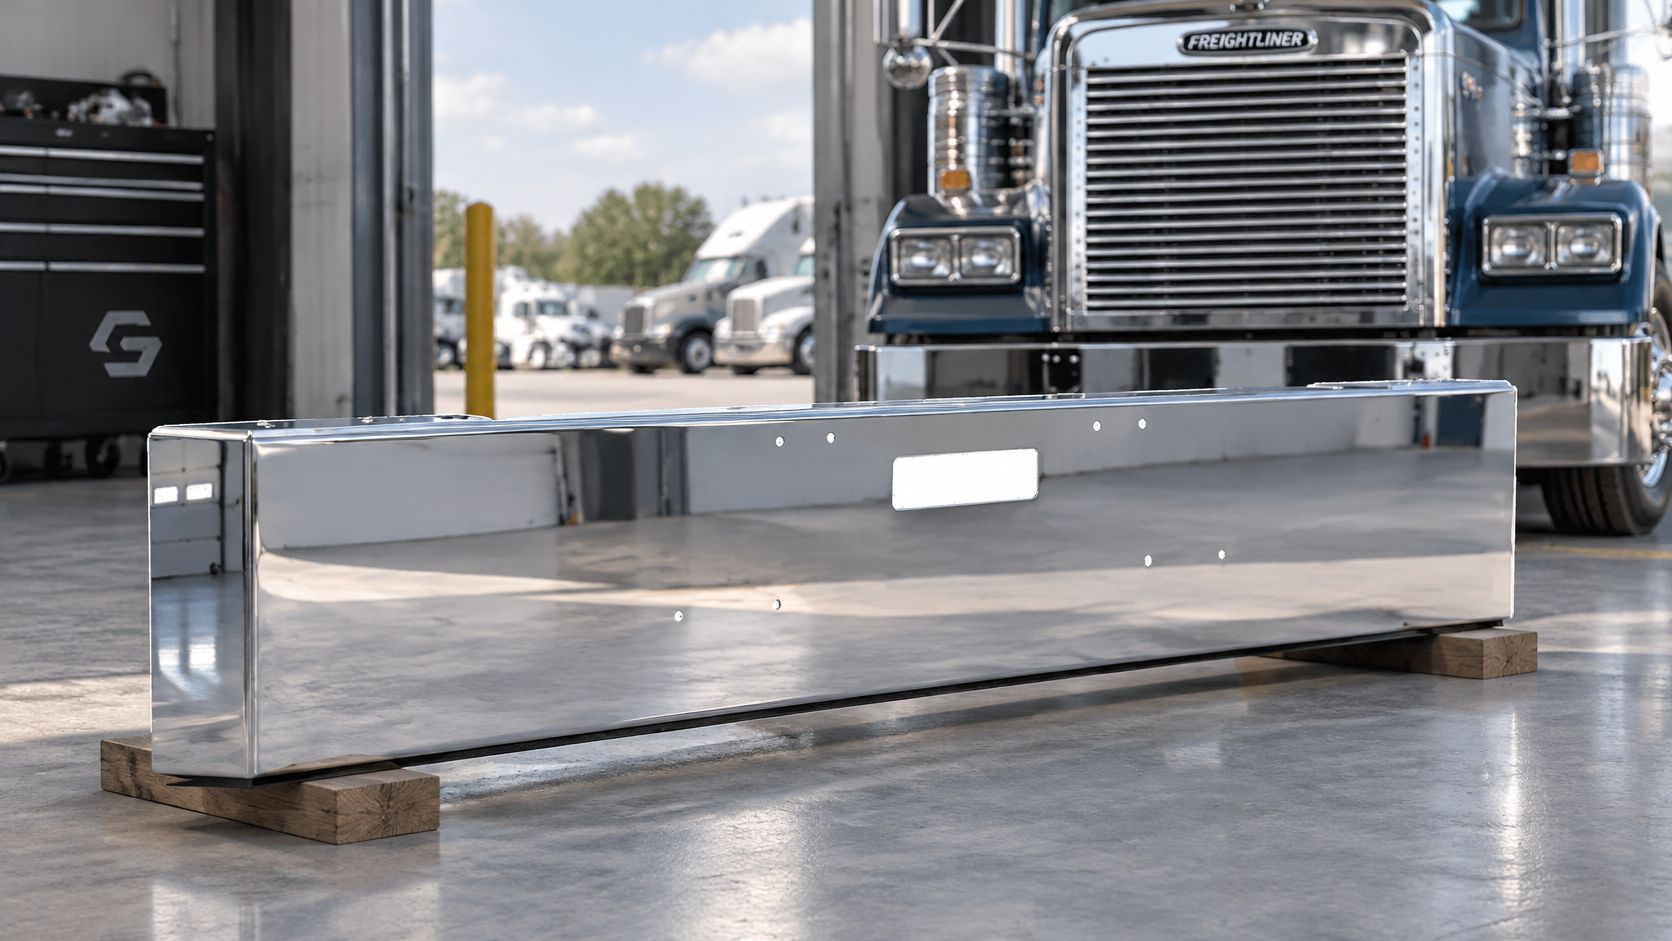
The Chrome bumper for Freightliner Classic is designed and manufactured by Estañadora, owner of Galhor Inc., and the listing is configurable by model and options, so confirm the details for your truck before checkout.
Verdict: Choose the finish you want, but confirm ride-height clearance and mount style before ordering. For most mixed-route owner-operators, 430 stainless is the balanced pick. Move to 304 for sustained salt and coastal use.
Fitment and Installation Checks by Freightliner Model
Fitment checks by Freightliner platform
| Platform | Mount or frame interface | What to verify before ordering | Install note |
|---|---|---|---|
| Freightliner Columbia (2008+) | Model-year bumper mount | Model year and grille contour | Direct bolt-on designs need no drilling |
| Freightliner Classic | Standard or blind mount | Mount style and cutouts | Confirm which mount style your truck uses |
| Freightliner FLD 120 | Bolt-on mount | Hood clearance and sensor placement, if equipped | Confirm the bracket kit before installing |
| Freightliner Cascadia | Platform-specific bumper and frame interface | Exact model year and frame configuration | A mismatched kit changes load paths |
| Freightliner M2 | Platform-specific bumper and frame interface | Exact model and body type | Confirm mount kit and frame drawing with the manufacturer |
| Freightliner 114SD | Platform-specific bumper and frame interface | Exact model year and frame configuration | Confirm mount kit and frame drawing with the manufacturer |
A matching model name isn't enough. Freightliner bumper guards aren't universal parts, and a truck may already have replacement brackets or other front-end changes. Measure what's on the truck and compare it with the proposed kit.
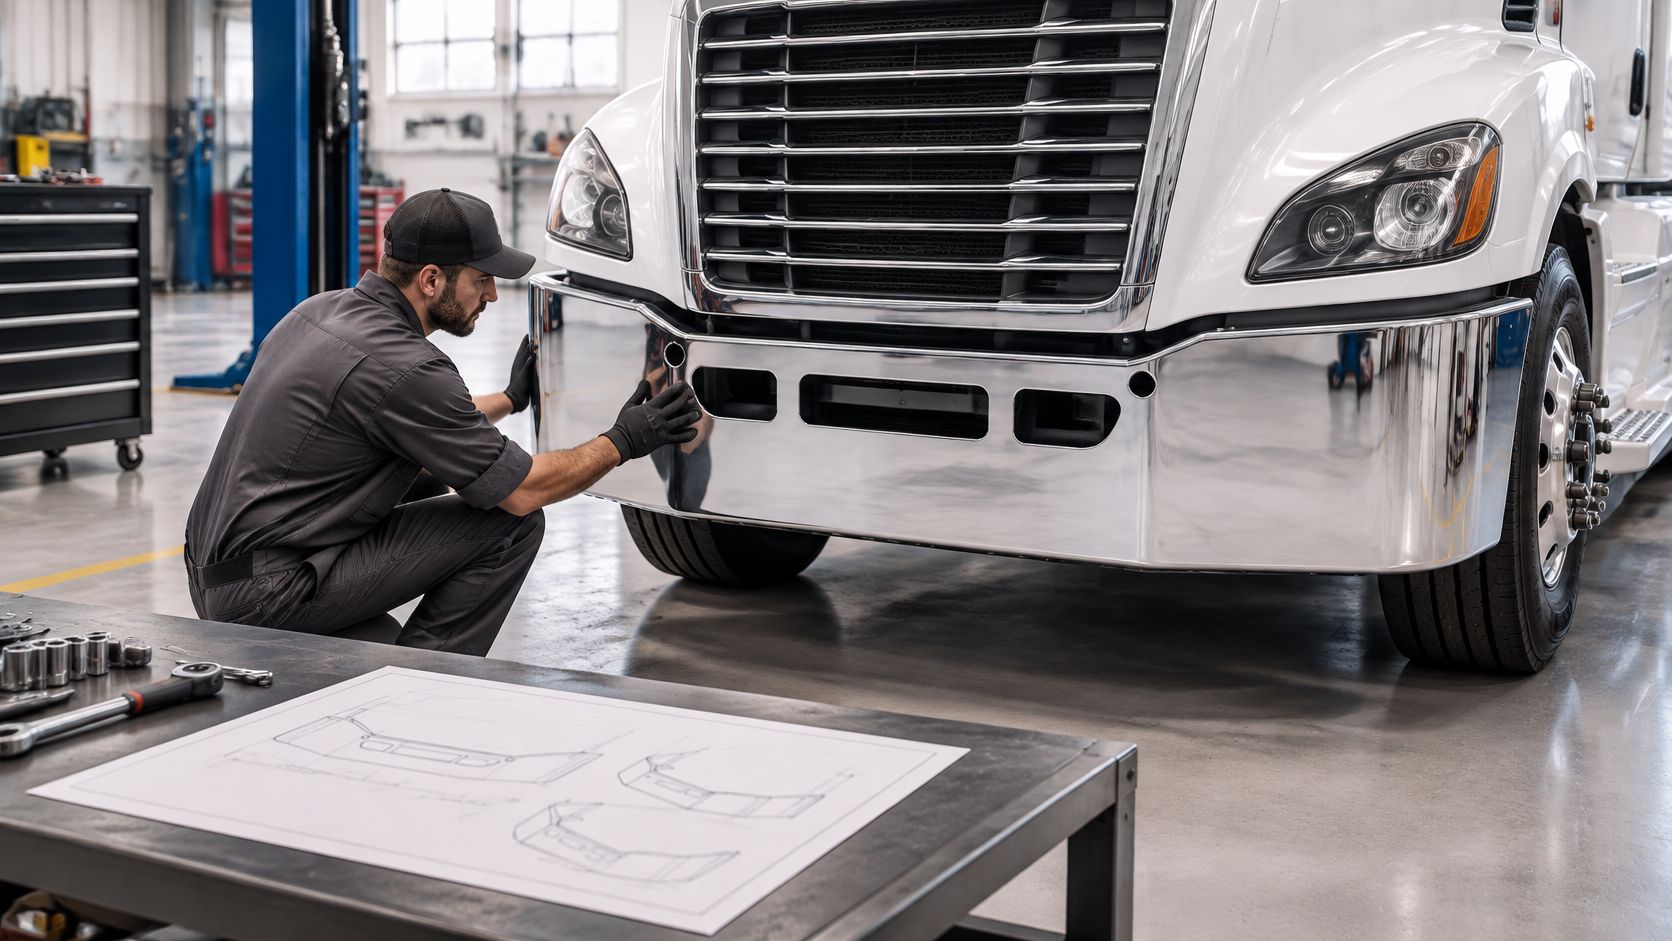
Check the truck before opening the hardware bag
- Record the configuration. Write down make, model, year, cab style, and any radar, cameras, lights, or tow hooks. Include photos of the current mounts.
- Compare mounting points. Match the guard's drawing to the truck's frame drawing and actual mounting locations. Don't use the bumper face alone as a measuring reference.
- Check the full clearance envelope. Open the hood through its complete travel and check headlamps, fog lights, sensors, and tow-hook openings. Allow access for routine service.
- Confirm the hardware package. Get the bracket kit, specified bolt grade, bracket thickness, and tightening procedure. Use a torque wrench and the manufacturer's sequence.
- Get structural details in writing. Request installation instructions and load-path documentation showing how force transfers into the truck.
The RETRAC Freightliner-compatible guard specifications provide product examples including 3-inch, 14-gauge stainless tubing, 6 mm upright plates on some designs, and guard weights of approximately 115–142 lb, making front-axle loading and mount capacity real installation checks.
Bolt-on doesn't mean guess-and-tighten
A properly matched direct bolt-on kit needs no drilling or cutting and preserves the original frame geometry. It still needs correct fasteners, sound mounting surfaces, and the specified assembly procedure. Don't pull a misaligned bracket into place with the bolts.
Custom mounts need a qualified shop and additional planning. Review the bumper mounting bracket guide before accepting field fabrication as a quick fix.
If a mounting point, bracket, or clearance is unclear, stop and resolve it before installation.
Front Bumper Guard vs Federal Rear-Impact Guard
A chrome front guard and a certified underride structure are two separate purchases with two separate jobs. Buyers who treat them as interchangeable end up with paperwork problems at inspection and no real protection where the regulation demands it.
The front guard is a mounted accessory. It shields the truck's nose, carries the polished finish, and its documentation states what it was built to do. The regulated rear guard is a different class of part entirely. For qualifying trailers and semitrailers, 49 CFR 393.86 requires rear-impact guards built to the federal FMVSS No. 223 standard on units with a GVWR of at least 10,000 pounds manufactured on or after January 26, 1998, subject to the rule's exceptions. An ordinary tractor front bumper sits outside that certification scheme.
A bumper whose documentation establishes compliance with the applicable standard can be documented as an underride guard.
Buy the part for its actual job
Check the structural side of the purchase first: the mounting hardware, the load path into the vehicle, and the records that define what the part does. The chrome shell comes second, because it tells you nothing about compliance. A front-guard order and a regulated rear-guard replacement need different paperwork, and a listing that says "heavy-duty safety guard" is no substitute for a defined application.
- Identify the position: front bumper, trailer rear guard, or body-mounted protection device?
- Verify the application: the seller names the vehicle configuration and supplies installation instructions.
- Check certification: where certification is required, confirm the applicable markings and supporting records.
- Separate appearance from compliance: chrome, stainless steel, and visual similarity to the original part carry no certification weight on their own.
The bumper safety standards guide lays out which standards apply at which positions, keeping product descriptions separate from compliance claims. A decorative replacement can't stand in for required trailer protection.
The clip below shows a front bumper guard being fitted to a truck, which makes the distinction concrete: a bolt-on accessory assembly doing cosmetic and light-contact work at the front of the tractor.
Keep the invoice, installation records, and photographs of any certification labels in the vehicle's maintenance file. Clear records tell the next technician what was fitted and prevent an unsuitable replacement after another collision.
Inspecting a Bumper Guard After an Impact
A bumper can stay straight and shiny while the parts behind it bend or crack. After a curb strike, animal hit, towing incident, or uneven load, inspect the attachment before deciding the damage is cosmetic.
FMCSA inspection guidance includes bumper security, so compromised attachment can become an inspection defect even when the visible shell looks fine. Stainless steel doesn't prevent impact damage or mounting fatigue.
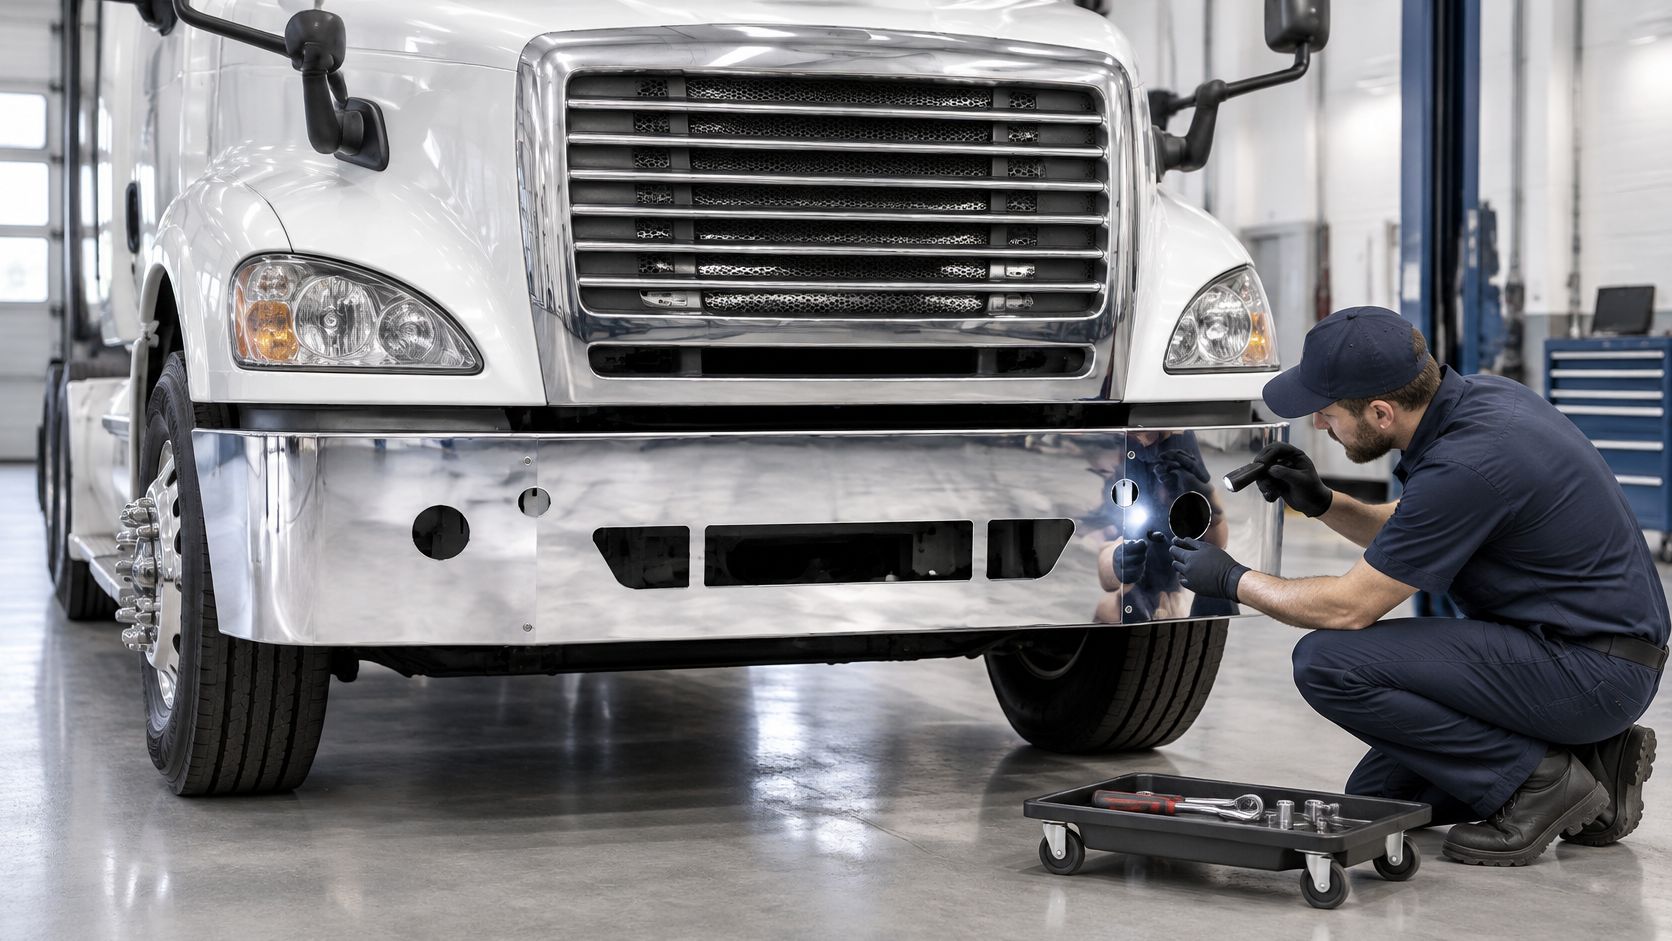
Follow a repeatable inspection order
Park on level ground, secure the truck, and let hot components cool before reaching behind the guard. Don't crawl beneath unsupported equipment.
- Photograph the assembly. Keep baseline photos before incidents and take matching views afterward, including the rear of the mounts.
- Check for movement. Push and pull the guard by hand without using it as a step. Watch the fasteners and bracket joints rather than just the outer bar.
- Inspect the connections. Use a bright inspection light to find cracked welds, stretched bolt holes, bent brackets, and shifted fastener witness marks.
- Check surrounding parts. Look for frame misalignment, sharp edges, and contact with steering, cooling, wiring, or hoses.
- Verify visibility and sensors. Check lamp and plate position, then inspect radar and camera mounts. A shifted sensor may need calibration under its service procedure.
- Escalate uncertain damage. Get a qualified commercial-vehicle inspection when attachment integrity isn't clear.
Symptoms, likely hidden damage and actions after an impact
| Symptom | Likely hidden damage | Action |
|---|---|---|
| Guard moves when pushed by hand | Loose or cracked mounting bracket | Stop and get a commercial inspection before the next run |
| Bolt holes look stretched | Mount deformation from impact | Replace damaged hardware and check frame mounting points |
| Hairline cracks near welds, chrome still intact | Possible weld fatigue from impact or vibration | Have a qualified shop repair or replace the bracket |
| Lights or license plate sit crooked | Bumper shifted or contact with the frame | Correct the cause, realign, and check lamp and plate clearance |
| Radar or camera reads off after a strike | Sensor mount shifted | Correct the mount and recalibrate the sensor |
| Rattle or shift at highway speed | Loose mounts or uneven load | Stop safely, inspect bracket welds, and retorque sound fasteners to specification |
Repair the cause, not just the visible damage
These symptoms guide inspection; they aren't a diagnosis by themselves. Tightening a bolt won't repair an elongated hole, and welding a cracked bracket without checking alignment can leave the original problem in place.
Repair priority: Replace or repair damaged load-carrying parts before fitting a fresh cosmetic shell.
Count the whole repair cost: inspection labor, downtime, LTL replacement lead time, and repeat work. A cheaper shell replacement isn't good value if the truck returns with the same loose mount.
Confirm Fit and Order Your Freightliner Bumper Guard
Order from a complete truck specification. A photo that looks close tells you nothing about bracket spacing, and a few minutes of checking prevents freight charges, shop delays, and an unusable part beside the service bay.
Treat the order as two purchases: the load-carrying structure and the chrome shell over it. I would confirm the structure first, because the bracket and mounting points decide whether the shell ever fits.
- Confirm the catalog item. Match the listing's model and year range to your truck, and carry the mount and sensor notes from your fitment check into the order.
- Select material, finish, and cutouts. Pick the base metal for your climate and wash routine, then the end style the build needs.
- Confirm what is included. The Columbia (2008+) bumper is sold individually and ships with a gauge-7 mounting bracket; wraparound bumpers such as the Cascadia include the required brackets.
Build the bumper around the truck
At Galhor Inc., we offer chrome bumpers for Freightliner, Peterbilt, Kenworth, and Volvo trucks. Our Texas-based team supports the order, and the 3D configurator lets you choose brand, model, year, style, cutouts, and finish for a direct bolt-on bumper.
For the Columbia application, the Chrome bumper for Freightliner Columbia (2008+) starts at $1,669.99 and is available in 11-gauge 430 stainless steel. Its chrome finish uses a triple-layer hexavalent process with 35 microns of nickel, and size, material, and end-style options run to $1,909.99.
Match shipping to your repair schedule
In-stock 430 and 304 stainless flat bumpers can ship within 48 hours. Made-to-order carbon steel units typically ship in 4–6 weeks by LTL freight. Shipping time isn't delivery time, so account for the freight trip before booking installation.
We cover manufacturing defects under warranty. Inspect the shipment on arrival, before installation, so any damage is reported while the truck is still off the bay schedule.
Before placing the order, confirm the Columbia or Classic configuration against your truck's mounting points. The bracket carrying the load is the part to get right; a chrome shell can always be replaced later.
Galhor Inc. offers configurable chrome bumpers for Freightliner and other supported heavy-duty truck models, with material and cutout choices matched to your build. Visit Galhor Inc. to configure your exact truck, confirm fit and shipping, and order your replacement bumper today.