
How to Choose a Front Bumper Guard for Your Truck
November 19, 2026 · Francisco Hornelas

You pull into a tight dock at 5 a.m. and hear it: the crunch of a steel post meeting the front of your truck. On a bare factory bumper, that's usually a cracked grille, a broken fog light housing and a body shop appointment. With a front bumper guard bolted to the frame, it's often a scuff you touch up at the next fuel stop.
That's the working case for a guard, and it's the one worth paying for. Not the show-truck version.
Plenty of guards get bought on looks alone and then go wrong in ways the photo never showed. The chrome flakes after one Northeast winter. The brackets don't line up with the frame horns on a Peterbilt 389. The guard sits square in front of a radar unit nobody mentioned. Choosing well comes down to four things: material, fitment, what the guard is built to do, and what new problem it might create.
Table of Contents
- Front Bumper Guard Materials Compared
- What a Front Bumper Guard Protects and Where It Stops
- Fitment and Legal Checks Before You Order
- How to Choose by Operating Environment
- Sensors, ADAS and Repair Costs to Consider
- Stainless Grade, Corrosion and Upkeep
- Front Bumper Guard FAQs
- Order Your Front Bumper Guard from Galhor
Front Bumper Guard Materials Compared
Picture two identical fleet trucks. One runs Texas and Arizona lanes, parked in dry sun, washed on Sundays. The other pulls the same schedule but spends January in Ohio and Pennsylvania, where the roads are white with salt four months of the year. Twelve months later, the first truck's bumper still looks like the catalog photo. The second one has rust trails bleeding out from the bracket holes and a milky haze along the lower edge.
Nothing about the two drivers caused that. The material did.
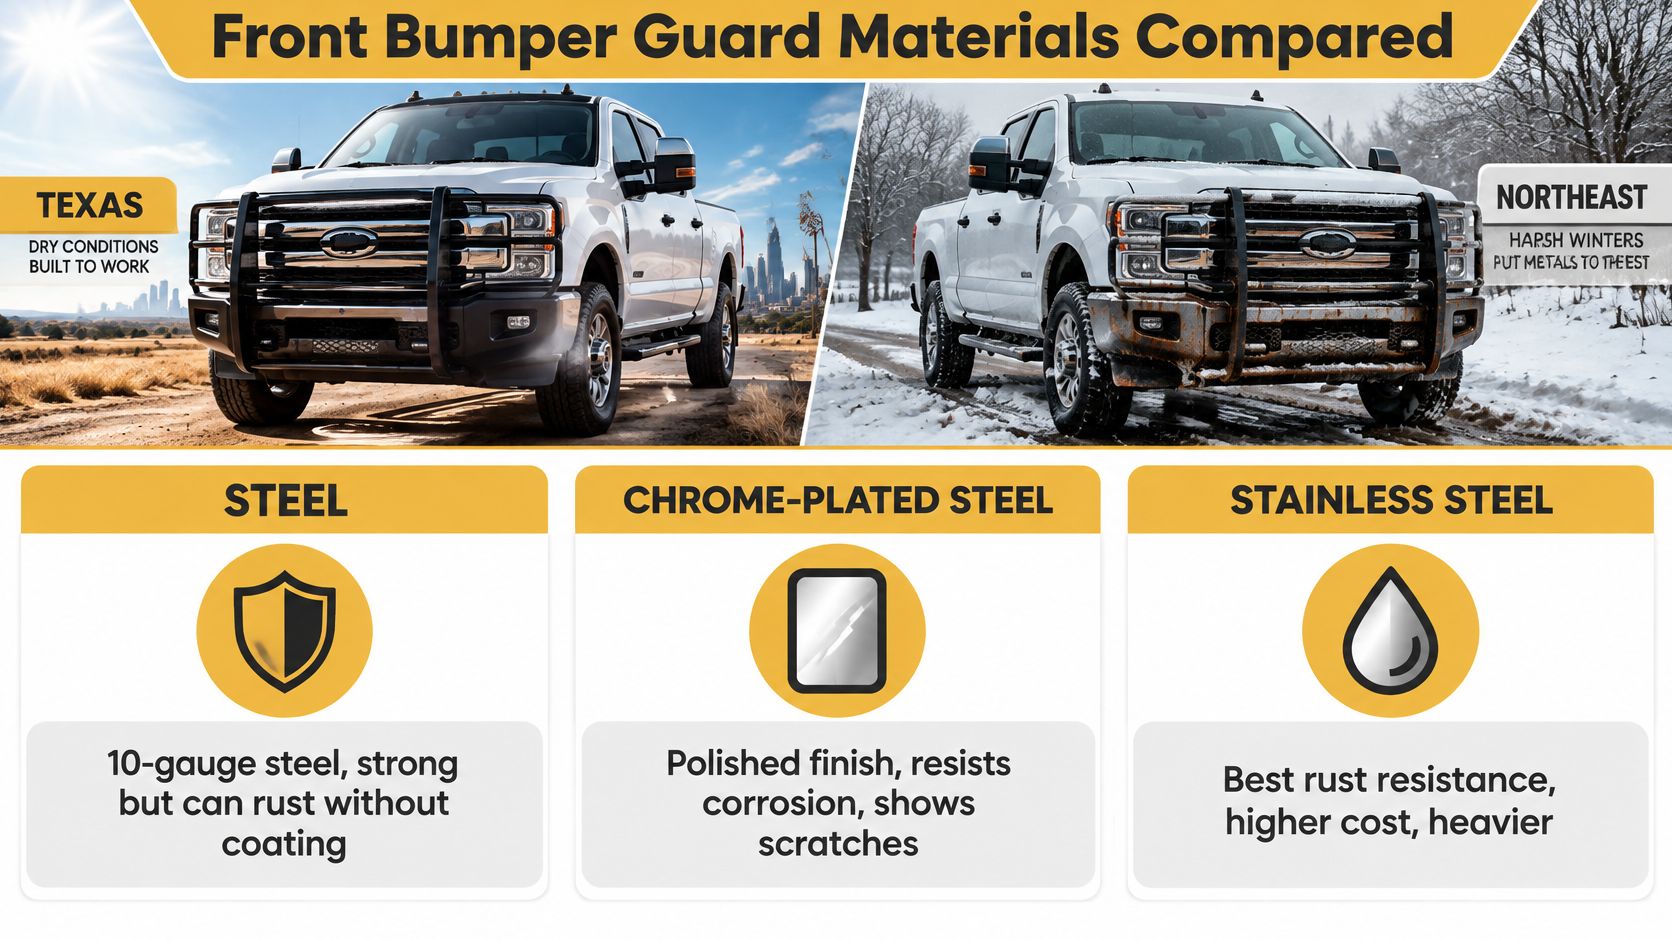
| Material | Chromium and nickel | Corrosion resistance | Best fit |
|---|---|---|---|
| Chrome-plated carbon steel (10-gauge) | Plain steel under chrome plating, no stainless content | Moderate; depends on plating staying intact | Dry climates and lower-cost builds |
| 430 stainless steel | About 16-18% chromium, under 1% nickel | Moderate to good | Normal highway use with regular washing |
| 304 stainless steel | About 18% chromium, about 8% nickel | Strongest of the three | Winter salt, coastal air and frequent wash chemicals |
What the chemistry means on the road
Chromium is what makes stainless steel stainless. It builds a thin oxide layer on the surface that blocks rust, and that layer rebuilds itself when oxygen reaches it. Nickel is the helper: it stabilizes the passive layer and helps it recover after a scratch or a scuff disturbs it.
Britannica's entry on stainless steel puts the gap in plain numbers. 304 is the 18/8 grade, roughly 18% chromium and 8% nickel, while 430 runs about 16% to 18% chromium with almost no nickel, often near zero to less than 1%. That nickel difference is the whole argument for 304 on a truck that sees salt, and it's why the grade matters on a Kenworth W900 chrome bumper or a Peterbilt 389 bumper as much as the polish does.
Carbon steel sits outside that family. It carries no chromium of its own, so it depends completely on its chrome plating staying intact. Chip an edge or wear through a corner, and rust starts at that spot and creeps under the plating.
Gauge and finish decide how it ages
Gauge is thickness, and lower numbers are thicker. A 10-gauge panel resists dents, stone strikes and vibration better than thinner stock, but thickness only solves one problem. A thick bumper on weak brackets still moves, and thickness cannot correct a mounting point that doesn't match your frame.
Finish matters more than most buyers expect. A mirror polish looks best on day one and shows every scuff after that. A satin or brushed finish hides yard rash, gravel chips and the fine scratches that come from wash brushes.
Decision rule: match the grade to your exposure first, then to your budget. 304 for salt, coastal air and heavy wash chemical use. 430 for normal highway work with regular washing. Chrome-plated carbon steel when budget leads and the truck stays out of the salt belt.
Ask any supplier for the grade and the measured thickness in writing before you order. "Stainless look" and "heavy duty" are marketing phrases, not specifications. A real spec sheet lists the grade, the gauge or measured thickness, the finish, the mounting method, the exact truck compatibility and the cutout locations.
What a Front Bumper Guard Protects and Where It Stops
A guard is good at one job: taking a low-speed hit so the expensive parts behind it don't. Dock posts, parking lot fenders, brush on a lease road, the occasional deer that comes out of the ditch too late. The guard absorbs that contact and spreads it, so a grille, headlight bucket, fog light, charge-air cooler or radiator doesn't take the damage.
That design purpose has been on the books for decades. NHTSA's published history records the Insurance Institute for Highway Safety running 5-mph flat-barrier tests from 1969, and the first federal passenger-car bumper rule arriving in April 1971 for 1973 model-year vehicles, with front bumpers tested at 5 mph and rear at 2.5 mph, then repeated pendulum and barrier impacts across bumper heights from 16 to 20 inches by 1974 (NHTSA crash statistics archive). The stated purpose then is the same one a guard serves now: absorb or distribute low-speed impact and reduce damage to lighting, fuel, cooling, exhaust and latching systems.
Where the force actually goes
An impact doesn't stop at the bumper face. It travels through the guard, into the brackets, and into the frame rails. That path is why fitment matters more than steel thickness. Mismatched brackets, short fastener engagement or unsupported extensions create a local bend, and a small hit turns into a bent mount and an alignment problem you'll chase for years.
High-speed behavior is a different question. NHTSA testing of modified heavy-truck front ends at approximately 40 to 50 mph found that lowering the bumper reduced the chance a passenger car would ride under the truck, but it pushed higher crash loads into the smaller vehicle and raised occupant-injury risk. That testing also found no practical way to absorb the energy without making the truck substantially longer (NHTSA truck underride and conspicuity response).
That's the honest limit. A guard handles low-speed contact and protects hardware. It is not a certified crash-protection system, and nobody should sell you one as if it were.
Back to the loading dock. You clip the post at walking speed. The guard bends, the grille survives, and you make the next stop. That's the job, and it's also the ceiling.
Fitment and Legal Checks Before You Order
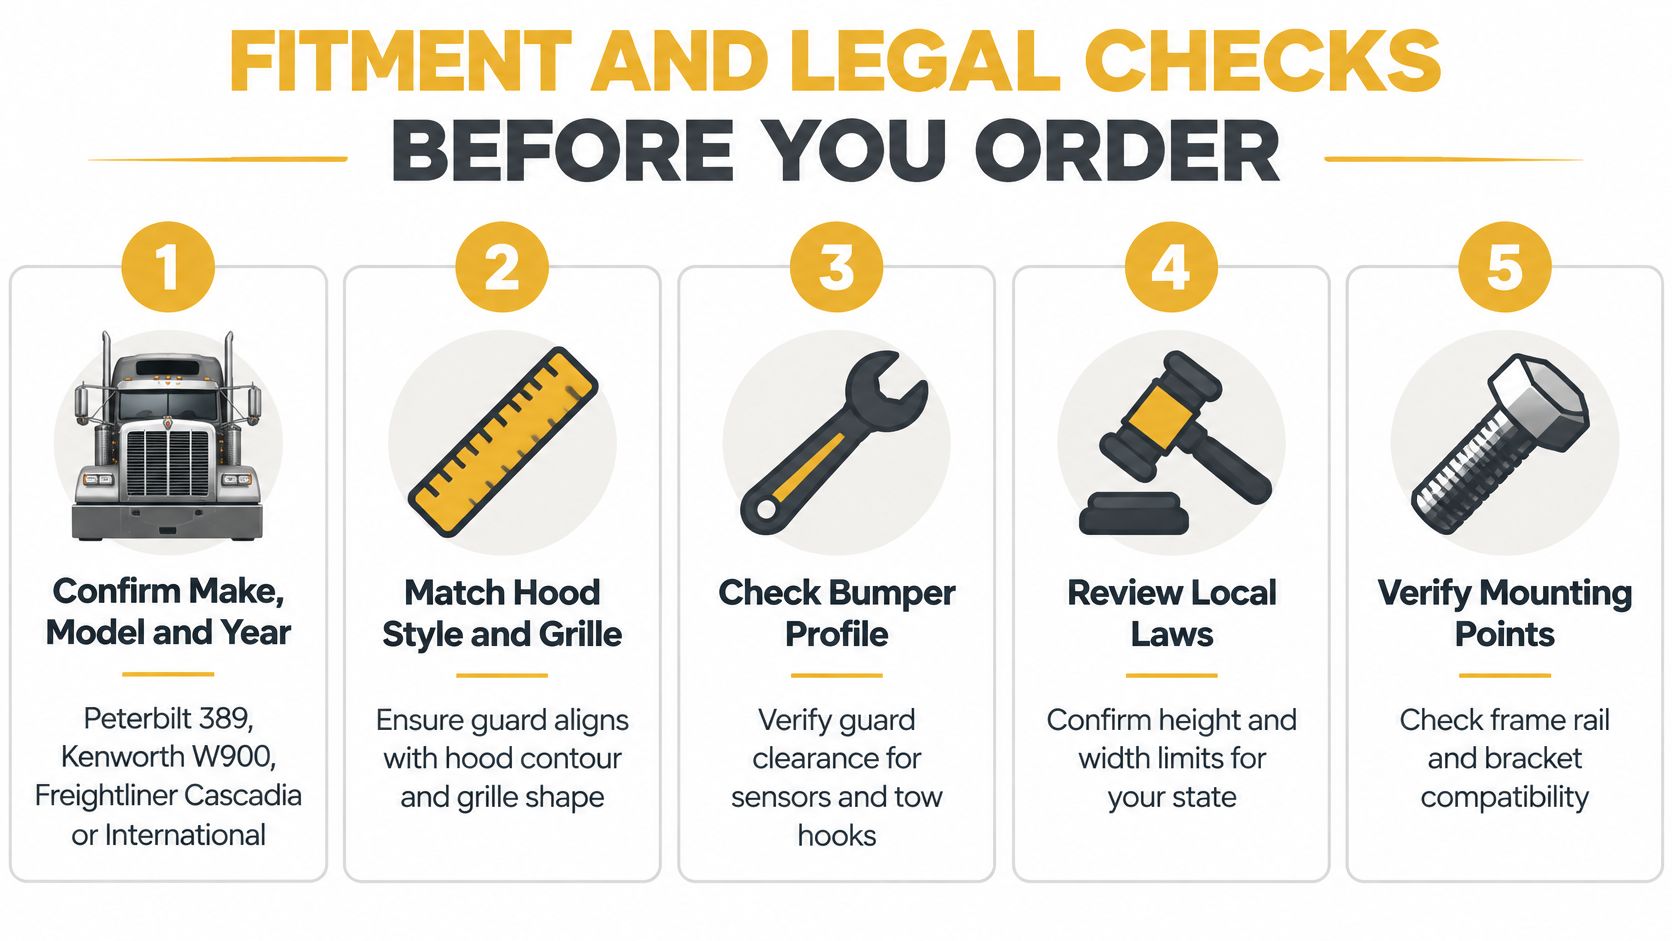
Most bumper returns aren't defects. They're fitment misses, an order placed for a truck that's one year or one hood style off. Run this list before you pay.
- Confirm make, model and year. A Peterbilt 389, Kenworth W900, Freightliner Cascadia and International all sit differently at the front, and the same model can change year to year.
- Match hood style and grille shape. Long hood, short hood, set-forward or set-back axle all change where the guard sits relative to the grille.
- Check frame configuration and factory mounting points. Measure the frame rail spacing, not just the width of the old bumper.
- List every cutout you need. Headlights, fog lights, turn signals, tow hook openings and any sensor windows. A missing cutout means modifying a finished bumper, which breaks the plating.
- Confirm tow hook and tow-point access. A guard covering the tow points turns a five-minute recovery into an hour.
- Check plate placement and airflow. The plate has to stay visible, and the guard must not block air feeding the charge-air cooler.
- Measure projection and ground clearance. How far the guard sits forward of the fenders, and what it does to your approach angle on ramps and yard entrances.
What the federal rule actually says
Federal rules keep it simple. Under 49 CFR §393.203, a front bumper has to be present, securely attached and free of hazardous protrusion, and it can't stick out past the vehicle's normal confines in a way that creates a hazard (eCFR Title 49 Part 393). A guard that sits loose, shifts under vibration or projects into a hazard zone becomes an inspection problem on the side of the road.
What the rule doesn't do is set a universal thickness, require chrome or stainless, or name a finish. Those stay buyer decisions, which is exactly why the spec sheet carries more weight than the label.
Also worth knowing: NHTSA states that U.S. law requires rear impact guards on most large trucks and trailers, but there is no federal requirement for side or front underride guards on large trucks (NHTSA underride investigation file). An 18 inch drop bumper looks substantial and may suit your operation, but no rule is demanding one. Don't let a sales pitch tell you otherwise.
Before you order, request the bracket and fastener specification, a drawing for your exact truck, the measured thickness, the stated grade and the finish details. If the seller can't produce them, walk. Our own guide to bumper safety standards covers how these rules land on real equipment.
How to Choose by Operating Environment
Two questions decide this purchase. What failure does the guard prevent, and what new failure might it create?
A guard that stops a bumper scrape while bending a bracket, blocking a tow point or complicating the next repair hasn't done you a favor. Rank your environments before you open a catalog.
| Operating environment | Main risk | Priority feature | Trade-off to watch |
|---|---|---|---|
| Frequent deer or animal strikes | Bent brackets, grille and light damage | Secure mounts and easy-to-replace sections | Heavier guard adds load on brackets |
| Urban dock and yard contact | Repeated low-speed scrapes | Satin or brushed finish that hides scuffs | Mirror finish shows every mark |
| Off-road or steep access roads | Lost ground clearance and bent brackets | Correct projection and clearance | Deep bumper reduces approach angle |
| Winter salt and wet roads | Pitting and crevice corrosion | 304 stainless and sealed mounts | Higher cost and regular washing still needed |
| Long-haul highway | Stone chips, wind and washing | Stable mount with low vibration | Mostly cosmetic upkeep |
Sacrificial versus rigid designs
A rigid guard holds its shape and saves the grille, then sends more force into the brackets and frame rails. A sacrificial design deforms on purpose: the guard gives, the grille and lights survive, and you buy a replacement section instead of a mount repair.
Run the math on downtime, not just parts. Average collision repair costs reached $4,818 in 2025, and ADAS-related procedures keep adding diagnostics to that bill (MoneyGeek analysis of ADAS repair costs and total loss). A guard that prevents cosmetic damage but bends brackets can cost more in lost days than it saved in sheet metal.
At fleet scale, check three more things. Can you get replacement sections off the shelf? Does the guard come off in under an hour when a truck needs front-end service? And what inspection interval do the mounts need on a truck running rough yards every day?
For owner-operators: the two numbers that matter most are what the guard weighs and how far it sits forward. A deeper bumper cuts approach angle on steep access roads and puts more load on the mounts over rough miles.
Rank your top two environments, pick the feature that covers both, and skip anything that only adds looks.
Sensors, ADAS and Repair Costs to Consider
On many newer Class 8 trucks, radar, cameras and parking sensors sit behind or inside the front fascia. A bumper that changes the profile, covers a sensor window or shifts the mounting position can move those sensors out of alignment.
Here's the working difference. A guard mounted clear of the sensor fields is a separate part doing a separate job. A guard that reshapes the bumper face or sits across a radar path is a different purchase with different risks.
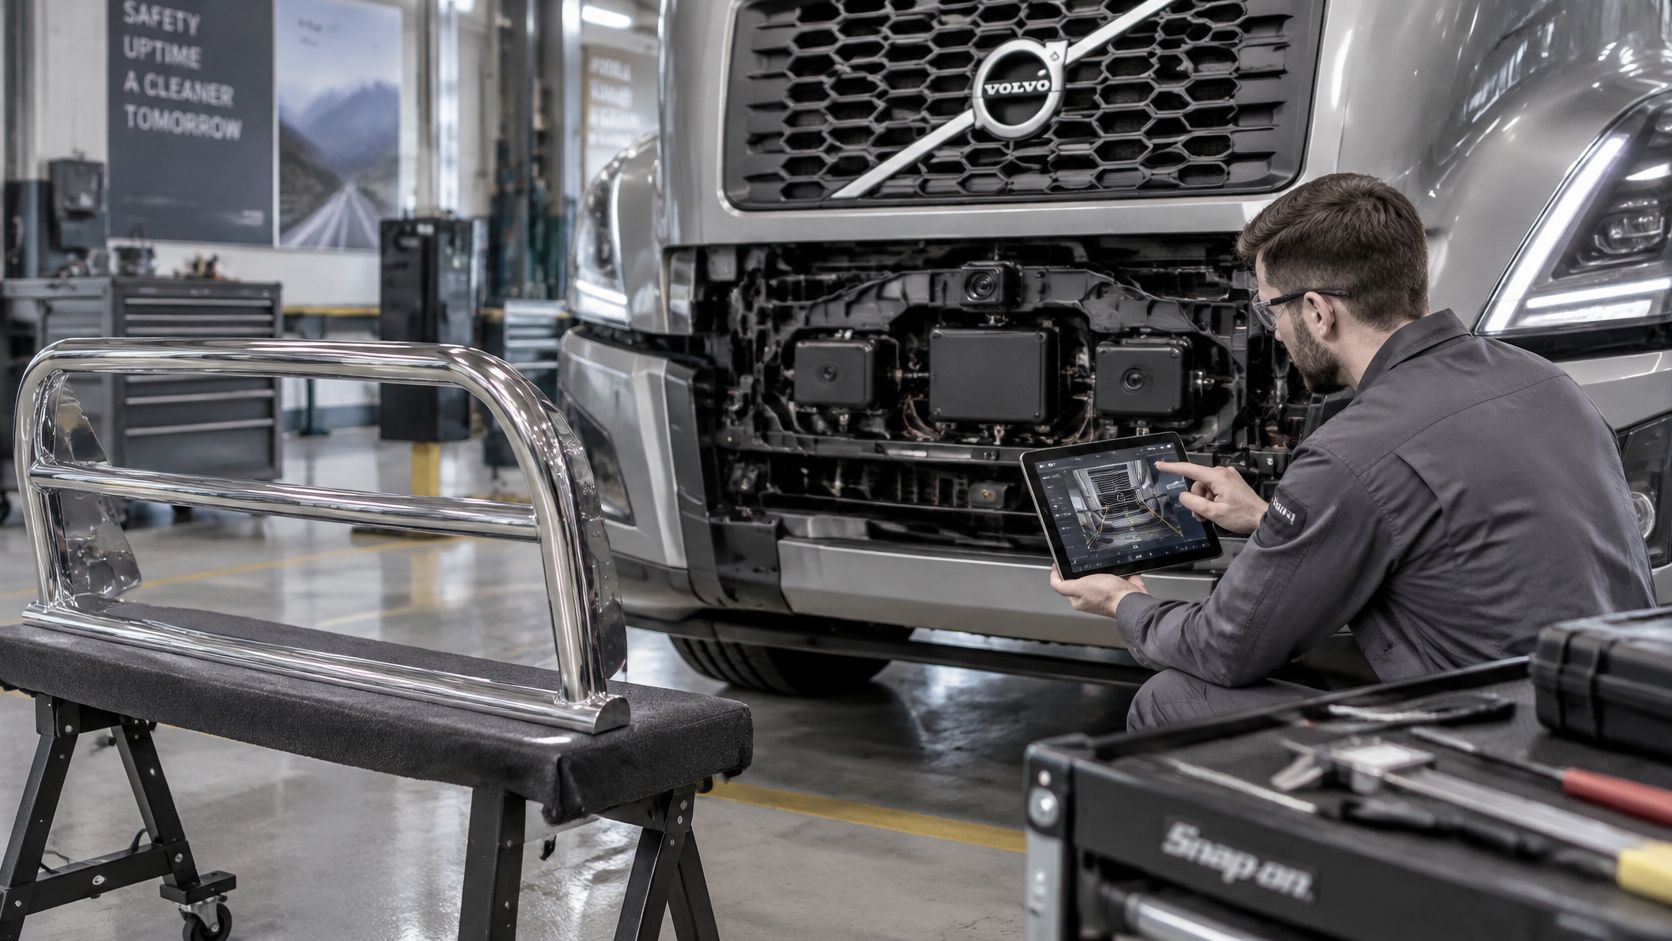
- Confirm sensor compatibility before you buy. Check the guard against your truck maker's specification for your model year, not a "fits most" claim.
- Check what the guard covers or shifts. Radar zones, camera views, parking sensor windows and pedestrian-detection areas.
- Ask whether the install has documented calibration steps. If the seller can't answer, that's your answer.
- Plan for a scan after any front-end impact. A diagnostic scan and recalibration, not a visual walkaround.
The cost of skipping those steps is climbing. ADAS calibration appeared on 34.7% of collision-repair estimates in 2025, up from 12.1% in 2022, and averaged $688 when required, according to Mitchell International data reported by Collision Repair Mag. Small changes in sensor alignment or surrounding body dimensions can affect how the system performs.
The contrarian part: a guard sold as extra protection can add repair complexity or safety-system liability if it obstructs a sensor or ships without calibration documentation.
If you're weighing a profile change, read our notes on front bumper modification first, then get the compatibility answer in writing before the order goes in.
Stainless Grade, Corrosion and Upkeep
Road salt is the main attacker, and it isn't alone. The British Stainless Steel Association's introduction to stainless corrosion resistance names chloride ions, low pH and higher temperatures as the three factors that drive localized pitting and crevice corrosion, and it ranks 430 below 304 in general corrosion resistance because 304's nickel helps restore the passive layer once it's disturbed.
Neither grade is rust-proof. Trapped grit, damaged plating, harsh wash chemicals and steel fasteners touching the bumper can start corrosion on either one.
Staining or pitting, how to tell
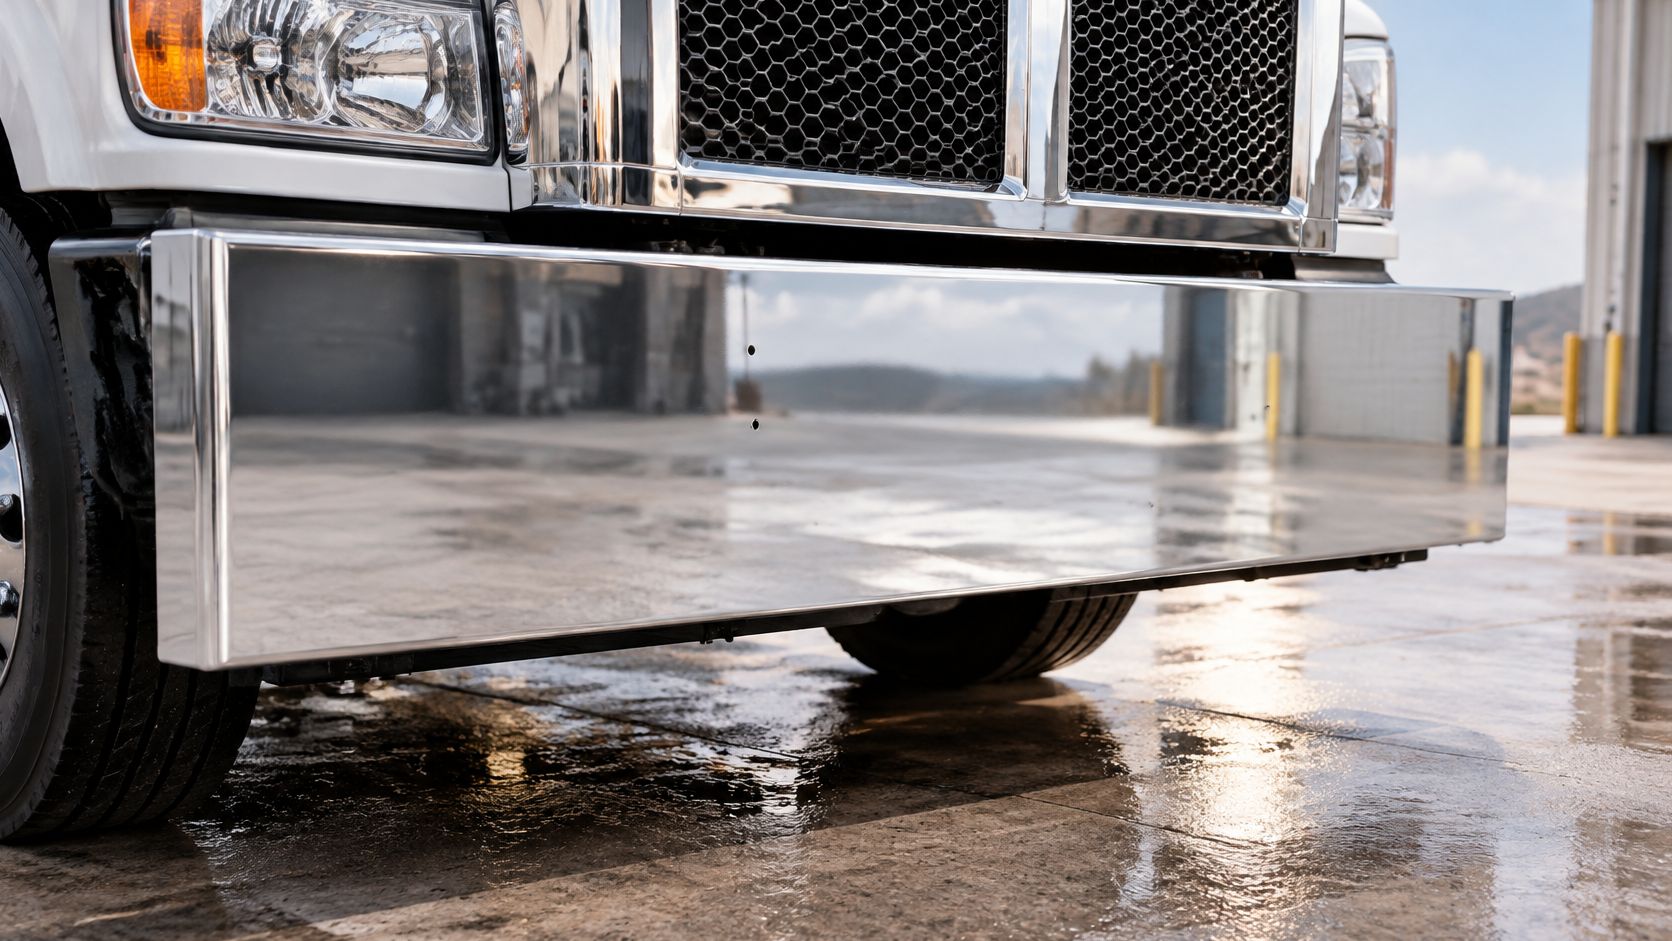
Surface staining wipes off with a mild cleaner and a soft cloth. Pitting doesn't. It leaves small pits that hold dirt and deposits, and if you can feel them with a fingernail, the metal has been attacked, not just marked. Our breakdown of corrosion-resistant stainless steel grades goes deeper on grade selection.
Here's the upkeep routine that keeps a bumper alive.
- Rinse the salt off after winter runs. A quick rinse at the wash bay beats a polish session later.
- Wash with mild, pH-neutral soap. Skip the aggressive acid cleaners sold for aluminum brightening.
- Dry the crevices around the brackets. That's where moisture sits longest.
- Check plating edges and chips at every service interval. Small breaks spread fast.
- Touch up chips immediately. Bare steel under plating is where rust wins.
- Check bracket fasteners at the same time. Loose hardware rubs the finish and starts a wear point.
If your truck runs mostly dry highways and you want a mirror finish without the stainless price, the Steel chrome bumper is built from 10-gauge chrome-plated steel with a triple-layer hexavalent chrome process and 35 microns of nickel, direct bolt-on, with standard or blind mount and no drilling or cutting.
The grade sets the ceiling. The routine decides how close the guard gets to it.
Front Bumper Guard FAQs
Does a front bumper guard have to pass inspection?
Yes. Federal rules require a front bumper to be present, securely attached and free of hazardous protrusion, and they set no thickness, chrome or finish requirement. A loose or shifting guard is the problem, not the material you chose.
Is 304 stainless worth the extra cost over 430?
For winter salt, coastal routes or frequent wash chemicals, yes. On normal highway work with regular washing, 430 gives a bright finish at a lower price and holds up fine.
Will a guard affect my sensors?
Only if it covers, shifts or reshapes a sensor zone. Confirm compatibility with your truck's model year before buying, and ask whether the install has documented calibration steps.
Does a bumper guard replace crash protection?
No. It handles low-speed contact and protects the grille, lights and cooling hardware. It is not a substitute for a certified crash-protection system, and it shouldn't be described as one.
Order Your Front Bumper Guard from Galhor
Here's the order path, using the checklist you built above.
- Gather your specs. Make, model, year, hood style, cutout list and tow-access notes.
- Open the 3D configurator. Enter brand, model, year, hood style, cutouts and finish, and the configurator builds the bumper around those inputs.
- Pick the grade by exposure. 304 chrome stainless for winter salt and coastal routes, 430 for normal highway work, chrome-plated carbon steel when budget comes first.
- Check the warranty. The Premium 304 bumper carries a 5-year warranty.
- Confirm the cutouts. Match headlights, fog lights and tow access against the drawing before you submit.
- Place the order and book the install. Galhor Inc. is based in Magnolia, Texas, designs in-house, uses U.S.-sourced steel and builds its bumpers in Mexico under strict quality control.
Shipping across the United States is part of the order process, so the guard can land before your next run. Get the grade, the thickness and the cutout list right on the front end, and the guard does its job for years.
Galhor Inc. builds direct bolt-on chrome bumpers for Freightliner, Peterbilt, Kenworth and Volvo Class 8 trucks, engineered in-house from U.S.-sourced steel and finished with a triple-layer chrome process and 35 microns of nickel. Whether you're replacing a bent guard after a dock hit or spec'ing a new bumper from scratch, you can configure the exact fit for your truck and have it shipped anywhere in the United States. Visit Galhor Inc. to build yours and put a guard in front of the parts you can't afford to replace.