
How to Remove Front Bumper on a Heavy-Duty Truck
November 20, 2026 · Francisco Hornelas

Your bumper is bent, the chrome is peeling, or you need access to the radiator before the next load. You've got sockets ready, but knowing how to remove a front bumper on a heavy-duty truck starts with controlling its weight, not finding the biggest impact wrench.
For owner-operators and fleet shops working on Peterbilt, Kenworth, Freightliner, and International trucks, the job includes brackets, wiring, lamps, and sometimes driver-assist sensors. A clean removal protects those parts and gives you the measurements and equipment notes needed to order a replacement that fits properly.
Table of Contents
- Remove a Front Bumper Step by Step
- Electrical Parts and Sensors to Check Before Removal
- When Removal Triggers ADAS Recalibration
- Common Removal Problems and How to Fix Them
- Order the Right Bumper for Your Truck Setup
Remove a Front Bumper Step by Step
Support the bumper before removing its mounting hardware. A floor jack alone isn't a complete lifting plan for a wide, heavy assembly. Use a stable lifting device, padded contact points, and a trained helper who can control the opposite end.
Gather the tools before disabling the truck:
- Hand tools: Metric and standard sockets, extensions, a breaker bar, a Torx bit set, trim tools, and a torque wrench.
- Inspection supplies: Flashlight, penetrating oil, marking pen, labeled hardware bags, and a camera.
- Safety gear: Gloves, eye protection, wheel chocks, and grille and fender covers.
- Load support: A transmission jack or suitable lifting fixture, rated stands or blocks, and protective padding.
- Spill control: A drain pan for drips or loose debris. Bumper removal itself shouldn't require opening cooling lines.
Lay out tools where you won't have to reach beneath an unsupported assembly to retrieve them.
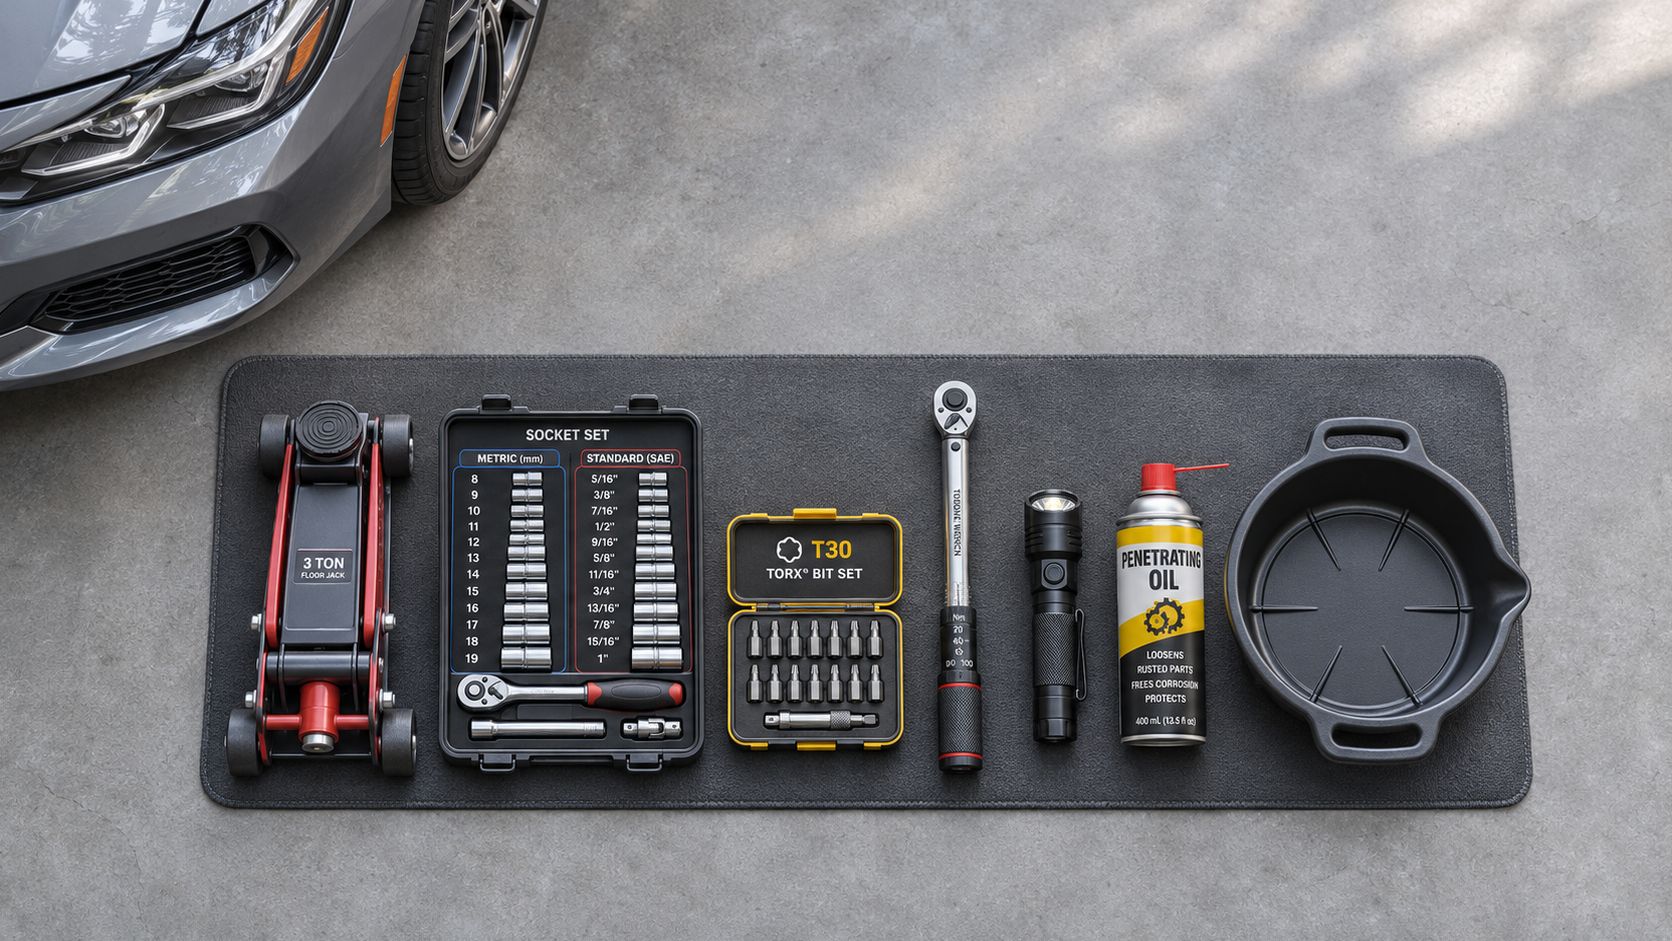
Choose support before loosening hardware
The replacement-bumper instruction sheet calls for supporting the bumper with blocks or jack stands before removing eight factory bumper bolts in its covered configuration, then sliding the assembly over the tow hooks. It also recommends assistance because the bumper can fall when the final fasteners come out.
That bolt count is a configuration-specific example, not a Class 8 standard. Your truck's make, model, year, brackets, tow hooks, and installed equipment determine the actual removal procedure.
Support methods for a heavy-duty front bumper
| Support method | Best for | Limit |
|---|---|---|
| Transmission jack with padded saddle | Centered, heavy bumper on Class 8 trucks | Needs a stable base and a helper to guide the load |
| Floor jack with broad padded saddle | Lighter or centered loads with short lifts | Never use alone under a heavy bumper unless the load is centered and secured |
| Jack stands or lift blocks | Holding the bumper or frame at a set height | Must be rated for the load and placed on solid frame points |
| Second trained technician | Steadying the bumper during final bolt removal | Does not replace a mechanical support |
Supporting the frame doesn't automatically support the bumper. Place the bumper's support beneath load-bearing areas that won't bend, slip, or crush trim.
Practical rule: Your helper guides the load. The lifting equipment carries it.
Secure the truck and expose the mounts
- Park on level, solid ground. Set the parking brake and chock the wheels. Cover the grille and fenders, then leave enough clear space in front to move the bumper and its support together. Gravel, slopes, and soft asphalt make load control harder.
- Photograph the assembly and map its hardware. Capture the front, rear mounting faces, side supports, washers, spacers, and harness routing. Mark left and right brackets before separating them. A hardware map prevents guessing when similar bolts have different lengths or washer stacks.
- Isolate electrical power when equipped circuits require it. If the bumper carries lighting, radar, cameras, or sensors, follow the OEM shutdown procedure and disconnect the negative battery connection as directed. Heavy trucks can have multiple batteries and added electrical equipment, so don't assume removing a single cable isolates every circuit.
- Remove obstructing trim first. Take off lower valances, splash shields, tow-hook trim, and other panels that block access. Release plastic retainers with a trim tool instead of tearing them out. Bag hardware by location, and inspect behind liners and shields before deciding every mounting point is exposed.
The Ranch Hand Silverado replacement guide provides a pickup-specific example of staged disassembly. Use that principle, not its vehicle-specific fastener layout, on a highway tractor. The applicable OEM manual overrides any general sequence.
Disconnect, support, and release the assembly
- Release connectors rather than pulling wires. Release each locking tab, separate the connector bodies, and free the harness retainers. Move wiring clear of the bumper's path and secure it temporarily. A disconnected plug can still snag if its harness remains clipped to the assembly.
- Position the support before releasing the final attachments. Center the load on a padded transmission-jack saddle or suitable lifting fixture. If using a floor jack, the load must be centered and secured against rolling or sliding. Use rated stands or blocks only at sound load-bearing points, and keep hands out of pinch zones.
- Remove side-support and frame-mount hardware in the specified order. Keep a controlled attachment until the support fully carries the assembly. For the Cascadia bumper covered by the Jones Performance assembly instructions, removal begins with two lower inside-end bolts, using a T30 Torx socket, with a bolt removed from each side. Don't apply that starting point to every Cascadia generation or another truck model.
Use a fully seated socket or bit. If a bolt binds as the bracket unloads, adjust the support slightly instead of forcing the fastener sideways. Don't remove tow-hook hardware unless the applicable procedure requires it.
- Slide the bumper straight forward. Have a technician control each side while the support carries the weight. Watch tow-hook clearance, grille edges, and bracket ends. If the assembly won't move, stop and search for a hidden attachment instead of levering against painted or chrome surfaces.
- Set the bumper on padded blocks. Keep the finished face off concrete and leave it stable enough for inspection. Don't balance it on an edge where it can tip into a lamp or sensor.
A successful removal leaves no connector, clip, paint, or bracket damage. The replacement should align with its intended mounting points without using bolts to drag a mismatched bumper into place.
Electrical Parts and Sensors to Check Before Removal
Treat an equipped Cascadia bumper as an electrical assembly. The documented bumper installation procedure calls for unplugging and removing the active air dam beneath the frame, removing the shroud ahead of the active shutter assembly, removing center parking sensors when equipped, releasing harness clips, and removing fog-light assemblies when present. It also warns technicians to move wiring away before cutting or modifying bumper-cover sections. Inspect behind the cover before a cutting tool goes anywhere near it.
Match the equipment to the truck
Record active-air hardware, lamps, sensors, tow hooks, and frame extensions before ordering. A replacement can line up with the main mounts yet still lack the openings or clearances your equipment needs. Use the Kenworth bumper-light guide when planning lighting openings and wiring access. Lamp placement needs clearance behind the face. Check depth before you trust the opening.
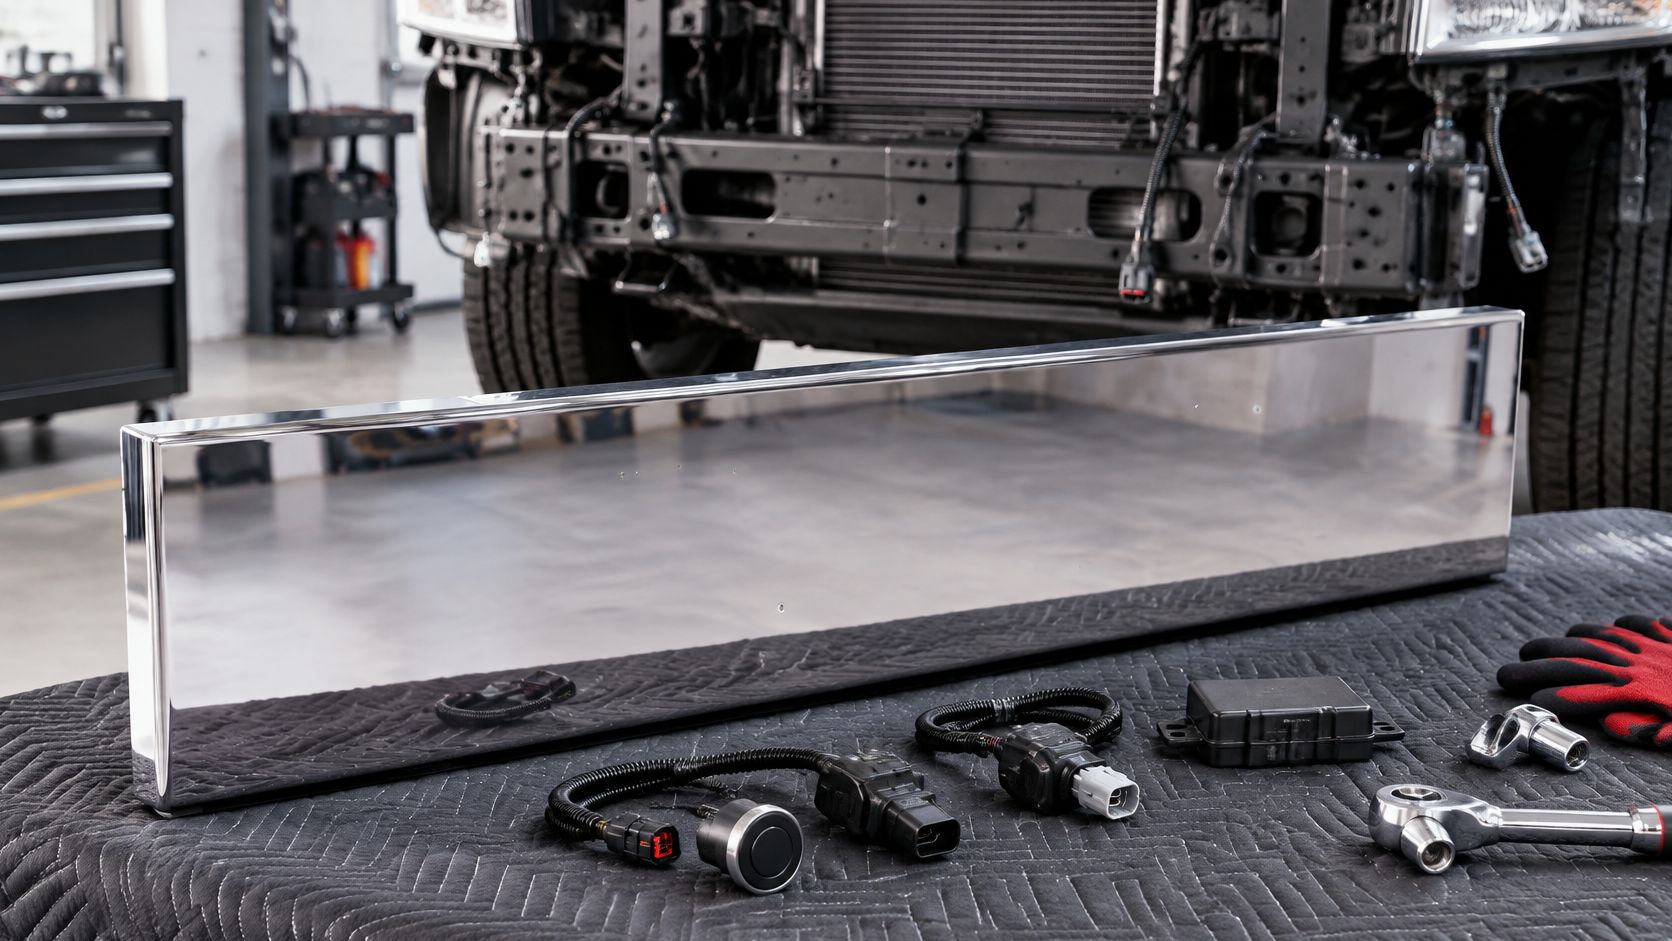
Components to check before removing a front bumper
| Component | What to check | Risk if missed |
|---|---|---|
| Fog lights | Harness plug and mounting fasteners | Broken connectors or dead lights |
| Parking sensors | Center sensor wiring and clips | Sensor damage or false warnings |
| Active air dam and shroud | Air dam under the frame and shroud in front of the shutter | Cracked shroud or air-management fault |
| Harness clips | Routing clear of bumper edges | Pinched or stretched wires |
| Tow hooks | Bolt condition and trim fit | Bent hooks or stripped threads |
| Battery | Negative cable disconnected before electrical work | Short circuit or blown fuses |
Material and finish belong on the purchasing checklist. The Steel chrome bumper is a direct bolt-on fit and is sold individually. Confirm the selected configuration's truck fitment, cutout layout, and width before purchase. For stainless alternatives, verify the stated grade, such as 430 or 304, rather than accepting an unspecified stainless description. Long hauls, road spray, and harsh weather make material identification and finish care worth checking.
If a connector lock or clip layout isn't clear, stop and consult OEM service information. Pulling harder can turn a removal job into a wiring repair.
When Removal Triggers ADAS Recalibration
You might remove the bumper only to reach a radiator, condenser, or headlamp. That doesn't rule out ADAS recalibration. Radar, cameras, parking sensors, and their brackets may sit in or behind the assembly.
The following image illustrates sensor-calibration equipment on a passenger vehicle, not a truck-specific calibration setup.
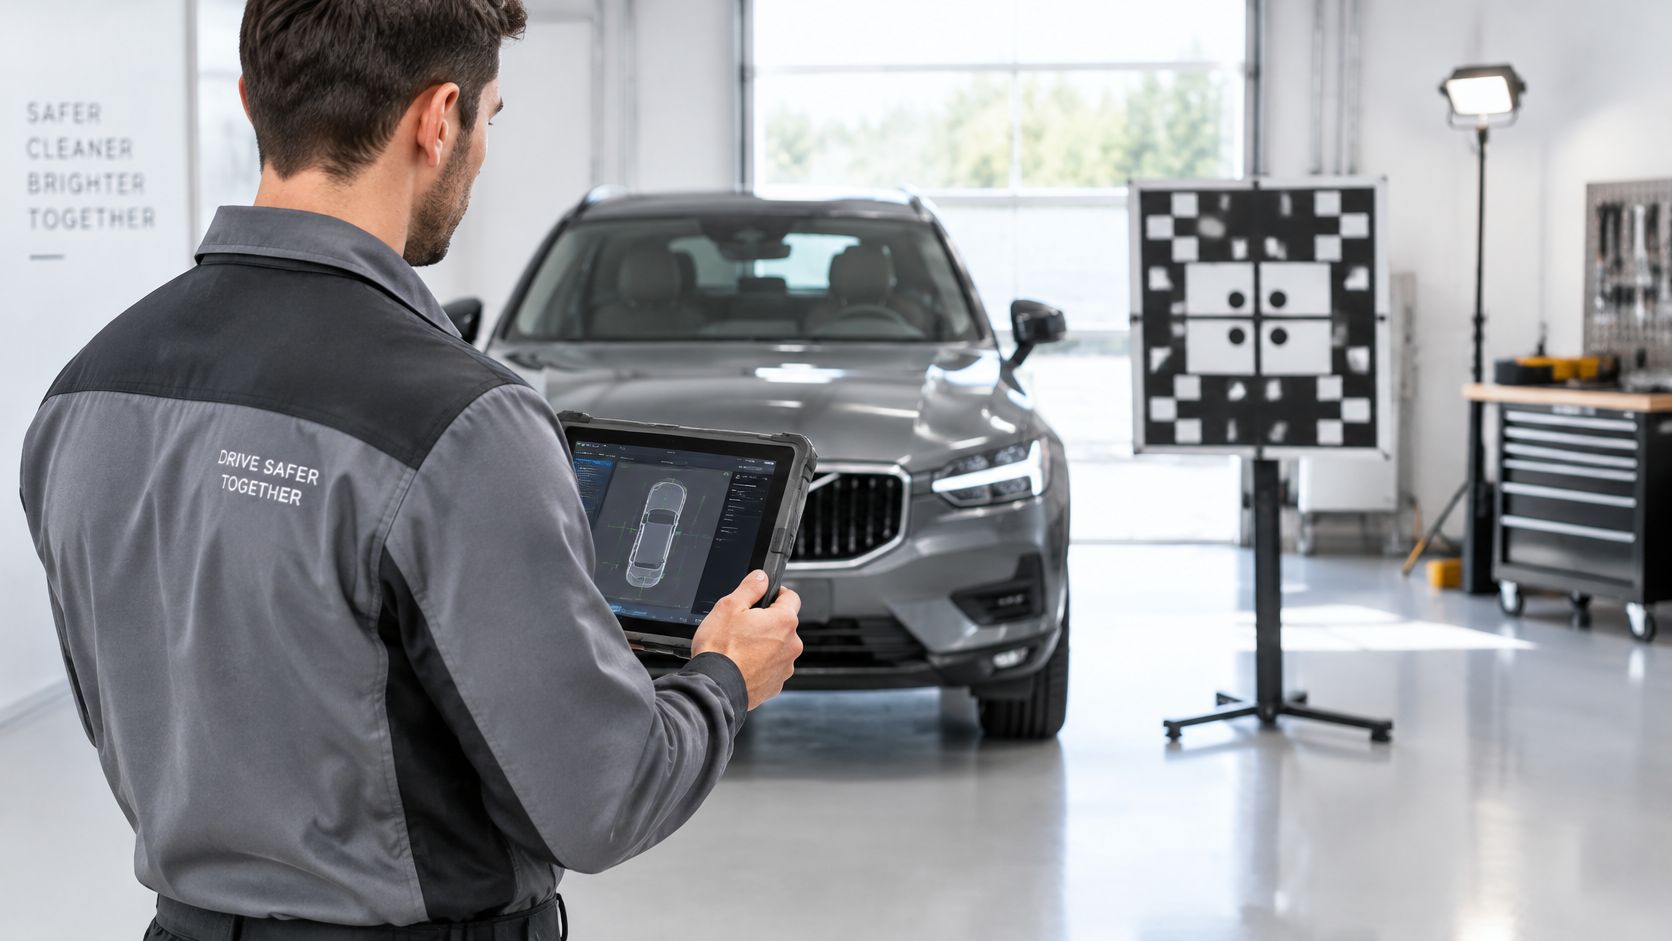
Industry repair reporting published by Yahoo Autos explains that bumper work can trigger recalibration and that bracket movement measured in millimeters can affect sensor performance. Depending on the manufacturer, calibration may require static targets, a dynamic road procedure, or both.
Follow the calibration decision path
- Identify installed systems from the truck's equipment record and service information.
- Inspect sensor brackets for impact damage, loose mounts, or distortion.
- Run a pre-removal scan using suitable equipment and save the report before electrical isolation.
- Check connectors and harnesses for damage, corrosion, and poor retention.
- Verify mounting alignment after installation, including sensor angle and the condition of its mounting surface.
- Apply the OEM calibration requirements, then complete the required post-scan and functional checks.
Reconnecting a sensor doesn't prove its mounting angle, ride-height reference, or wiring remained correct. Don't bend a bracket until a warning disappears or treat a clear dashboard as proof of calibration.
A sensor that powers up isn't necessarily a sensor that's aimed correctly.
For fleet managers, retain pre-scan, post-scan, and calibration records with the repair order. Document who performed the work and which truck-specific procedure they followed.
Use video demonstrations for visual context, not as a substitute for the applicable service procedure.
Common Removal Problems and How to Fix Them
Frame-bracket bolts seize for predictable reasons: road salt, missed grease points, and years of heat cycling. Apply penetrating oil, give it time to soak, clean the fastener head, and seat the correct socket or Torx bit fully before adding force.
Use controlled heat only where the service procedure permits it and where nearby wiring, plastic, coatings, and sensor equipment are protected. An impact wrench that stalls usually needs better bit fit, cleaning, or more soak time.
Diagnose the symptom before forcing the part
Removal symptoms, likely causes and fixes
| Symptom | Likely cause | Fix |
|---|---|---|
| Bolt will not budge | Corrosion or seized threads on frame brackets | Apply penetrating oil, let it soak, use the correct Torx or socket size, and keep heat away from wiring |
| Bumper shifts or drops | Support not centered or missing | Stop, lower the bumper onto the support, re-center it, then continue |
| Harness pulled or connector broken | Locking tab not released before pulling | Replace the connector or pigtail and check for warning lights after reinstall |
| Lamp or sensor fault after reinstall | Pinched wire or unseated plug | Re-seat connectors, route the harness away from pinch points, and rescan |
| Bracket cracked or bent | Impact damage or metal fatigue | Replace the bracket and check frame horns before reinstalling |
| Finish scratched | Contact with frame or tools | Pad contact points and touch up minor marks per shop guidance |
If the bumper shifts, stop, lower it onto the support, re-center it, and continue.
For connector repairs, use the correct replacement terminal housing or pigtail and an approved sealed repair method. Tape around a broken locking tab leaves retention insecure. A lamp that lights after reinstall can still hide a pinched harness or a connector that is only partly seated.
Inspect the exposed structure
The Ranch Hand Ford replacement guide reinforces electrical isolation and controlled disassembly on its covered pickup applications. A Class 8 truck needs its own service procedure, especially for frame attachments and torque requirements.
Before moving the detached assembly away, confirm no lamp, sensor, or harness remains connected. Then complete the inspection:
- Hardware: Label anything not already identified and separate damaged fasteners.
- Frame horns: Check for bends, cracks, elongated holes, and signs of movement.
- Brackets: Inspect mounting faces and weld areas before approving reuse.
- Electrical routing: Check connector locks and restore secure routing away from sharp edges.
Use the bumper mounting-bracket guide to review mounting considerations before selecting replacement parts. A replacement bumper needs a sound mounting structure; cracked brackets or elongated frame holes can undermine fit and sensor alignment.
Reinstallation check: Reverse the applicable removal sequence, secure wiring away from pinch points, and torque every fastener to the OEM specification.
Order the Right Bumper for Your Truck Setup
Start with the truck's equipment as well as its identity: model year, generation, bumper style, sensor package, fog-light arrangement, and frame equipment. Similar-looking bumpers can use different brackets, wiring paths, or air-management parts. Freightliner's Cascadia workshop-documentation brief distinguishes visual demonstrations from exact removal-and-installation procedures. Pull the service information for the exact model year and generation before ordering.
Build the order around verified fitment
Galhor's fit-selection process starts with the truck brand, then the model. Each product page lists year ranges, cutout options, and width fits. The online configurator lets you select size, style, cutouts, and lighting. Choose with the sensor and harness layout from your inspection in hand. A bumper that fits the frame but misses a sensor cutout or fog-light pocket adds work after the bolts are tight.
Whether you're shopping for a Peterbilt 389 bumper, a Kenworth W900 chrome bumper, or an 18-inch drop bumper, start with fitment. Check lower-edge clearance against the truck's actual work, including steep entrances and rough yards. International owners should confirm the model listing and the fog-light arrangement against the product photos.
Review the front bumper kit guide and prepare:
- Truck identity: Brand, model, year, generation.
- Measurements: Bumper width, frame-horn spacing, lower-edge clearance.
- Inspection notes: Sensor, lamp, and harness checklist from removal.
- Mounting photos: Brackets, frame extensions, harness locations.
- Schedule: Delivery confirmation before the truck goes out of service.
Out-of-stock bumpers are manufactured from scratch and typically take 4 to 6 weeks to deliver. Build the removal schedule around that manufacturing window. Fast U.S. shipping shortens the final leg, so confirm delivery before the truck comes out of service.
Galhor Inc. offers configurable, direct bolt-on truck bumpers with size, style, cutout, and lighting choices. Visit Galhor Inc. to configure your bumper and confirm your truck's equipment before delivery.