

Big Rig Accessories: Your 2026 Buyer's Guide
A polished bumper can make a truck look sharp, but big rig accessories should be judged by uptime, fitment, corrosion resistance, and lifecycle cost first. A chrome finish matters for resale and pride of ownership, yet it won't help if the part blocks a radar sensor, requires field drilling, or leaves the truck waiting on a replacement.
That matters in the U.S. trucking industry because Class 8 equipment works hard. The United States had 4.06 million Class 8 trucks in operation in 2021, and those trucks carried 10.93 billion tons of freight, or 72.2% of total domestic tonnage, according to U.S. fleet data. A bumper on a Peterbilt, Kenworth, Freightliner, or International tractor faces road salt, gravel, rain, vibration, loading docks, and long highway miles. Choose it like a working component, not a piece of showroom trim.
Table of Contents
- Why Aesthetics Are Not The Primary Metric
- Choosing Between Stainless Steel 304 and 430
- Navigating Fitment, Sensors, and Aerodynamics
- Understanding Federal Guard Requirements
- Making the Right Fitment Decision
- Maximizing Return on Your Accessory Investment
Why Aesthetics Are Not The Primary Metric
A bright bumper can make a tractor look cared for, but shine is a poor measure of how well it will serve the truck. Winter spray, stone impacts, tight backing spots, and constant vibration expose weaknesses that a showroom inspection will miss. The better test is whether the bumper protects the cab, keeps its hardware aligned, and remains serviceable without creating avoidable downtime.
A Class 8 truck is a commercial asset, and its operating time has a direct business value. Surveyed fleets operated each truck an average of 251 days in 2022, while truck-tractors averaged 6.68 miles per gallon, according to fleet operating data. If a bumper fails, the expense can include freight, installation labor, lighting repairs, a missed maintenance window, and lost revenue while the truck sits.
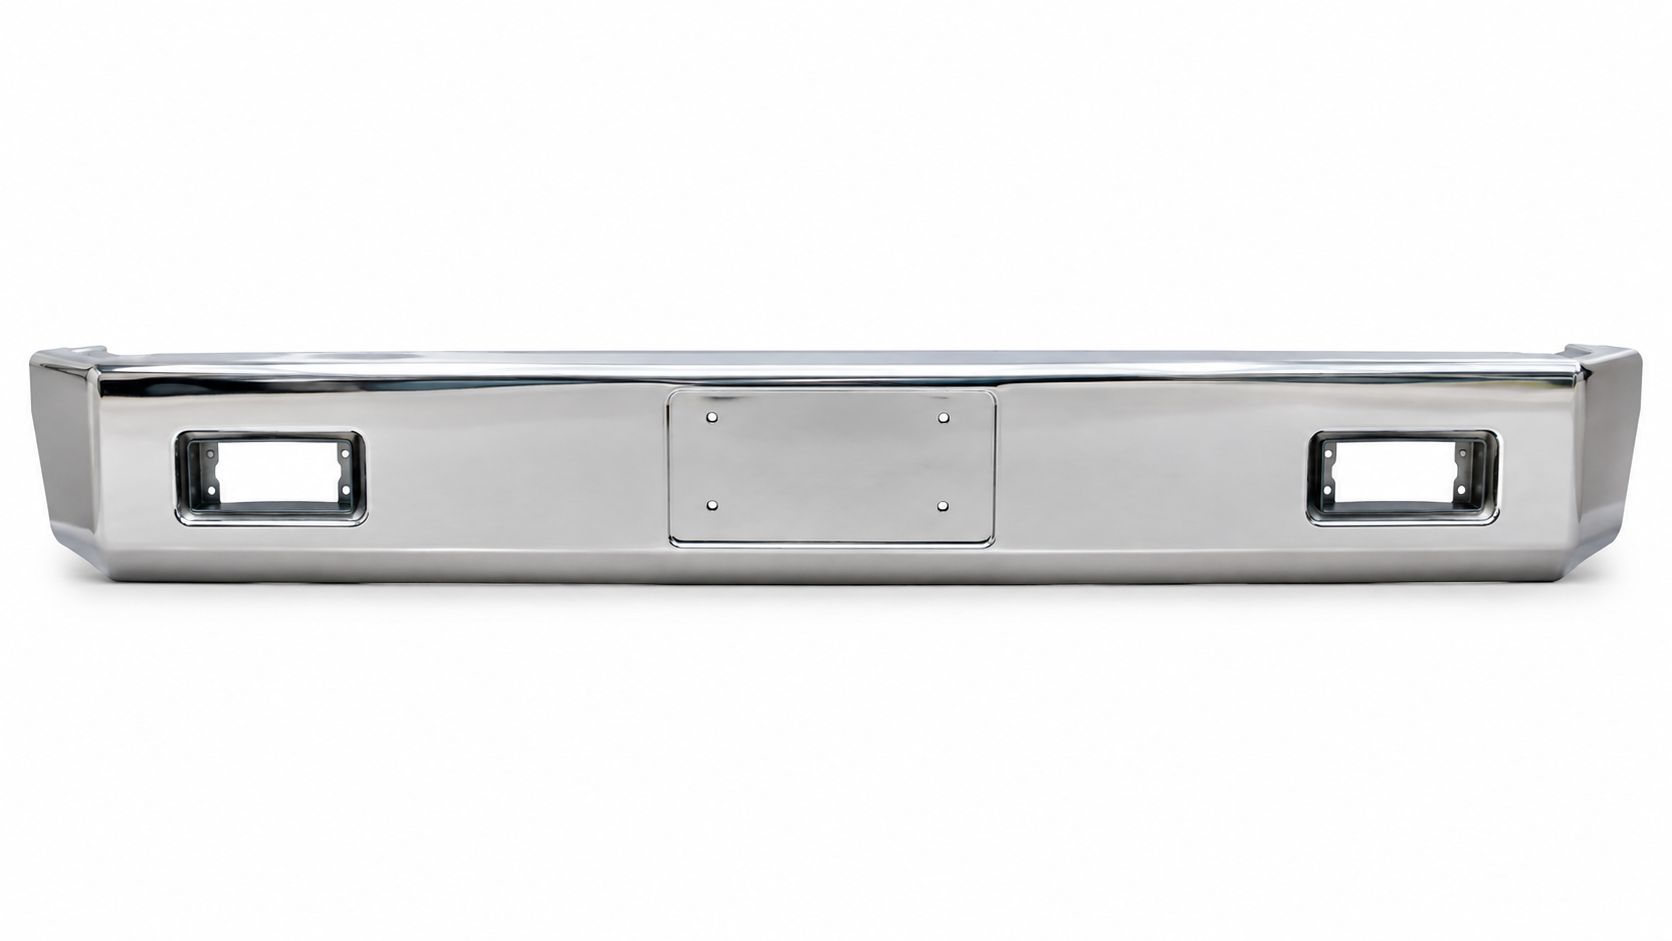
What a bumper must do
A front bumper protects the lower cab, supports lamps and reflectors, and needs to retain its shape after ordinary road abuse. A rear bumper or guard can affect step access, visibility, and required measurements. Thickness, reinforcement, mounting design, and cutout accuracy matter as much as the finish because a polished part still creates problems if it bends, vibrates, or interferes with other equipment.
A 10-gauge chrome-plated steel option, such as the Steel chrome bumper, uses a mirror-polished surface, direct bolt-on installation, and standard or blind mounting without drilling or cutting. Its listed construction includes a triple-layer hexavalent chrome process with 35 microns of nickel, along with coverage for defects in workmanship and materials. Those specifications provide more useful buying information than a broad “heavy-duty” label. They identify the construction and show how the part is intended to fit.
Practical rule: If a bumper needs improvised brackets, enlarged holes, or repeated adjustment, the shine won't make it a good purchase.
The scale of the trucking market also explains why small fitment errors can become expensive. In 2016, the United States had 3.68 million Class 8 trucks, and commercial trucks traveled 450.4 billion miles, according to American Trucking Associations industry data. A bumper faces road hazards for years, not weeks. Direct fitment, corrosion resistance, and replacement without custom fabrication can support resale value better than a cheaper part that requires modification.
The cost of choosing by appearance
Chrome-plated carbon steel can suit a truck where budget, appearance, and structural rigidity guide the purchase. Stainless steel may make more sense where road salt and moisture create persistent corrosion pressure. The right choice depends on the operating environment, service expectations, and the cost of taking the truck out of service.
Before ordering, verify:
- What is the base material? Confirm whether the part uses carbon steel, 430 stainless steel, or 304 stainless steel.
- How thick is it? Look for a stated gauge or sheet thickness instead of an unsupported “premium” description.
- What does it fit? A Peterbilt 389 and another model year may require different brackets, sensor provisions, or cutouts.
- How does it mount? Direct bolt-on installation is preferable to field drilling when the part is built for the exact configuration.
- What is covered? Review the workmanship and materials warranty before a replacement is needed.
A bumper that looks right but causes downtime is not a bargain. Owner-operators and fleet managers should judge the purchase by dependable service, compatibility, repair exposure, and a professional finish that survives the work.
Choosing Between Stainless Steel 304 and 430
Stainless grade decides how a chrome or polished bumper handles real road use. Type 304 and Type 430 are not interchangeable, even if both look bright on delivery day.
Type 304 typically contains about 18% chromium and 8% nickel, while Type 430 generally contains approximately 16% to 18% chromium and no nickel. For a direct comparison of the grades, see the 430-vs-304 comparison guide at Galhor. Chromium supports the passive oxide film that helps protect the surface. Nickel gives 304 its austenitic structure and improves resistance to general corrosion, pitting, and chloride exposure.
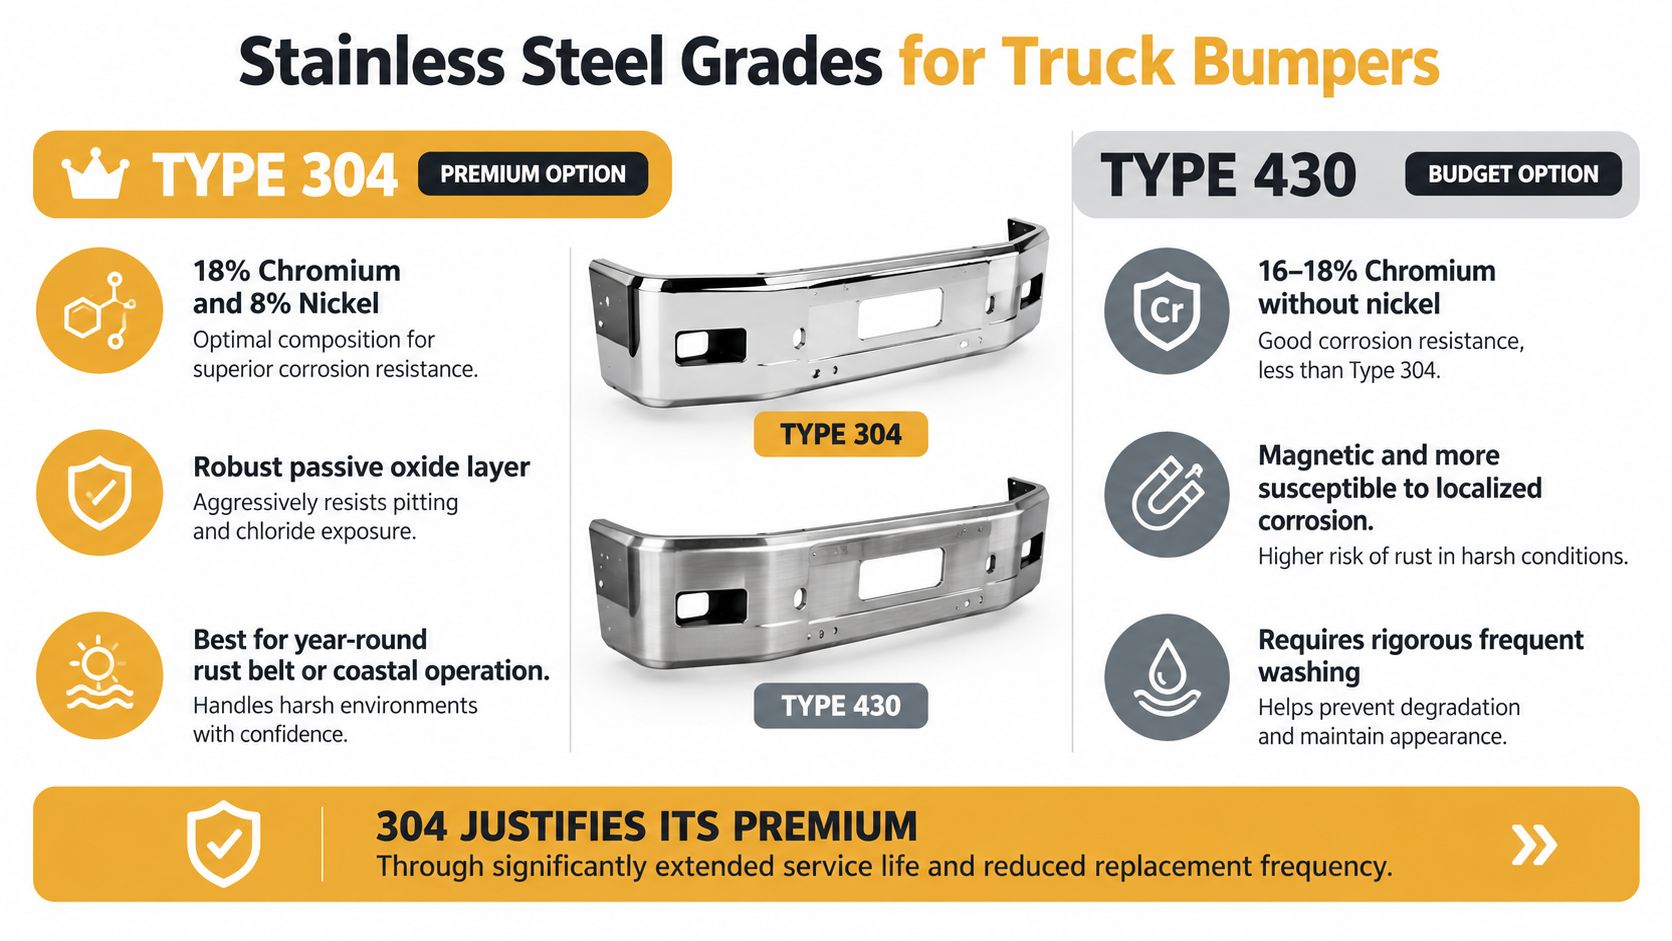
How the grades behave on the road
430 is a ferritic stainless steel and is magnetic. It can make sense for normal atmospheric exposure, decorative use, and trucks that get washed regularly. It usually costs less than 304, but the lack of nickel leaves it more exposed to localized attack in aggressive chloride conditions.
304 gives a wider corrosion-resistance margin. That matters for trucks that run through winter salt, coastal air, de-icing chemicals, or repeated wet-dry cycles. The grade will not stop damage from a bent bracket or neglected surface, but it can reduce the chance that small scratches, fasteners, welds, and cutouts turn into corrosion starting points.
| Alloy Grade | Composition Profile | Corrosion Resistance | Best Use Case |
|---|---|---|---|
| 304 stainless steel | About 18% chromium and 8% nickel, as described in the 430-vs-304 comparison guide at Galhor | Stronger resistance to general corrosion, pitting, and chloride exposure | Year-round service in salt, coastal, or frequently wet conditions |
| 430 stainless steel | Approximately 16% to 18% chromium with no nickel, as described in the 430 stainless steel guide | Moderate atmospheric resistance, with greater sensitivity to localized attack in harsh chloride exposure | Normal road exposure, decorative use, and buyers focused on initial cost |
The table should guide the purchase, not replace inspection of the full bumper. Gauge, reinforcement, weld quality, mounting design, and finish process still control durability. A thin or poorly supported 304 bumper can be a worse working part than a properly built 430 bumper.
Match the alloy to the route
A Texas-based regional truck that stays away from treated winter roads may not need the same material choice as a tractor that runs through the Rust Belt every week. A coastal carrier should also take salt in the air seriously. Washing matters for either alloy, especially around hardware and openings, but 430 needs more discipline in severe exposure.
Use 304 when replacement labor, downtime, and corrosion risk justify the higher material cost. Choose 430 when the operating environment is moderate and the buyer can maintain the surface consistently. For a chrome bumper, the visible plating and the stainless substrate are separate concerns. Ask whether the part is polished, plated, or both, and confirm the steel grade in writing.
Navigating Fitment, Sensors, and Aerodynamics
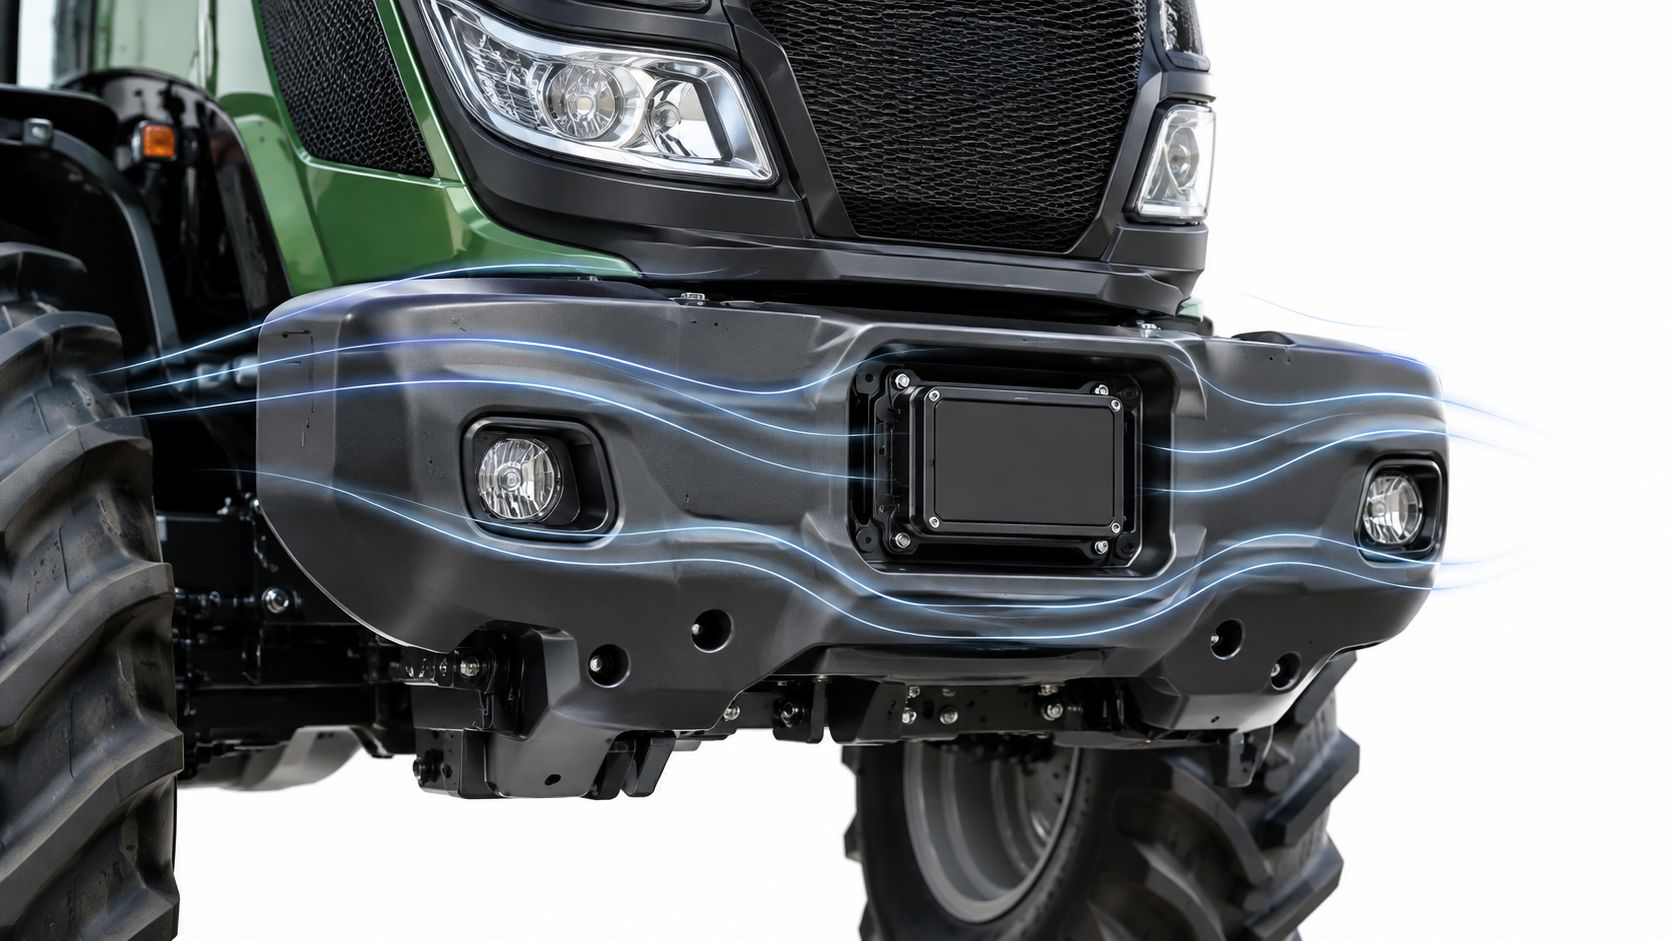
A bumper can bolt into the existing holes and still be the wrong part for the truck. Modern Class 8 tractors may carry collision-avoidance radar, adaptive cruise control, blind-spot detection, cameras, lamps, and reflectors near the front assembly. A poorly placed bumper can block a sensor, disturb its field of view, or force wiring into a vulnerable position. The resulting diagnostic work and calibration delay can cost more than the original accessory.
“Fits Peterbilt” or “fits Kenworth” is not enough. Confirm the exact model year, hood configuration, axle position, lighting layout, and sensor arrangement before comparing finishes or prices. A few minutes spent confirming fitment can prevent installation downtime, return freight, and a truck sitting in the shop while a replacement part is sourced.
Use this verification process
First, identify the truck precisely. Record the VIN, model, model year, hood length, and whether the tractor has an extended hood or set-back axle. A Peterbilt 389 bumper, Kenworth W900 chrome bumper, Freightliner replacement bumper, or Volvo truck bumper can change with the configuration.
Next, document the existing part. Photograph the bumper from the front, sides, and underneath. Measure mounting-hole spacing, overall width, height, cutouts, tow-hook openings, fog-light locations, and air-dam attachment points. Compare every measurement with the manufacturer's technical drawing, not only the catalog description.
Then, map the electronics. Mark each radar sensor, camera, lamp, reflector, and wiring route near the bumper. Before ordering, request sensor-clearance information, mounting instructions, torque requirements, and post-installation calibration guidance. A part that requires improvised brackets may create alignment problems and complicate future service.
Finally, test the truck. After installation, inspect sightlines, confirm that warning lights and lamps operate, scan for diagnostic faults, and complete the vehicle's required safety-system checks. A truck customizer online can help organize options, but measurements from the actual tractor must control the purchase.
Keep airflow in the decision
Bumper shape affects operating cost as well as appearance. At 70 mph, aerodynamic resistance accounts for approximately 65% of total energy expenditure for a typical heavy truck. U.S. Department of Energy research also identified a potential 10% to 15% fuel-efficiency improvement from reducing Class 8 tractor-trailer aerodynamic drag by approximately 25% at 65 mph, depending on speed, payload, wind, configuration, and operating cycle. See the U.S. Department of Energy aerodynamic research.
A bumper that projects outward, exposes brackets, creates abrupt edges, or leaves large gaps around the hood can add drag. For an 18 inch drop bumper, check ground clearance, approach angle, tow-hook access, and alignment with the hood and cab. A smooth, close-fitting design with protected hardware usually offers better long-term value than extra surface area with no working purpose. That balance supports lower downtime, fewer sensor problems, and a stronger resale case.
Understanding Federal Guard Requirements
A polished bumper does not make a trailer guard compliant. Front tractor bumpers and trailer rear-impact guards serve different purposes, and federal rules classify them differently. Misidentifying the part can lead to the wrong product, an unsuitable installation method, rework, and avoidable downtime.
For U.S. trailer and semitrailer operators, 49 CFR § 393.86 generally requires a substantially constructed rear guard on covered vehicles. Listed exemptions include truck tractors, pole trailers, and driveaway-towaway vehicles. The federal regulation text states that, with the vehicle empty, the guard's bottom edge must sit no more than 30 inches above the ground. The guard must be no more than 24 inches forward of the vehicle's rear extremity, and its outer surfaces must come within 18 inches of each side.
Under 49 CFR § 393.86, if multiple guards are used, the maximum gap between their closest points is 24 inches. The horizontal member must extend within 4 inches of the vehicle's side extremities without extending beyond them. Attachment must use bolts, welding, or a comparable method strong enough for the application. These details affect more than inspection results. An incorrect guard can require removal, fabrication work, and truck downtime, while a compliant installation protects the vehicle's operating value and resale position.
Front tractor bumper versus rear guard
| Part | Primary selection concern | Federal distinction |
|---|---|---|
| Front tractor bumper | Model-year fitment, structural protection, lighting openings, sensor clearance, airflow, and finish | NHTSA materials state there is no general federal requirement for front or side underride guards on large trucks |
| Trailer rear-impact guard | Required dimensions, construction, attachment, position, and applicable markings | Rear guards cover most large trucks and trailers, subject to listed exemptions and applicable standards |
NHTSA and FMCSA safety guidance distinguishes rear guards from front and side underride protection. Certain trailers manufactured on or after January 26, 1998, must have permanently marked or labeled rear-impact guards meeting applicable federal standards in 49 CFR §§ 571.223 and 571.224.
A rear accessory can therefore create a compliance problem if it changes guard height, width, position, spacing, or attachment strength. Front Peterbilt, Kenworth, Freightliner, and International bumpers are normally selected for fitment and function, not to satisfy a federal front-underride mandate. Confirm the part category before ordering, then have the installation checked by someone who understands the truck, its sensors, and the applicable rule.
Making the Right Fitment Decision
A polished bumper can still be the wrong purchase. A Kenworth W900 chrome bumper may fit one configuration and fail on another because bracket spacing, hood length, axle position, light openings, or tow-hook provisions changed during the model run. The same risk applies to a Peterbilt 389 bumper and replacement bumpers for Freightliner, International, and Volvo tractors.
Start with the truck, not the product page. Record the exact model year and VIN, then photograph the existing bumper before removing it. Measure the mounting layout and compare those measurements with the manufacturer's drawing. A “direct bolt-on” description does not guarantee compatibility with every truck carrying the same badge.
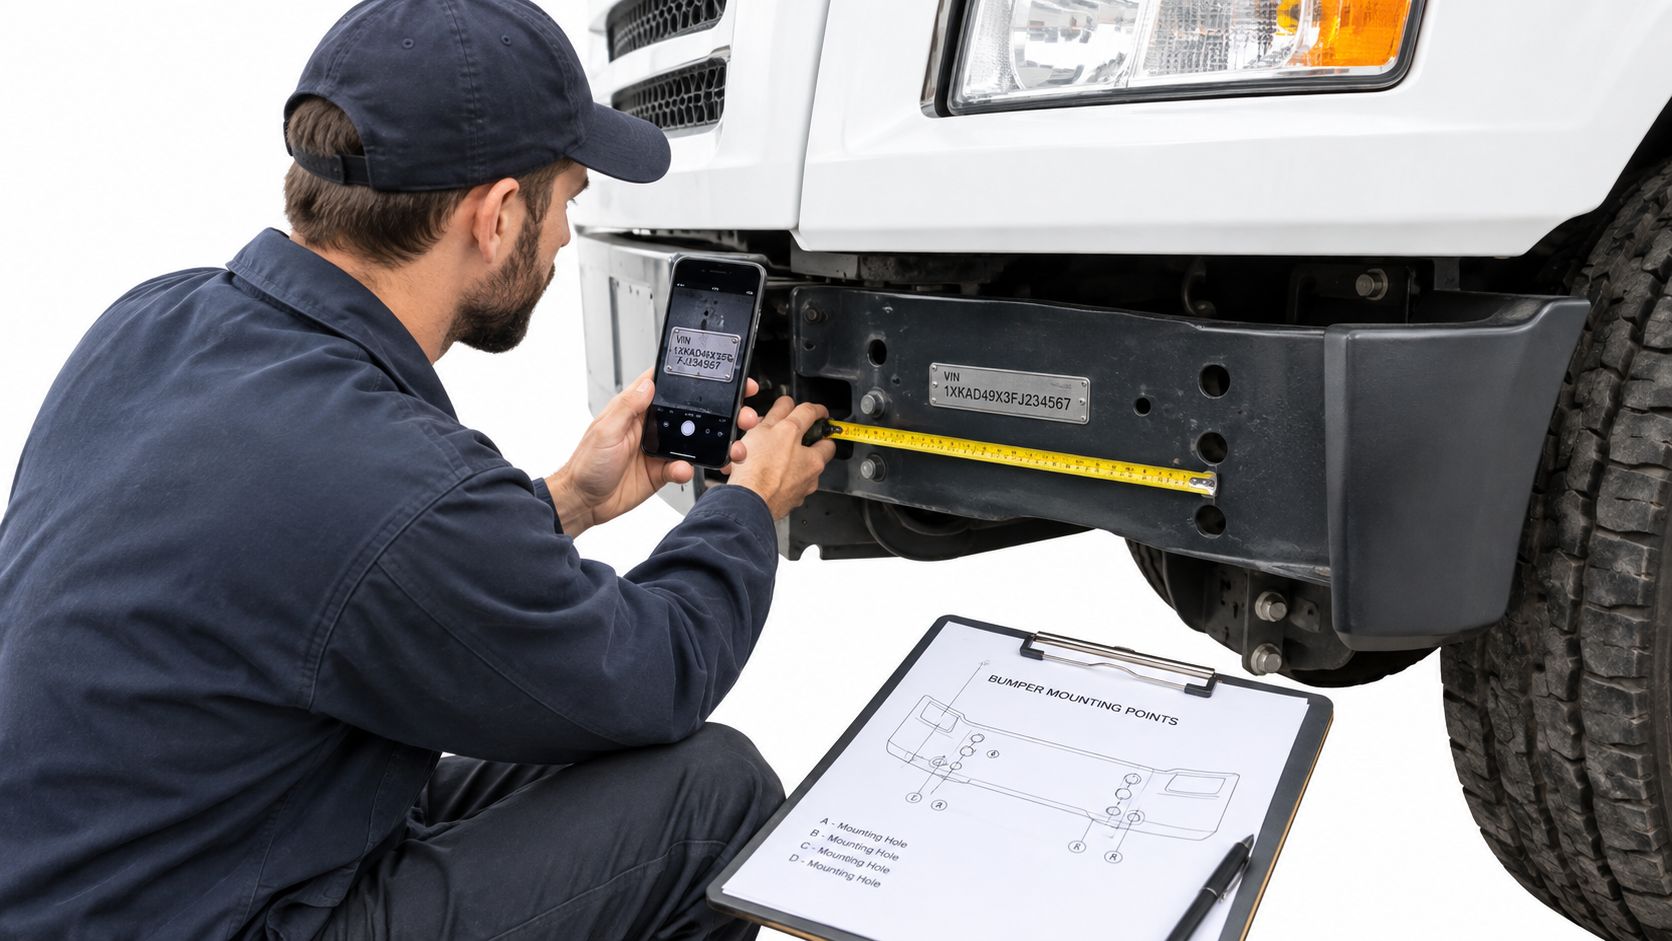
Pre-Purchase Fitment Verification Checklist
| Check Item | Requirement Details | Why It Matters |
|---|---|---|
| Truck identity | Record VIN, exact model, model year, hood type, and axle position | Prevents broad brand matching from creating a false fit |
| Mounting layout | Measure hole spacing, bracket position, and mounting style | Avoids drilling, cutting, or improvised brackets |
| Cutouts | Confirm fog lights, headlamps, reflectors, tow hooks, and air-dam openings | Preserves lighting, access, and correct alignment |
| Safety hardware | Locate radar, cameras, blind-spot equipment, and wiring | Reduces sensor obstruction and diagnostic faults |
| Construction | Verify material and gauge, see the stainless steel comparison above for grade-specific guidance | Keeps the purchase aligned with the required durability |
| Finish | Confirm chrome plating, polished stainless, or another specified finish | Sets realistic expectations for appearance and maintenance |
| Installation | Review standard mount, blind mount, torque requirements, and included hardware | Helps the shop avoid field modification |
| Delivery plan | Confirm whether the unit is available or made to order before scheduling work | Prevents avoidable downtime during the maintenance window |
Sensor clearance deserves the same attention as hole spacing. A bumper that blocks radar, cameras, wiring, or access points can create warning lights, diagnostic work, and lost driving time. Those disruptions belong in the Total Cost of Ownership, along with installation labor and any fabrication required to correct a poor fit.
Shipping time also affects the decision. A correct bumper that arrives after the truck is scheduled for service still creates operational trouble. Keep the damaged bumper installed until the replacement is physically inspected when safe to do so. Compare the new part with the photographs, measurements, cutouts, finish, and mounting hardware before installation begins.
Shop-floor advice: Measure twice, compare the drawing once more, and only then remove the old bumper.
Alignment affects more than appearance. Uneven gaps, mismatched light openings, or a bumper forced into position can reduce resale value and signal installation problems, even when the chrome looks good from a distance. A lower purchase price can disappear quickly if the part requires drilling, bracket fabrication, sensor correction, or extra shop time. Choose the bumper that fits the truck, protects its systems, and can be installed without creating the next repair.
Maximizing Return on Your Accessory Investment
A bumper earns its keep through the entire replacement cycle, not at the moment it leaves the showroom. Inspect bent mounting points, loose hardware, cracked welds, pitting around cutouts, damaged plating, and corrosion behind brackets. A replaceable light or fastener can justify repair when the structure remains straight. Replace the bumper when mounting areas have weakened or alignment no longer holds.
The return depends on more than material selection. It also depends on how quickly the part can be installed, how well it works with the truck's sensors and wiring, and whether replacement parts remain available. A direct-fit bumper can reduce fabrication, diagnostic work, and shop time. That difference affects the truck's Total Cost of Ownership long after the purchase invoice is paid.
Include these costs in the comparison:
- Purchase cost: Compare the complete bumper, hardware, brackets, and required cutouts.
- Installation labor: Direct-fit mounting can reduce shop time and avoid fabrication.
- Downtime exposure: Account for lost hauling time while the tractor is out of service.
- Freight and handling: Large bumpers require careful transport and inspection before installation.
- Maintenance: Budget for washing and inspection after salt, moisture, and road debris exposure.
- Replacement access: Standardized configurations can simplify fleet stocking and future repairs.
- Resale value: A straight, undamaged bumper supports the truck's professional condition and helps avoid discounting during sale.
Bumper condition also affects resale beyond appearance. A clean finish, intact mounting points, aligned openings, and working sensor clearances show that the truck has been maintained rather than patched between runs. That evidence matters to a buyer evaluating future repair risk.
Industry benchmarking cited repair and maintenance costs of $0.198 per mile in 2024 across 178,000 truck-tractors, while another recent industry report said the average breakdown took 20 hours to resolve, up from 15.8 hours the prior year, as summarized in fleet maintenance benchmarking. The figures show why a cheaper part can carry a higher operating cost when poor fitment creates extra labor or removes the truck from service.
For an owner-operator, choose a bumper that combines strong corrosion resistance, direct fitment, and dependable replacement access. Fleet managers should also consider standardized configurations and a spare-parts strategy. Collision shops need accurate drawings, predictable mounting, and delivery they can schedule. Evaluate the full range of Class 8 truck accessories through durability, compliance, installation, sensor compatibility, and uptime.
Choose chrome, polished stainless, or an 18 inch drop bumper for a defined operating reason. Confirm the steel type, thickness, mounting design, cutouts, sensor clearance, and delivery plan before ordering. Galhor Inc. offers configurable chrome bumpers for Freightliner, Peterbilt, Kenworth, and Volvo Class 8 trucks, with options for material, finish, mounting style, and cutouts. Visit Galhor Inc. to verify the truck configuration and select a direct-fit bumper built for durability, appearance, and uptime.