

Freightliner Aftermarket Parts: A Fleet Buyer's Guide
Yes. The best aftermarket parts, chosen for the right material grade and verified fitment, can be more durable and more cost-effective than OEM replacements. For a working Freightliner, the decision should be based on total ownership cost, not the lowest checkout price.
A driver usually discovers the difference at the worst time. The truck is loaded, the next appointment is tight, and a cracked bumper mount, bent bracket, or corroded panel turns a small repair into lost road time. A polished bumper may improve appearance, but the right replacement also needs to survive long hauls, road debris, winter salt, coastal air, vibration, and repeated shop visits.
Freightliner has a major installed base behind it. Industry reporting identified Freightliner as the largest share-holder in the North American Class 8 truck market, with approximately 29% in 2014, ahead of International at 17%, Kenworth and Peterbilt at 13% each, Volvo at 11%, and Mack at 10% (industry market analysis). That base creates continuing demand for dependable Freightliner aftermarket parts, especially for Cascadia, Coronado, M2, and older FL models still earning their keep.
Table of Contents
- Why Smart Fleet Buyers Turn to Aftermarket Parts
- Choosing the Right Bumper Material for Your Freightliner
- How to Verify Direct Bolt-On Fitment for Your Truck
- Understanding Warranties and Quality Control Standards
- Lead Times, Shipping, and Procurement for Fleet Buyers
- Maintaining Safety Compliance and Visual Standards
- Real-World Examples of High-Performance Bumper Upgrades
- Your Next Step Toward a More Durable Freightliner
Why Smart Fleet Buyers Turn to Aftermarket Parts
A bumper usually gets replaced on a workday, not in a showroom. The truck is booked, the route is set, and a bent mount or cracked corner suddenly turns into a parts decision that affects dispatch, shop labor, and delivery commitments. Smart buyers look past catalog photos and ask a harder question first: will this part go on cleanly, hold up in service, and keep the truck out of the bay longer?
That is why aftermarket demand stays strong. Freightliner trucks remain in service across long-haul, regional, vocational, and mixed-use operations, and many of those units have moved through several owners and repair cycles. A large operating population keeps replacement demand steady, especially for buyers trying to match an older truck's exact configuration without waiting on dealer channels. The broader market analysis of the North American truck population helps explain why the aftermarket continues to matter.
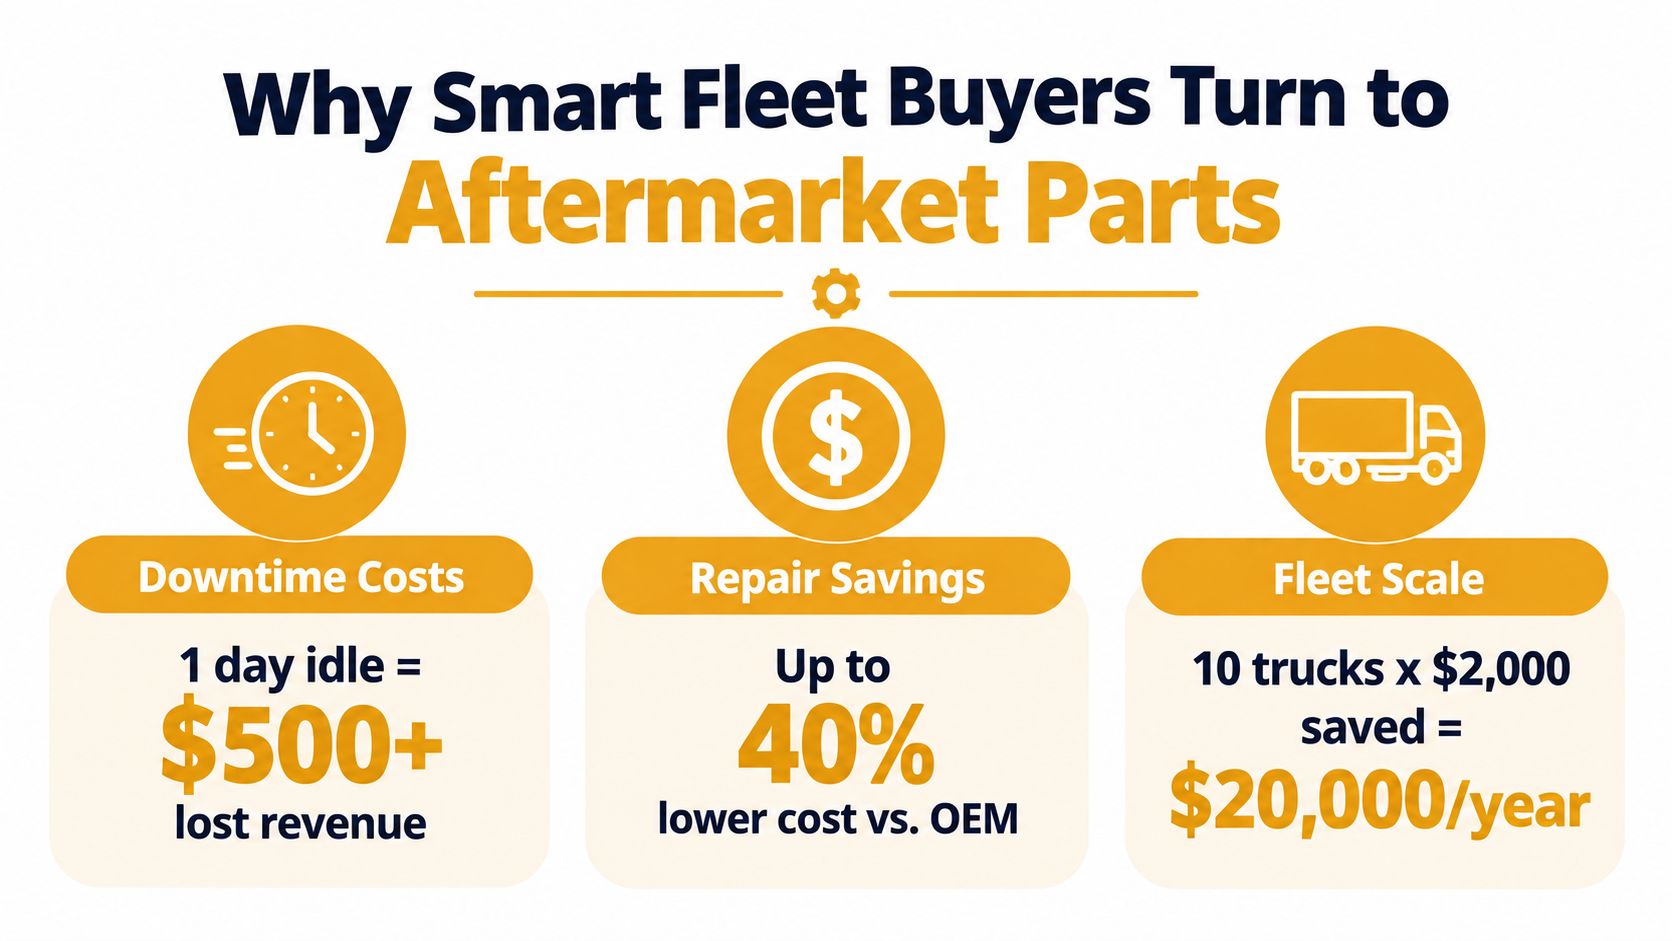
Why uptime is the value that matters
Different fleets break parts in different ways. A highway tractor sees steady miles, road debris, winter salt, and parking-lot impacts. A construction unit may deal with tighter jobsite access, rough surfaces, and repeated low-speed contact. Private fleets often care just as much about keeping trucks presentable for customers as they do about repair speed. Across all of those uses, buyers keep coming back to the same calculation. How many extra shop visits, freight charges, alignment issues, or corrosion problems will this part create over its service life?
That is the total cost of ownership view, and it changes how a bumper gets priced. Start with fitment. A lower checkout price disappears fast if the shop has to slot holes, reuse questionable brackets, or pause the job because the mounting points are off. Finish and material matter too, but only after the part clears the first test of direct fit and repeatable installation quality.
Price the part by how many future repair events it is likely to prevent, then compare purchase cost.
A good aftermarket buy protects truck availability, appearance, and resale value. A poor one can cause panel gaps, vibration, fastener stress, early rust, or a second order to correct the first one. Buyers who handle these repairs every month usually favor parts with clear applications, consistent manufacturing, and warranty support that means something when a claim has to be filed. For more background, this guide to aftermarket semi truck parts is a useful starting point.
Choosing the Right Bumper Material for Your Freightliner
Material choice controls more than shine. It affects how a bumper handles salt, moisture, scratches, mounting stress, polishing, and years of exposure at the front of the truck.
The two stainless grades buyers see most often are 304 and 430. A peer-reviewed corrosion study found that 304 stainless steel had better localized-corrosion resistance than 430, including resistance to pitting initiation and improved repassivation, regardless of surface roughness. The difference increased as chloride concentration rose (peer-reviewed comparison of AISI 304 and AISI 430 stainless steel).
That matters on Freightliners running through winter-salt states, coastal routes, and areas where deicing chemicals stay on the bumper and brackets. Type 430 can still be a reasonable choice for dry routes or appearance-focused applications, but it shouldn't be treated as interchangeable with 304 in chloride-heavy service.
Stainless steel versus chrome-plated steel
A chrome-plated carbon-steel bumper can deliver a deep mirror finish and strong value when the truck operates in moderate conditions. The risk comes from damage to the plating or exposure around edges, holes, brackets, and mounting hardware. Once moisture reaches vulnerable steel, corrosion can spread beneath the finish.
Type 430 is a ferritic stainless alloy commonly used for automotive decorative trim and bumper brightwork. Carpenter Technology identifies it as containing about 17% chromium and notes that chloride exposure, deposits, crevices, surface finish, temperature, pH, and contact with dissimilar metals all affect corrosion performance (Type 430 stainless technical data).
| Material Grade | Corrosion Resistance | Best Use Case | Cost Factor |
|---|---|---|---|
| 304 stainless steel | Stronger resistance to localized corrosion and pitting | Winter-salt regions, coastal routes, high-exposure fleets | Higher initial material cost, with stronger long-term corrosion protection |
| 430 stainless steel | Suitable with proper cleaning, polishing, and mounting isolation | Dry climates, decorative trim, lower-exposure service | Lower-cost stainless option |
| Chrome-plated carbon steel | Attractive mirror finish when plating remains intact | Controlled environments and buyers focused on upfront value | Often economical, but exposed steel requires closer inspection |
Thickness also matters. A bumper made from heavier-gauge material can better tolerate impacts and mounting loads, but gauge alone doesn't prove correct fitment or durability. Check the steel grade, construction, bracket design, finish process, and warranty together. A heavy panel with weak mounts or poor cutouts can still become an expensive problem.
For a broader material discussion, compare stainless steel and carbon steel before choosing a Freightliner bumper, Peterbilt 389 bumper, or Kenworth W900 chrome bumper.
How to Verify Direct Bolt-On Fitment for Your Truck
A bumper that looks right in a product photo can still be wrong for the truck in your yard. Freightliner model names cover multiple years, cab configurations, engine packages, wheelbases, axle arrangements, and production revisions. The safe starting point is the VIN, not the badge alone.
Freightliner's maintenance documentation distinguishes between manuals that define maintenance procedures and intervals and parts documentation intended to identify serviceable replacement components. The parts technical manual is used with the parts book and service-parts catalog, which makes documentation central to the ordering process (Freightliner maintenance documentation).
Compare the truck to the part before checkout
Record the following before contacting a supplier:
- VIN and model year. This separates similar-looking production versions.
- Cab and front-end configuration. Note hood shape, grille design, bumper profile, and factory mounting points.
- Cutouts. Confirm fog-light openings, tow-hook holes, sensors, lights, and license-plate provisions.
- Current part number. Check supersession status and compare the old bumper or brackets with the replacement description.
- Frame and bracket condition. A collision can bend the mounting structure, making a correctly manufactured bumper appear defective.
- Installation method. Confirm whether the part is a direct bolt-on or needs drilling, cutting, shimming, or custom brackets.
A practical configurator should let you select the truck brand, model, year, bumper style, cutouts, and finish. That reduces guesswork, but the buyer still needs to compare the selected configuration with the truck in front of them.
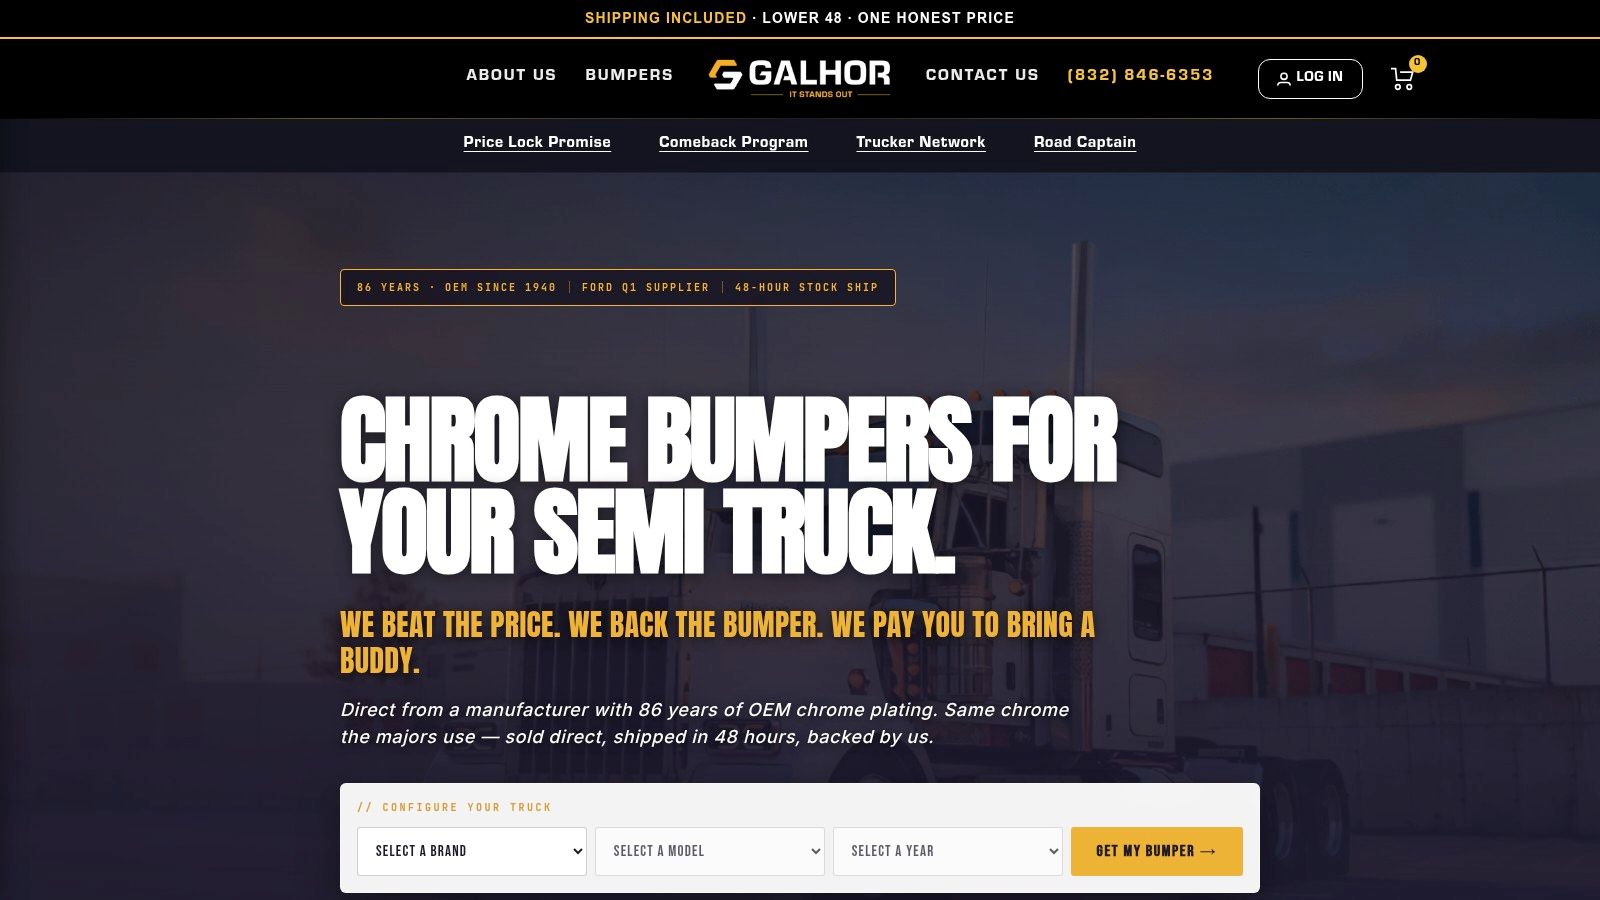
The Chrome bumper for Freightliner Coronado (2002–2009) is listed with 10-gauge chrome-plated steel, a mirror-polished finish, an 11-gauge 430 stainless option, fog-hole and light-opening cutouts based on configuration, and direct bolt-on installation without modifications.
Fitment check: A “direct bolt-on” claim describes the intended installation. It doesn't replace checking the VIN, brackets, cutouts, frame condition, and collision history.
The cost of a wrong part includes return freight, shop labor, idle time, and the possibility of damaged hardware. That is why fitment verification is a total-cost decision, not an administrative step.
Understanding Warranties and Quality Control Standards
A bumper warranty earns its keep on the day a claim is filed, not on the product page. Read the terms before you buy, and match them to the failures that create downtime: defects in materials, workmanship, finish, or installation-related issues. Then check what the supplier wants back from you, because a claim can stall fast if the invoice, photos, or installation records are missing.
Quality control is not just about how the front face looks. I always want to know what sits behind the shine: the material spec, gauge, finish process, mounting design, and how the part was inspected before it shipped. A polished surface can hide rough edge prep, uneven cutouts, or sloppy weld work. Check the inside of the bumper, the brackets, the mounting surfaces, and the corners where corrosion usually starts.
Use the receiving process to protect your warranty position and your labor budget. Photograph the packaging before you open it. Then inspect the panel for dents, warping, scratches, dull plating, or bent edges. Compare mounting points and hole spacing with the truck before the bumper goes anywhere near the bay. Confirm that fog-light, tow-hook, sensor, and lamp cutouts match the order. Keep the invoice, part number, warranty language, and instructions together in one file.
The same discipline applies to remanufactured assemblies. Fleet Equipment notes that proper remanufacturing includes disassembly, cleaning, inspection, reassembly, and testing, and that good remanufacturers may use original-specification parts, engineering updates, and testing comparable to new components (remanufacturing process guidance).
That is the difference between a reman component with traceability and a used part with an unknown history. For fleet buyers, records matter. Keep the supplier name, material, finish, install date, truck mileage, and any later corrosion or fitment issue. For more on claim terms and exclusions, review this guide to Class 8 truck warranties.
Lead Times, Shipping, and Procurement for Fleet Buyers
The expensive mistake is not the invoice price. It is a truck waiting on the wrong bumper while a bay stays tied up and the route still needs coverage. Good procurement starts by sorting the job into three buckets: roadside or collision replacement, scheduled maintenance, and stock for repeat configurations.
Galhor's publisher information says in-stock stainless steel 430 and 304 flat bumpers can ship within 48 hours. Made-to-order carbon-steel units typically ship in 4 to 6 weeks. That makes stainless a practical choice for urgent replacements, while carbon steel usually fits planned work where finish, build spec, or budget matters more than speed.
The trade-off is simple. Fast shipping only helps if the part lands ready to bolt on.
For a single-truck owner, that usually means confirming stock, cutouts, and delivery timing before the order is placed. In a fleet, the process needs tighter controls because one wrong variation can burn freight cost, shop time, and driver hours in the same week. Standardize what you buy by truck configuration, record the part numbers that have already fit correctly, and keep replacement stock limited to the bumpers shared across enough units to justify shelf space.
Receiving matters as much as ordering. LTL freight can save money, but it also adds another handoff where damage or mis-picks show up. Have the delivery location ready, inspect packaging on arrival, and match the bumper to the truck application before installation is scheduled. That protects uptime better than chasing the cheapest landed price.
For multi-truck operations, build one procurement record that follows the part from quote to service life: VIN, engine family, axle ratings, current part number, supplier, batch or serial number, installation mileage, and warranty terms. When a bumper later shows a fitment problem or early finish failure, that file helps separate a purchasing mistake from an installation issue or a bad component.
Maintaining Safety Compliance and Visual Standards
A truck can leave the shop looking right and still come back with a compliance problem, a vibration complaint, or damage around the mounts. After any bumper swap, the job is not finished until the truck is inspected as a working vehicle, not as a cosmetic upgrade. FMCSA requires carriers to systematically inspect, repair, and maintain commercial vehicles, and any part that affects safe operation has to stay in safe, proper condition (FMCSA maintenance and inspection guidance).
Start with what the driver and inspector will notice first. The bumper needs to sit square to the truck, hold proper clearance to the hood and grille, and leave lights, reflectors, tow points, and sensors usable and visible. If it sits high on one side or pulls tight against adjacent panels, I assume there may be bracket damage, frame horn movement, or a poor mounting stack-up before I blame the bumper itself.
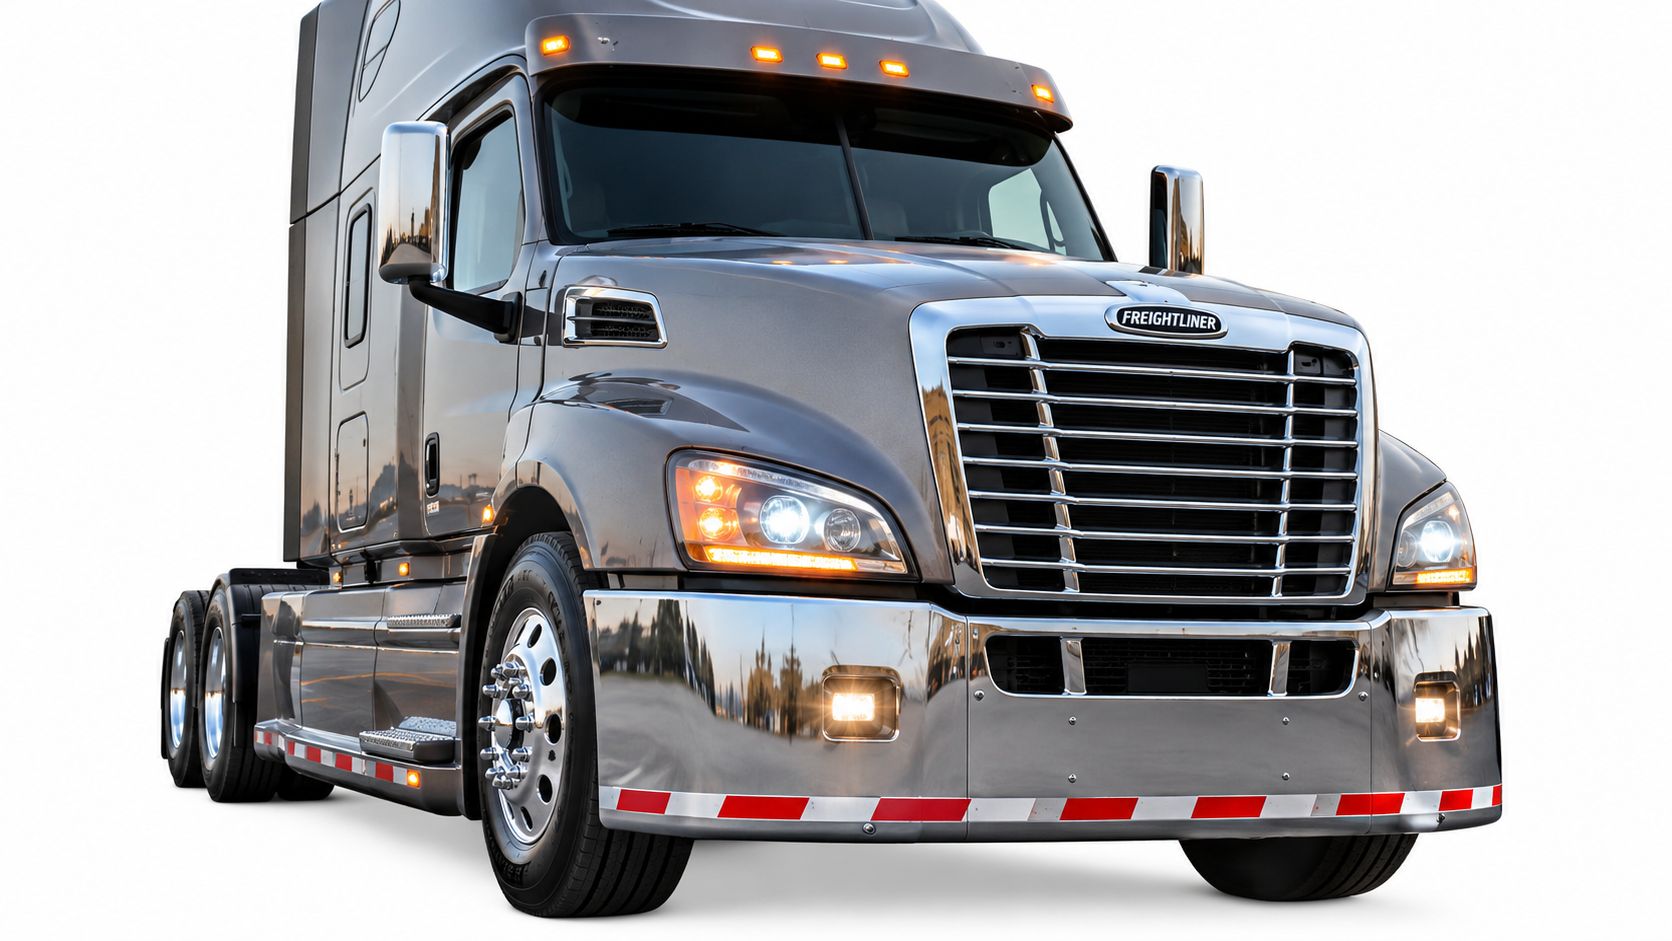
A post-installation check should be documented and practical:
- Mounting security: Confirm all fasteners are installed correctly and the bumper stays fixed under hand pressure.
- Clearance: Check for contact risk at tires, frame members, hood travel, grille edges, wiring, and suspension movement.
- Lighting: Verify fog lamps, marker lights, turn signals, and reflectors remain visible and aligned.
- Tow and sensor openings: Make sure cutouts are centered and do not block hooks, sensors, or service access.
- Road-test review: After a short drive, inspect for movement, fresh rub marks, loose hardware, or new noise.
One missed detail can erase any savings from the lower purchase price.
Also confirm the installation did not disturb exhaust routing, wiring, or fuel lines within the mounting zone. That is the kind of shop-floor mistake that creates roadside trouble later.
For Cascadia trucks, the service side matters too. The Freightliner Cascadia maintenance manual says to replace the bumper support rubber when it wears level with the top of its metal cup or when the cup begins contacting the brace surface. Inspect the support, alignment, and clearance together. A clean chrome finish does not tell you whether the isolator is still protecting the mounting structure.
Real-World Examples of High-Performance Bumper Upgrades
Working trucks expose weak parts quickly. A Cascadia running long interstate routes needs different protection from an M2 maneuvering around loading docks, while an older FL70 may need a replacement that restores service without turning into a custom fabrication project.
The useful comparison isn't only chrome versus stainless. It combines model fitment, bracket strength, cutout accuracy, material grade, finish quality, shipping time, and warranty support.
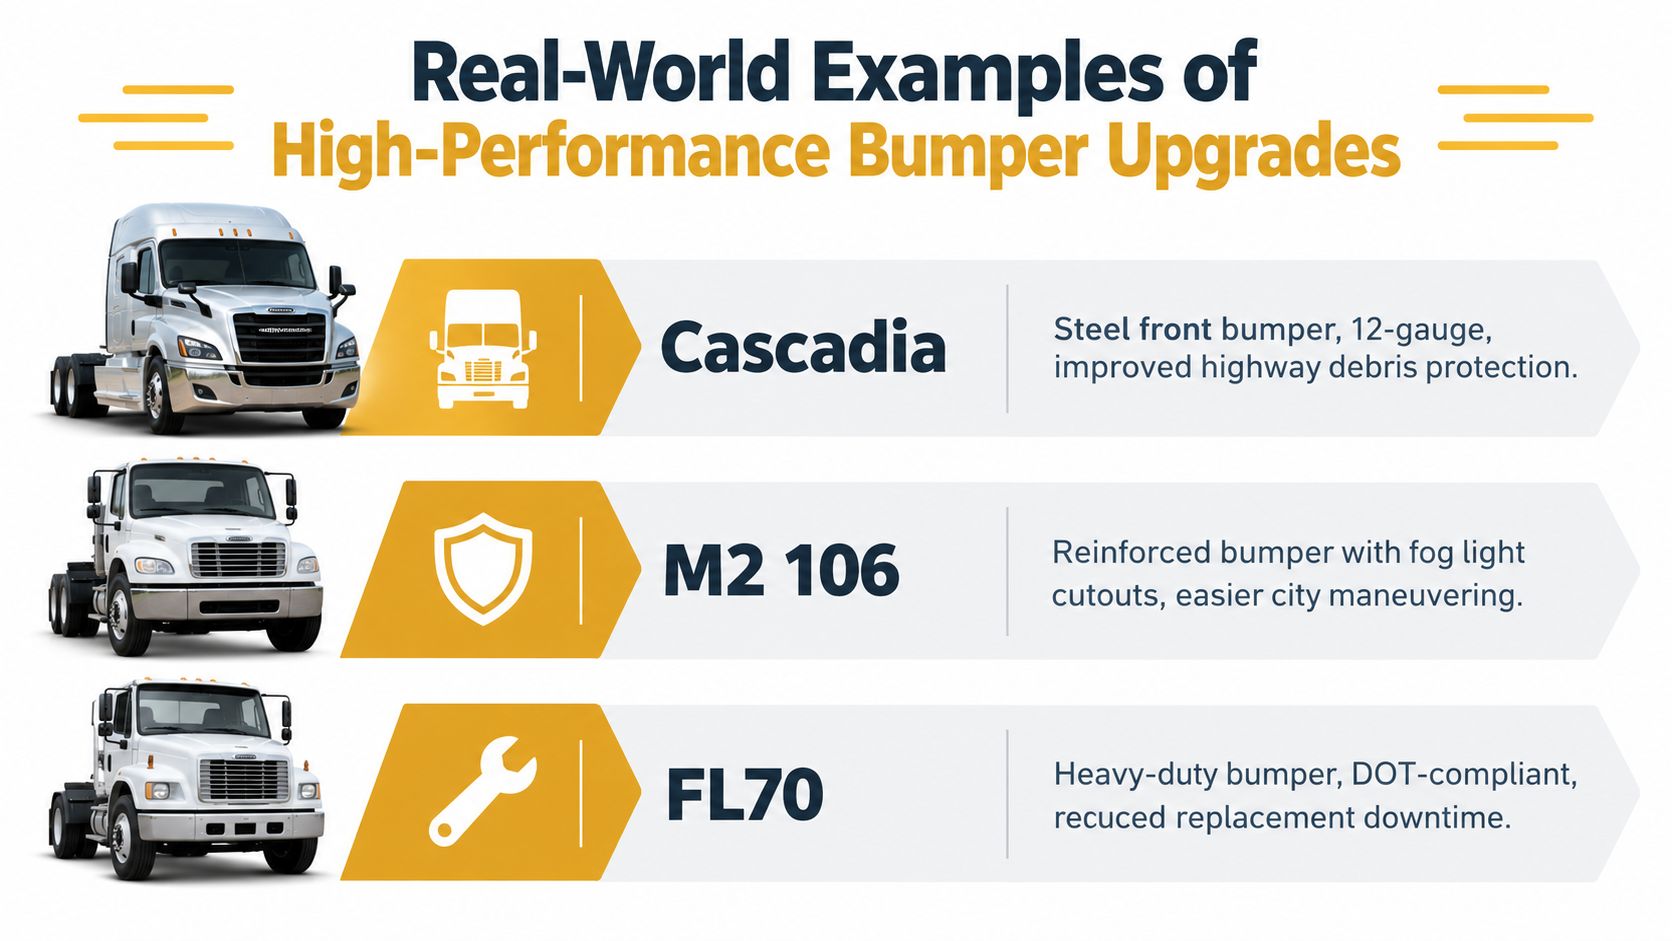
Three practical buying scenarios
Cascadia highway tractor: A steel front bumper with 12-gauge construction can be selected where debris protection is the main concern. The buyer should still verify grille, tow-hole, fog-light, and mounting geometry for the exact Cascadia version.
M2 106 vocational truck: A reinforced bumper with fog-light cutouts needs to preserve visibility while giving the driver enough clearance for city maneuvering. Brackets and frame condition deserve close inspection because repeated low-speed contact can transfer stress into the mounting points.
FL70 replacement truck: A heavy-duty bumper selected for safe operation and correct fitment can reduce repeat replacement work. The key is matching the older chassis, confirming the mounting profile, and checking whether the frame has been altered during prior repairs.
A Cascadia owner may also choose a bumper with a gauge-7 mounting bracket, triple-layer chrome finish, and cutouts selected for the truck's tow holes, fog lights, and light openings. Those details matter more than a generic “show truck” label because a polished panel still has to handle highway debris and vibration.
The same decision logic applies to a Peterbilt 389 bumper or Kenworth W900 chrome bumper. Confirm the model and year, select the material for the route, verify the bracket and cutouts, then calculate the full cost of purchase, freight, labor, downtime, maintenance, and expected service life.
Shop-floor test: If the bumper requires unplanned drilling, cutting, or repeated shimming, stop and verify the configuration before forcing the installation.
Your Next Step Toward a More Durable Freightliner
A durable Freightliner replacement starts with a clear decision record. Write down the truck's VIN, model year, configuration, current part number, front-end options, and operating environment. Then compare material, thickness, finish, fitment, warranty, shipping time, and installation labor.
Use 304 stainless steel when localized corrosion resistance is a priority in chloride-heavy service. Consider 430 stainless steel for lower-exposure routes when proper cleaning, polishing, and mounting isolation are practical. Choose chrome-plated carbon steel when its finish and production schedule fit the truck's work, while recognizing that exposed steel needs closer corrosion monitoring.
Don't accept a generic model match when the supplier can verify the actual truck. Confirm fog-light and tow-hook cutouts, bracket position, sensor clearance, frame condition, and whether the part is direct bolt-on. For a fleet, save the fitment record with the VIN and installation history so the next order doesn't restart the same research.
Warranty language should cover defects in workmanship and materials, and the supplier should explain returns, freight damage, installation requirements, and claim documentation. If the part is remanufactured, ask for inspection and testing details rather than relying on the label alone.
The right aftermarket bumper protects more than the front of the truck. It can preserve appearance, reduce repeat labor, support resale value, and keep a working unit moving. Review the available configuration, confirm the fitment details, and choose the material that matches your route before you order.
Galhor Inc. offers configurable chrome bumpers for Freightliner, Peterbilt, Kenworth, and Volvo Class 8 trucks, with model, year, cutout, style, and finish selections for direct-fit ordering. Visit Galhor Inc. to compare material options, review shipping timelines across the United States, and order a bumper built for your truck's actual working conditions.