

Big Rig Custom Parts How to Plan Build and Install Right
You're on the shoulder with a bent bumper, a light cutout that no longer lines up, and a delivery window that won't move. The first replacement you find may look right in a photo, but a bumper that misses the hood, bracket, or equipment package can turn a simple repair into lost driving time. The right big rig custom parts build starts with measurements, duty cycle, material, finish, and a clear installation plan.
Table of Contents
- Why Planning Your Big Rig Custom Parts Build Pays Off
- How to Measure and Specify Your Truck for Custom Parts
- Choosing Materials Finishes and Styles That Last on the Road
- Sourcing Custom Parts and Working With Fabricators for Bolt On Fitment
- Installing Testing and Ensuring Compliance Without Downtime
- Protecting Your Investment With Warranty Care and Smart Upgrades
Why Planning Your Big Rig Custom Parts Build Pays Off
A replacement bumper can look right in a listing and still be wrong for the truck in your bay. A Peterbilt 389, Kenworth W900, Freightliner Classic, or International tractor may have a different hood length, blind-mount arrangement, fog-light opening, tow-hook cutout, or collision-repair history. Ordering before checking those details turns a straightforward repair into drilling, spacer work, bracket changes, and lost driving time.
Planning protects uptime, resale value, and the money already invested in the truck. One estimate places the custom truck-accessory market at USD 6.86 billion in 2026, with a projected USD 10.54 billion by 2035 and a 4.89% CAGR (truck accessories market estimate). That demand reflects a large Class 8 fleet whose owners replace damaged parts, maintain working equipment, and personalize tractors throughout their service life.
A planned build also gives the budget a practical structure. The purchase price is only one part of the cost. Labor, modifications, lighting alignment, corrosion exposure, and downtime determine whether a bumper delivers value. Choose the finish and mounting system for the truck's configuration and duty cycle, not for appearance alone.
The cost of buying by appearance
A bright bumper can still be a poor fit. If the brackets miss their intended points, installation may require cutting, drilling, or spacers that add labor and can reduce mounting strength. Misaligned openings may delay fog-light or marker-light installation, while uneven gaps can expose the hood and fenders to additional wear.
Set the build around five checks:
- Truck identity: Record the make, model, year, trim, and VIN.
- Configuration: Confirm hood shape and length, cab type, sleeper setup, and equipment package.
- Mounting details: Check standard or blind mount, bracket layout, hardware condition, and prior repairs.
- Function: Specify fog-light, marker-light, tow-hook, sensor, and license-plate cutouts.
- Duty cycle and finish: Account for salt, winter roads, stone impact, wash frequency, mileage, and whether chrome or polished stainless will hold up with the available maintenance.
A bumper is a good deal only when it arrives ready for the truck and remains serviceable on the route.
Big rig styling also has a long manufacturing history. Lincoln Industries began as a local plating company in 1952 and launched its branded chrome product line in 2009. Its Lincoln Chrome division reportedly doubled sales in each of its first five years, according to a trucking history feature on chrome manufacturing. That history helps explain why finish quality and production consistency matter alongside the visual effect.
For a broader planning framework, review this Class 8 truck accessories planning resource. The same method works for collision replacement and show-quality builds: identify the hood and mounting points, match the part to the duty cycle, then choose materials and finish with corrosion and uptime in mind.
How to Measure and Specify Your Truck for Custom Parts
Broad make-model-year matching isn't enough for exterior truck parts. Two trucks with the same badge and model year can have different hoods, cab arrangements, brackets, light openings, and accessory packages. A neutral big rig chrome parts fitment guide recommends starting with the part's location, then matching make, model, year, equipment, application notes, and mounting points.
Build a measurement sheet
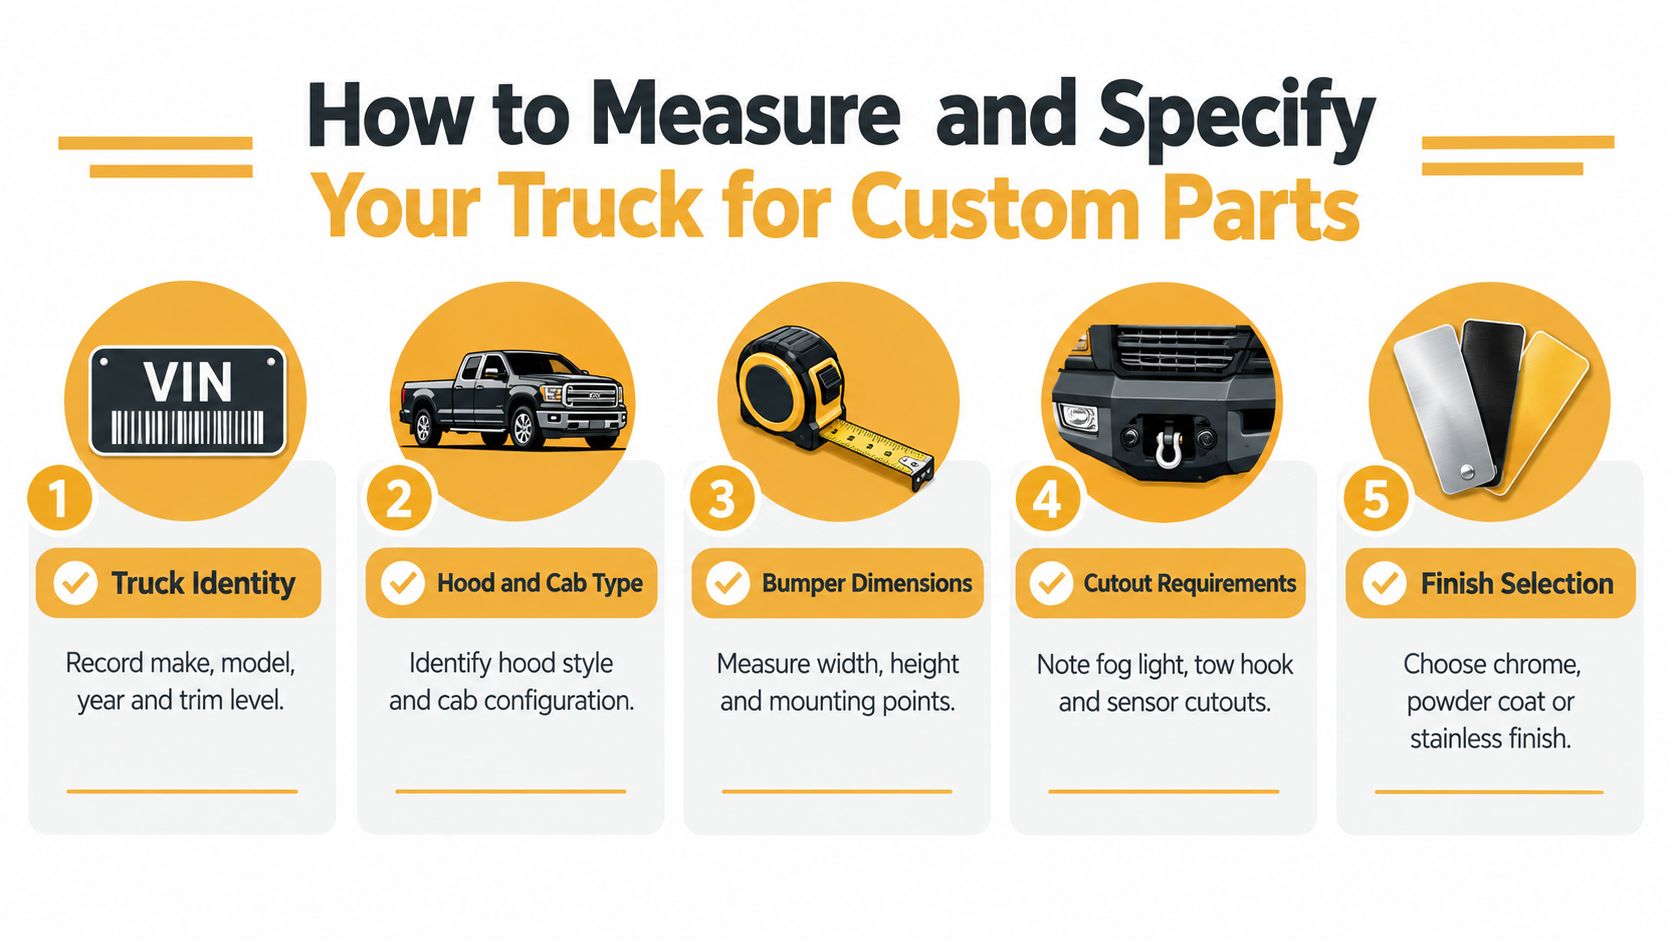
1. Record the truck identity. Write down the manufacturer, model, year, trim, VIN, and whether the truck is a day cab or sleeper. Add a clear photo of the grille and hood badge. This prevents a sales listing or registration description from becoming the only source of fitment information.
2. Identify the hood and cab. Note the hood shape, hood length, fender arrangement, cab position, and sleeper style. Look for factory extensions, bumper guards, tow equipment, or previous body work. A Peterbilt 389 bumper and a Peterbilt 379 bumper may look similar in a listing, but the actual mounting and cutout requirements still need confirmation.
3. Measure the bumper area. Use a steel tape measure to capture overall width, height, corner shape, and the distance between mounting points. Measure from fixed frame or bracket locations, not from damaged bumper edges. Record bolt diameter, thread condition, bracket orientation, and whether the bumper uses standard or blind mounting.
4. Document cutouts and clearance. Mark fog-light holes, turn-signal openings, tow-hook access, license-plate areas, sensors, and grille clearance. Photograph the front straight on and from both corners. Include a ruler or tape measure in close-up images so the fabricator can compare scale.
5. Specify the finish and service conditions. Choose chrome-plated carbon steel, chrome-plated 430 stainless steel, or chrome-plated 304 stainless steel. Note whether the truck runs through salted winter routes, coastal air, gravel roads, or frequent wash bays.
Turn measurements into an order
Create one written build sheet. It should include truck identity, hood and cab configuration, mounting style, bracket photos, cutouts, finish, material, thickness, and any equipment that must remain accessible. Send the same sheet to the seller, installer, and fleet maintenance file.
A steel chrome bumper is one example of a part that lists 10-gauge chrome-plated steel, a mirror-polished finish, direct bolt-on installation, standard and blind-mount options, triple-layer hexavalent chrome, and 35 microns of nickel. Its stated installation method requires no drilling or cutting, but your truck's configuration still needs to match the selected variant.
Don't rely on the word “universal.” Confirm the hood, brackets, openings, and equipment package before you pay for freight. For related exterior measurements, the same approach works when selecting deck plates for semi-trucks, where cab layout and mounting location also control fit.
Choosing Materials Finishes and Styles That Last on the Road
Material choice should follow the route, not just the shine. A truck running salted winter highways has a different bumper requirement from a show tractor used in dry weather. Chrome-plated carbon steel can deliver the classic look and solid impact resistance, while stainless gives the owner more protection when chips and scratches expose the surface.
The finish architecture matters. Typical decorative chrome plating is about 2–4 thousandths of an inch, while stainless-clad or stainless-faced bumper systems are reported to use outer layers roughly 10 times thicker than chrome plating (finish comparison for heavy-duty bumpers). If chrome-plated steel is chipped, moisture can reach the base metal and corrosion can spread below the plating. Polished stainless can self-repassivate after scratches, which helps it tolerate road abrasion.
Chrome bumper material comparison for Class 8 trucks
| Material | Finish and Thickness | Best Use Case | Corrosion Resistance |
|---|---|---|---|
| Chrome-plated carbon steel | Heavy-gauge steel with plated chrome and a nickel layer | Classic appearance, impact-focused use, and owners prioritizing the traditional chrome look | Good when the plating remains intact. Chips require prompt cleaning and repair |
| Chrome-plated 430 stainless steel | Ferritic stainless with decorative chrome and a nickel layer | Owner-operators who want chrome styling with added resistance for regular road service | Better protection against surface corrosion than plated carbon steel when damage reaches the outer finish |
| Chrome-plated 304 stainless steel | Austenitic stainless with decorative chrome and a nickel layer | Severe exposure, frequent winter service, and buyers focused on long-term finish retention | Strong corrosion performance, especially where road salt and moisture are persistent |
| Polished stainless steel | Stainless outer surface without a chrome appearance | Drivers who prefer a bright metal finish and easier scratch tolerance | Scratches can self-repassivate, limiting the type of under-finish corrosion seen with plated steel |
430 stainless steel contains 17% chromium and is used for decorative trim. Carpenter Technology describes it as resistant to corrosion from the atmosphere, fresh water, steam, many petroleum products, and organic materials, with useful resistance to chloride stress corrosion cracking at elevated temperatures (430 stainless steel material guidance). It's a sensible middle ground for many working trucks.
Understand the nickel layer
Chrome is the visible surface, but the layers underneath affect how the finish performs. Decorative chrome is often under 1 micron thick, while nickel in functional plating systems commonly falls in the 10–50 µm range, with severe-service nickel coatings reported at 25–40 µm (plating thickness reference). A triple-layer chrome process with 35 microns of nickel gives buyers a specific construction detail to verify instead of judging a bumper by shine alone.
Read the comparison of stainless steel versus carbon steel before choosing a material for a salt-heavy route. The practical answer is simple. Select stainless when corrosion, uptime, and reduced replacement risk matter more than the lowest initial cost. Select chrome-plated carbon steel when the truck sees less corrosive exposure or the classic finish and impact profile drive the decision.
Match style to the truck's job
A Kenworth W900 chrome bumper with a deep mirror finish suits a traditional long-hood build. A Peterbilt 389 bumper may need a specific hood profile and light layout. An 18 inch drop bumper changes the truck's visual stance, but it also changes approach clearance and the risk of contact on steep entrances.
Check ground clearance, tow access, light visibility, and state requirements before selecting a drop style. A bumper should look right at the truck stop and work right at the loading dock.
Sourcing Custom Parts and Working With Fabricators for Bolt On Fitment
Good procurement starts with a complete configuration, not a product photo. Use a 3D configurator or a fabricator's order form to select the truck brand, model, year, bumper style, mounting type, cutouts, and finish. The configurator should force you to make decisions that affect fitment, rather than letting a broad model label hide important differences.
Ask the fabricator the questions that matter
A professional shop should answer these questions before taking the order:
- What steel is used: Confirm whether the part is chrome-plated carbon steel, 430 stainless, or 304 stainless.
- What gauge or thickness is specified: Don't accept “heavy duty” without a material and thickness description.
- How does it mount: Confirm direct bolt-on, standard mount, blind mount, bracket arrangement, and whether drilling or cutting is required.
- Which openings are included: Verify fog-light holes, marker-light openings, tow-hook access, sensors, and license-plate provisions.
- Where is the steel sourced: If domestic sourcing matters to your fleet or build, ask for a clear answer.
- How is quality checked: Ask how the shop verifies dimensions, welds, polish, plating, and packaging.
- How does freight work: Large bumpers commonly move by LTL freight, so confirm packing, damage inspection, delivery appointment, and claims procedure.
- What happens if the part arrives wrong: Review warranty, returns, and fitment support before ordering.
A multi-fit bumper may cover several major U.S. Class 8 names, but the application still needs review. One fitment guide lists examples including Peterbilt 359, 379, 388, 389, and 567, Kenworth W900L and W900B, the Freightliner Classic Series, and International 9900i (multi-fit bumper application examples). That type of listing is useful for narrowing the search, not for skipping measurements.
Protect the delivery and installation schedule
In-stock 430 and 304 stainless units can support a faster repair schedule, while made-to-order carbon steel may require a longer production window. Confirm the actual lead time for your selected configuration, not a general promise shown on a category page. If the truck is down, order only after the seller confirms material, cutouts, mounting style, and shipping timing in writing.
When the bumper arrives, inspect the crate before signing for freight. Photograph dents, torn packaging, exposed corners, and finish damage. Don't let a shop begin drilling or modifying the part before fitment concerns are documented and resolved.
For owner-operators, a direct bolt-on part can reduce shop time because the installer works with the truck's existing mounting system. That benefit disappears if the order skipped hood style, bracket type, or equipment-package details.
Installing Testing and Ensuring Compliance Without Downtime
A bumper installation is a structural job, even when the part is mainly an appearance upgrade. The brackets transfer vibration and impact loads into the frame area, so support, alignment, hardware condition, and torque all matter.
Use a controlled installation sequence
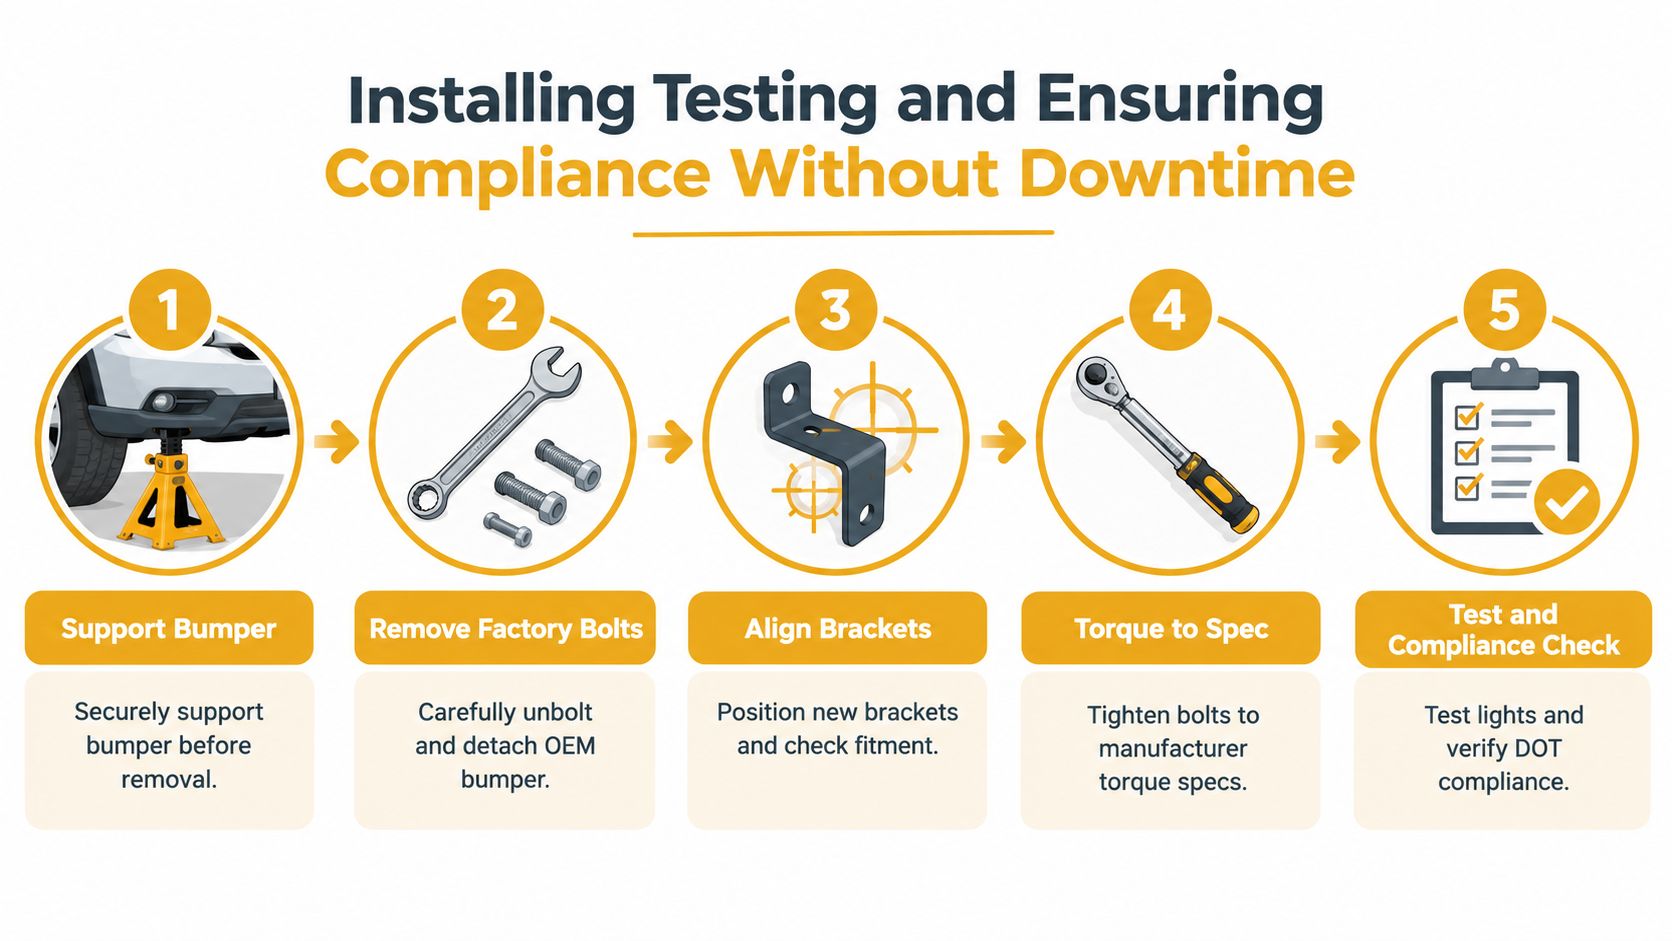
Support the bumper first. Place a suitable jack or stand under the bumper before removing factory fasteners. A large steel or stainless bumper can shift suddenly when the last bolt comes out.
Remove the factory bolts. Use penetrating oil on seized hardware and inspect every fastener after removal. Corroded bolts, damaged threads, and bent brackets should be replaced or repaired before the new bumper goes on.
Align the new brackets. Start all fasteners before tightening any one side. Check the bumper against the hood, grille, fenders, and frame. Confirm that the corners sit evenly and that each light or tow-hook opening lines up.
Torque in an alternating pattern. Published heavy-duty bumper installation guidance lists torque targets such as 20 ft-lb for 3/8"-16 hardware, 50 ft-lb for 1/2"-20, 70 ft-lb for 9/16"-18, and 250 ft-lb for 7/8"-9 hardware (heavy-duty bumper installation manual). Use the manufacturer's published specification for the exact fastener and application. Don't tighten by feel.
Recheck after service. Inspect the bumper after the first service interval, especially when the truck works on rough roads, in winter salt, or under high vibration. Confirm that the fasteners remain tight and the brackets haven't shifted.
Test the truck before returning to work
After installation, check the bumper from several angles. Look for contact with the hood, grille, fenders, tow equipment, and steering components. Open and close the hood, connect lighting, and confirm that all required lamps remain visible and secure.
Use this final inspection list:
- Alignment: Check even gaps, level height, and matching corner projection.
- Hardware: Confirm every fastener is installed, seated, and torqued.
- Brackets: Look for rust, cracks, distortion, or movement at the frame interface.
- Cutouts: Test fog lights, markers, sensors, tow hooks, and license-plate mounting.
- Road test: Listen for rattles and watch for vibration after driving at low speed.
- Compliance: Verify lighting, reflectors, visibility, and clearance against the truck's operating requirements.
Under-torqued bolts can allow bracket slip and fatigue loading. Reused corroded hardware can fail even when the bumper itself is sound. A clean installation prevents a polished upgrade from becoming a roadside repair.
Protecting Your Investment With Warranty Care and Smart Upgrades
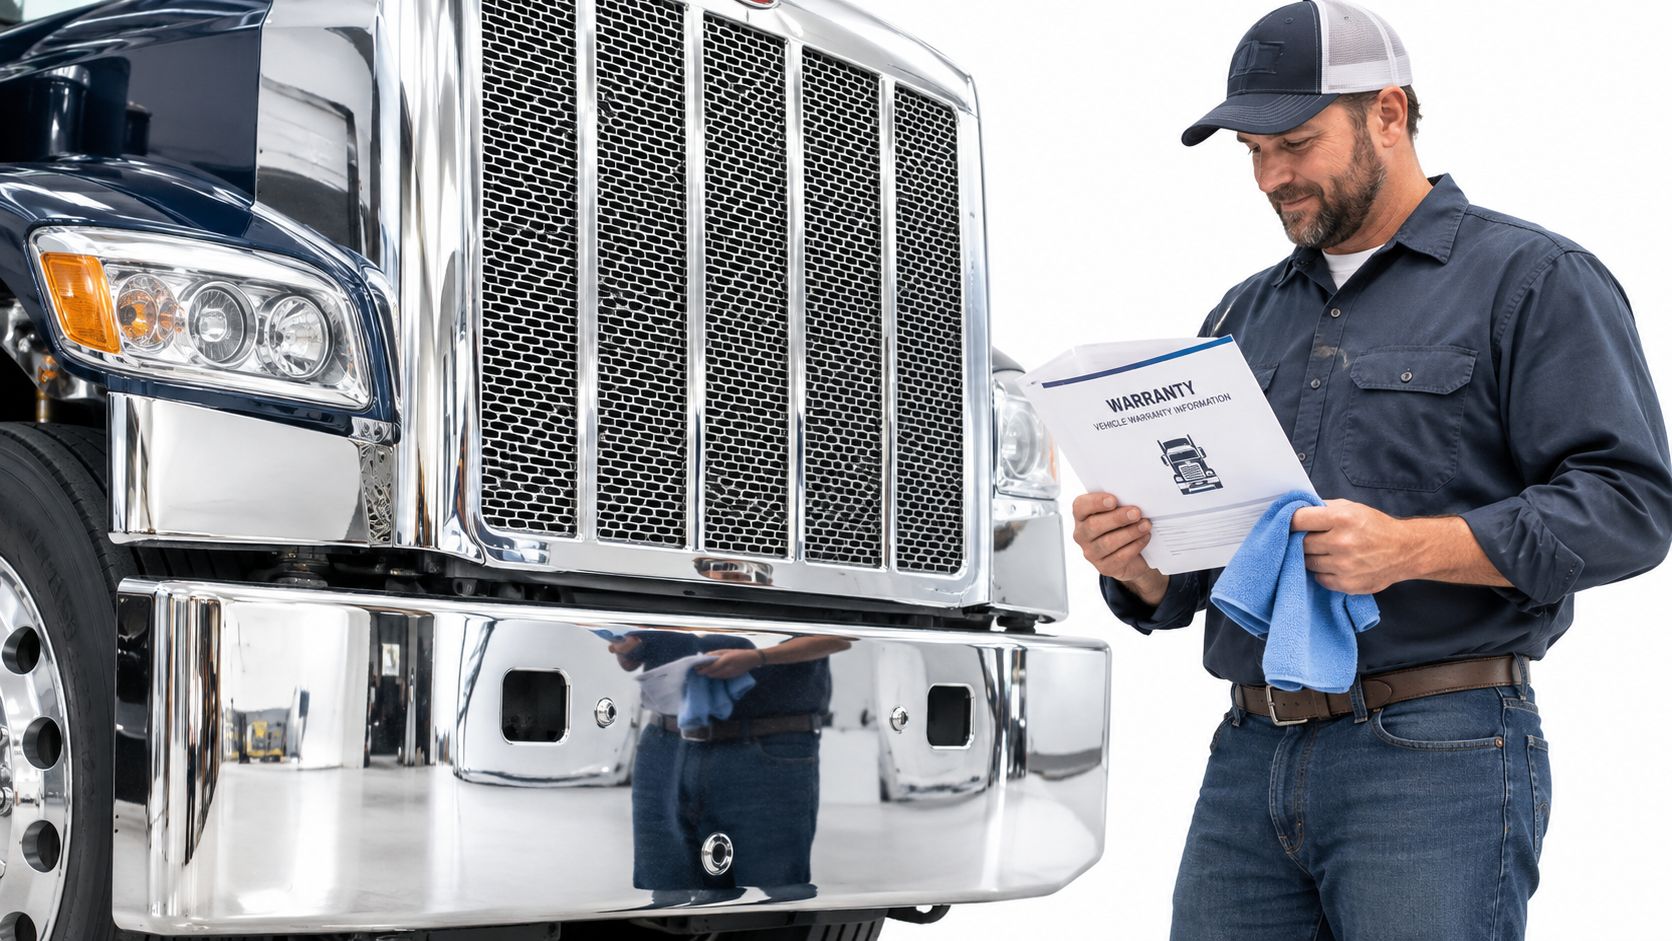
A bumper earns its keep when it stays straight, secure, and presentable through long hauls. Warranty coverage should address manufacturing defects in workmanship and materials, but it won't replace careful fitment checks, impact damage, neglected corrosion, or unauthorized modifications. Read the warranty before installation and keep the order record, freight photos, and installer notes.
Maintain the finish during working service
Road salt, grit, fuel residue, and hard-water deposits attack neglected surfaces. Rinse the bumper after winter routes, clean the lower edge and bracket area, and dry the finish rather than letting salty water sit in seams. Use products suitable for chrome or stainless, and don't scrub a mirror surface with abrasive pads.
Inspect for:
- Stone chips: Clean and address damaged plating before moisture reaches the base metal.
- Rust at hardware: Replace compromised bolts and check the bracket interface.
- Loose trim: Secure decorative parts before they vibrate into the finish.
- Freight or parking damage: Photograph new damage and separate impact damage from a manufacturing concern.
- Light seal problems: Keep water out of cutouts and connectors.
Plan upgrades around the truck's work
A bumper can be the first step in a larger build. Match future grille, visor, mirror, deck-plate, lighting, and trim choices to the same finish and duty cycle. Don't add a drop bumper without checking approach clearance, and don't select polished trim for a salt route without accepting the maintenance it requires.
The return on a smart upgrade isn't only visual. Fewer replacements, less rework, and more time hauling support the value of durable materials and correct installation. Fast shipping across the United States also matters when a collision replacement threatens a scheduled load, but speed only helps when the part is correctly configured.
Choose a supplier that can explain the steel type, thickness, plating layers, mounting method, warranty, returns process, and LTL delivery plan. A clear answer is more useful than a glossy product description.
Galhor Inc. builds configurable chrome bumpers for Peterbilt, Kenworth, Freightliner, and Volvo Class 8 trucks, with material, cutout, finish, and direct bolt-on fitment options selected through its 3D configurator. Review your truck's measurements, configure the right bumper, and visit Galhor Inc. to order or start your upgrade today.